
Share a study in Qatalyst
Overview
Once the study is created, it is available in the library. You can share the study while creating it or later on. In this article, we will guide you through the process of sharing a study and the various methods using which you can share:
Steps
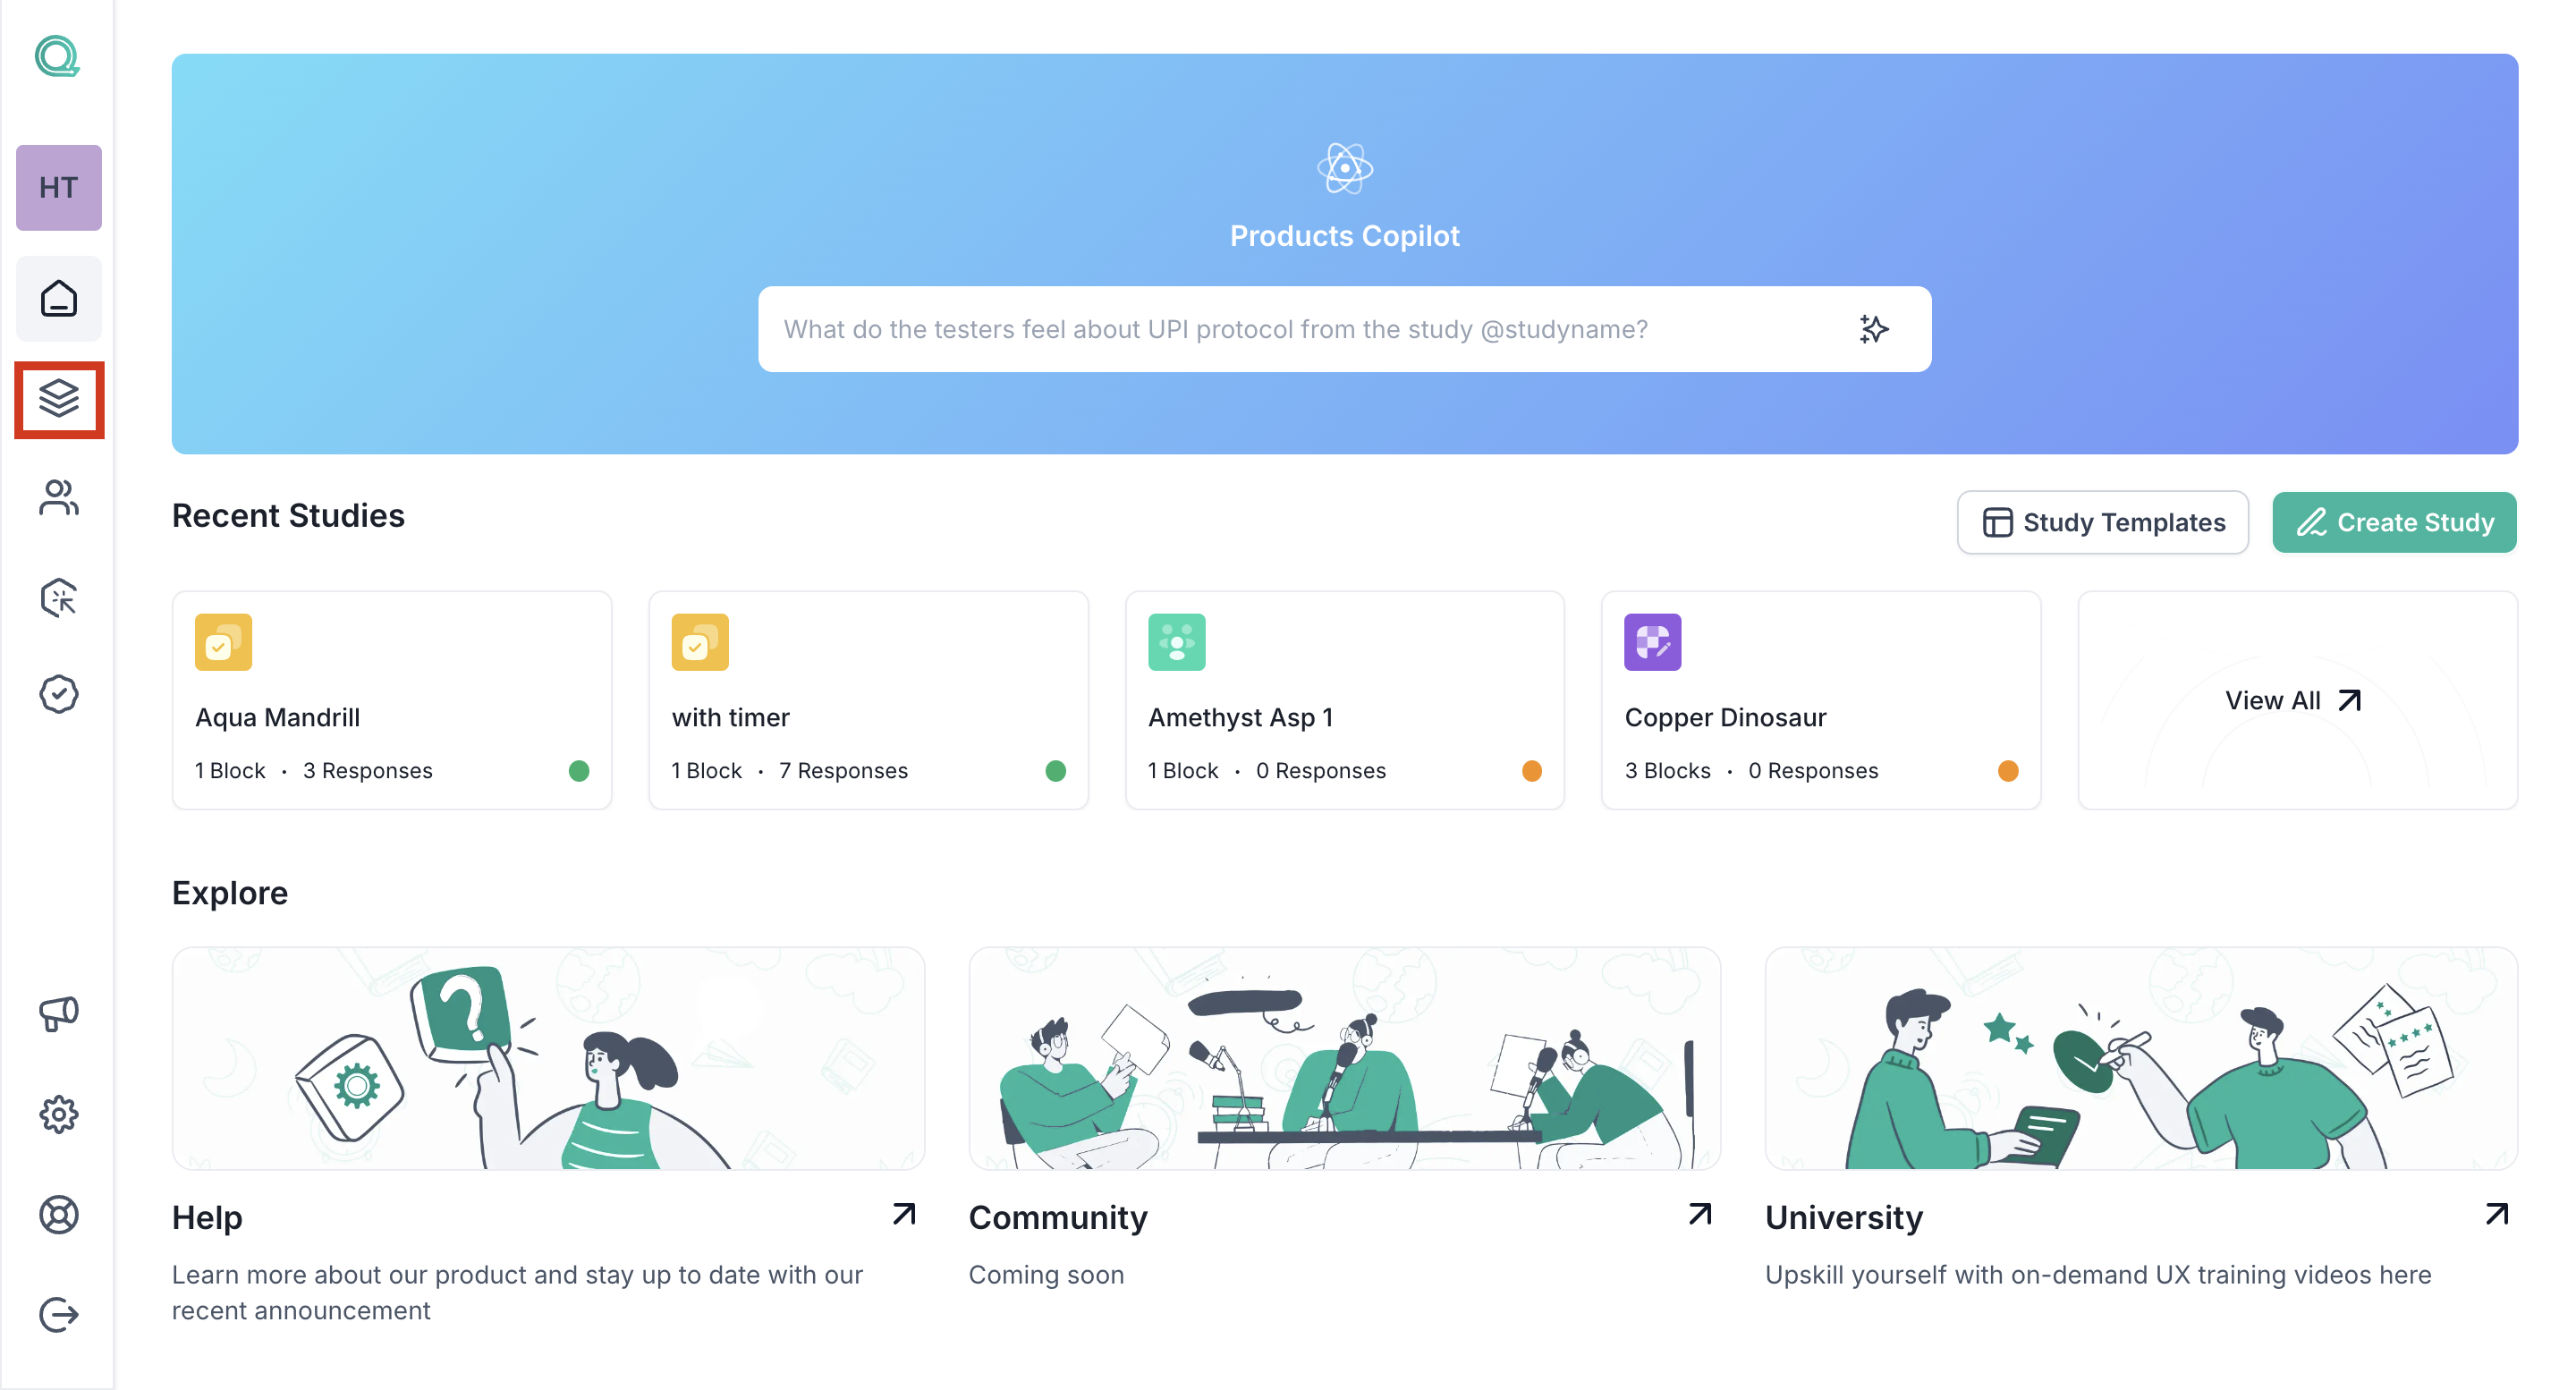
Step 1: Once you log into your Qatalyst account, you will be directed to the dashboard.
Step 2: From the navigation panel on the left-hand side, click on the "Library" icon.
Step 3: You will be taken to the library page; here, all the studies are available on the Qatalyst platform. To open the study, click on the study card, and the study will open.
Step 4: Navigate to the share tab from the top navigation bar. Here you will find different options for sharing a study.
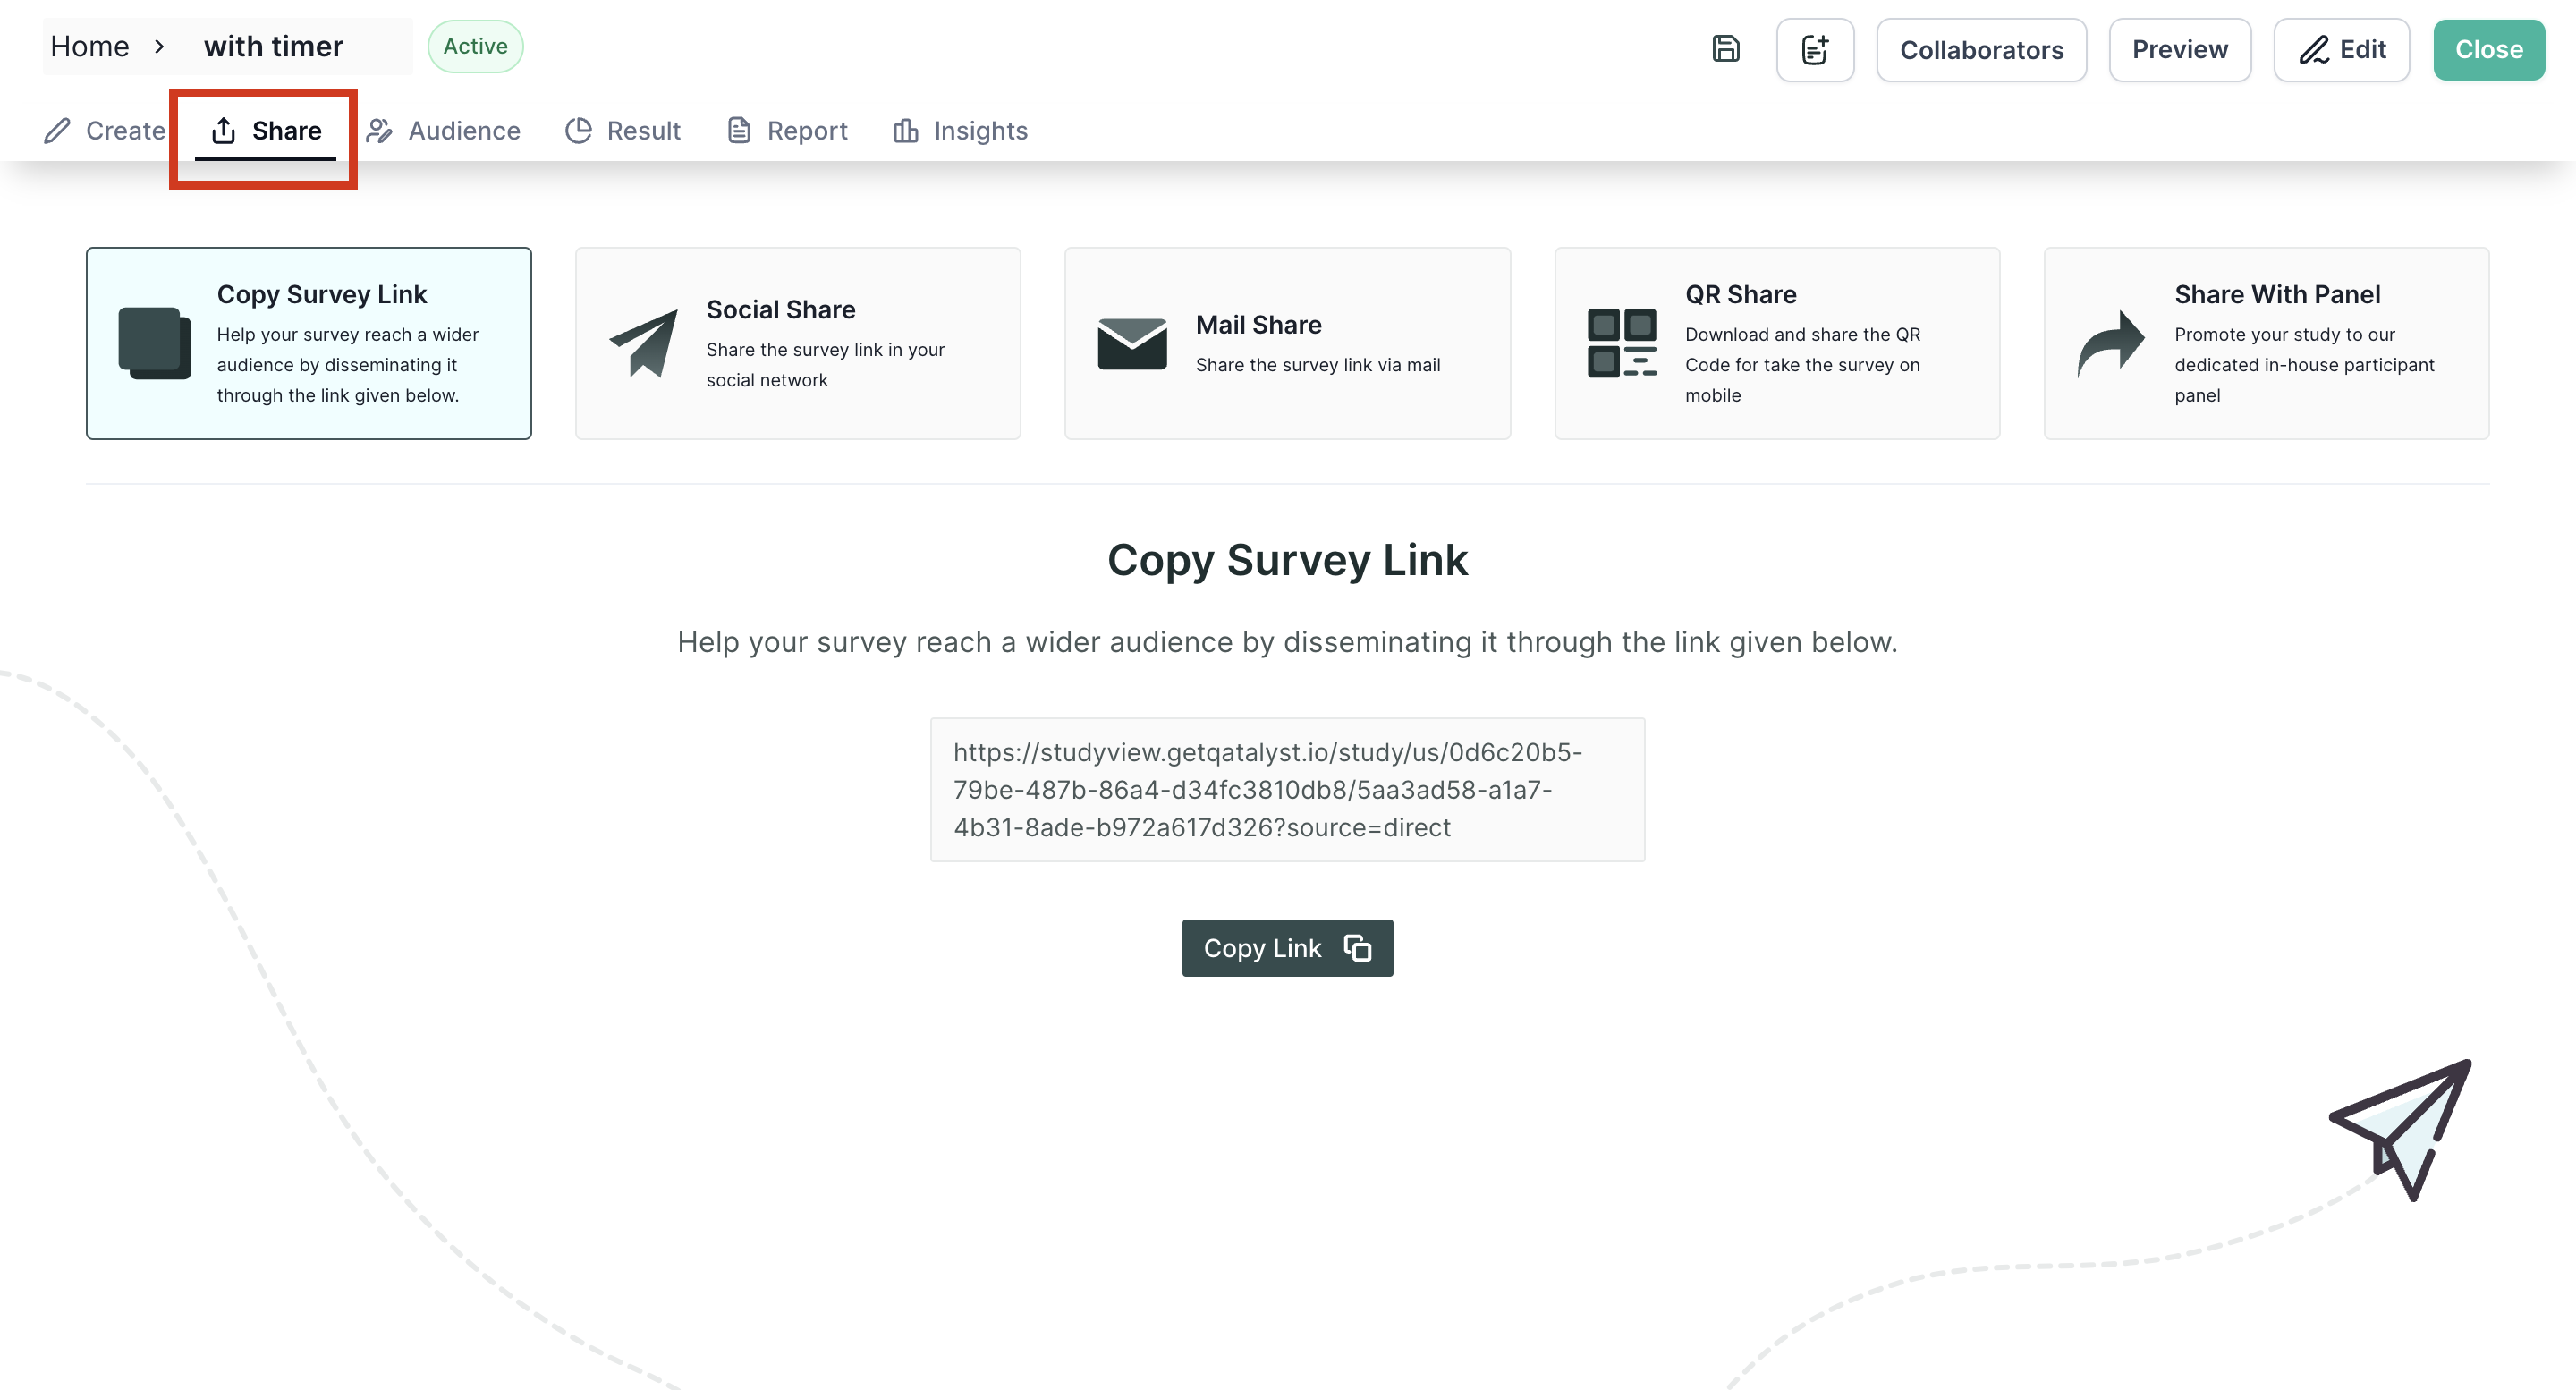
Link share:
Qatalyst allows you to share the study through a unique link. You can generate a link to the study and share it with your colleagues or stakeholders via email or instant messaging platforms.
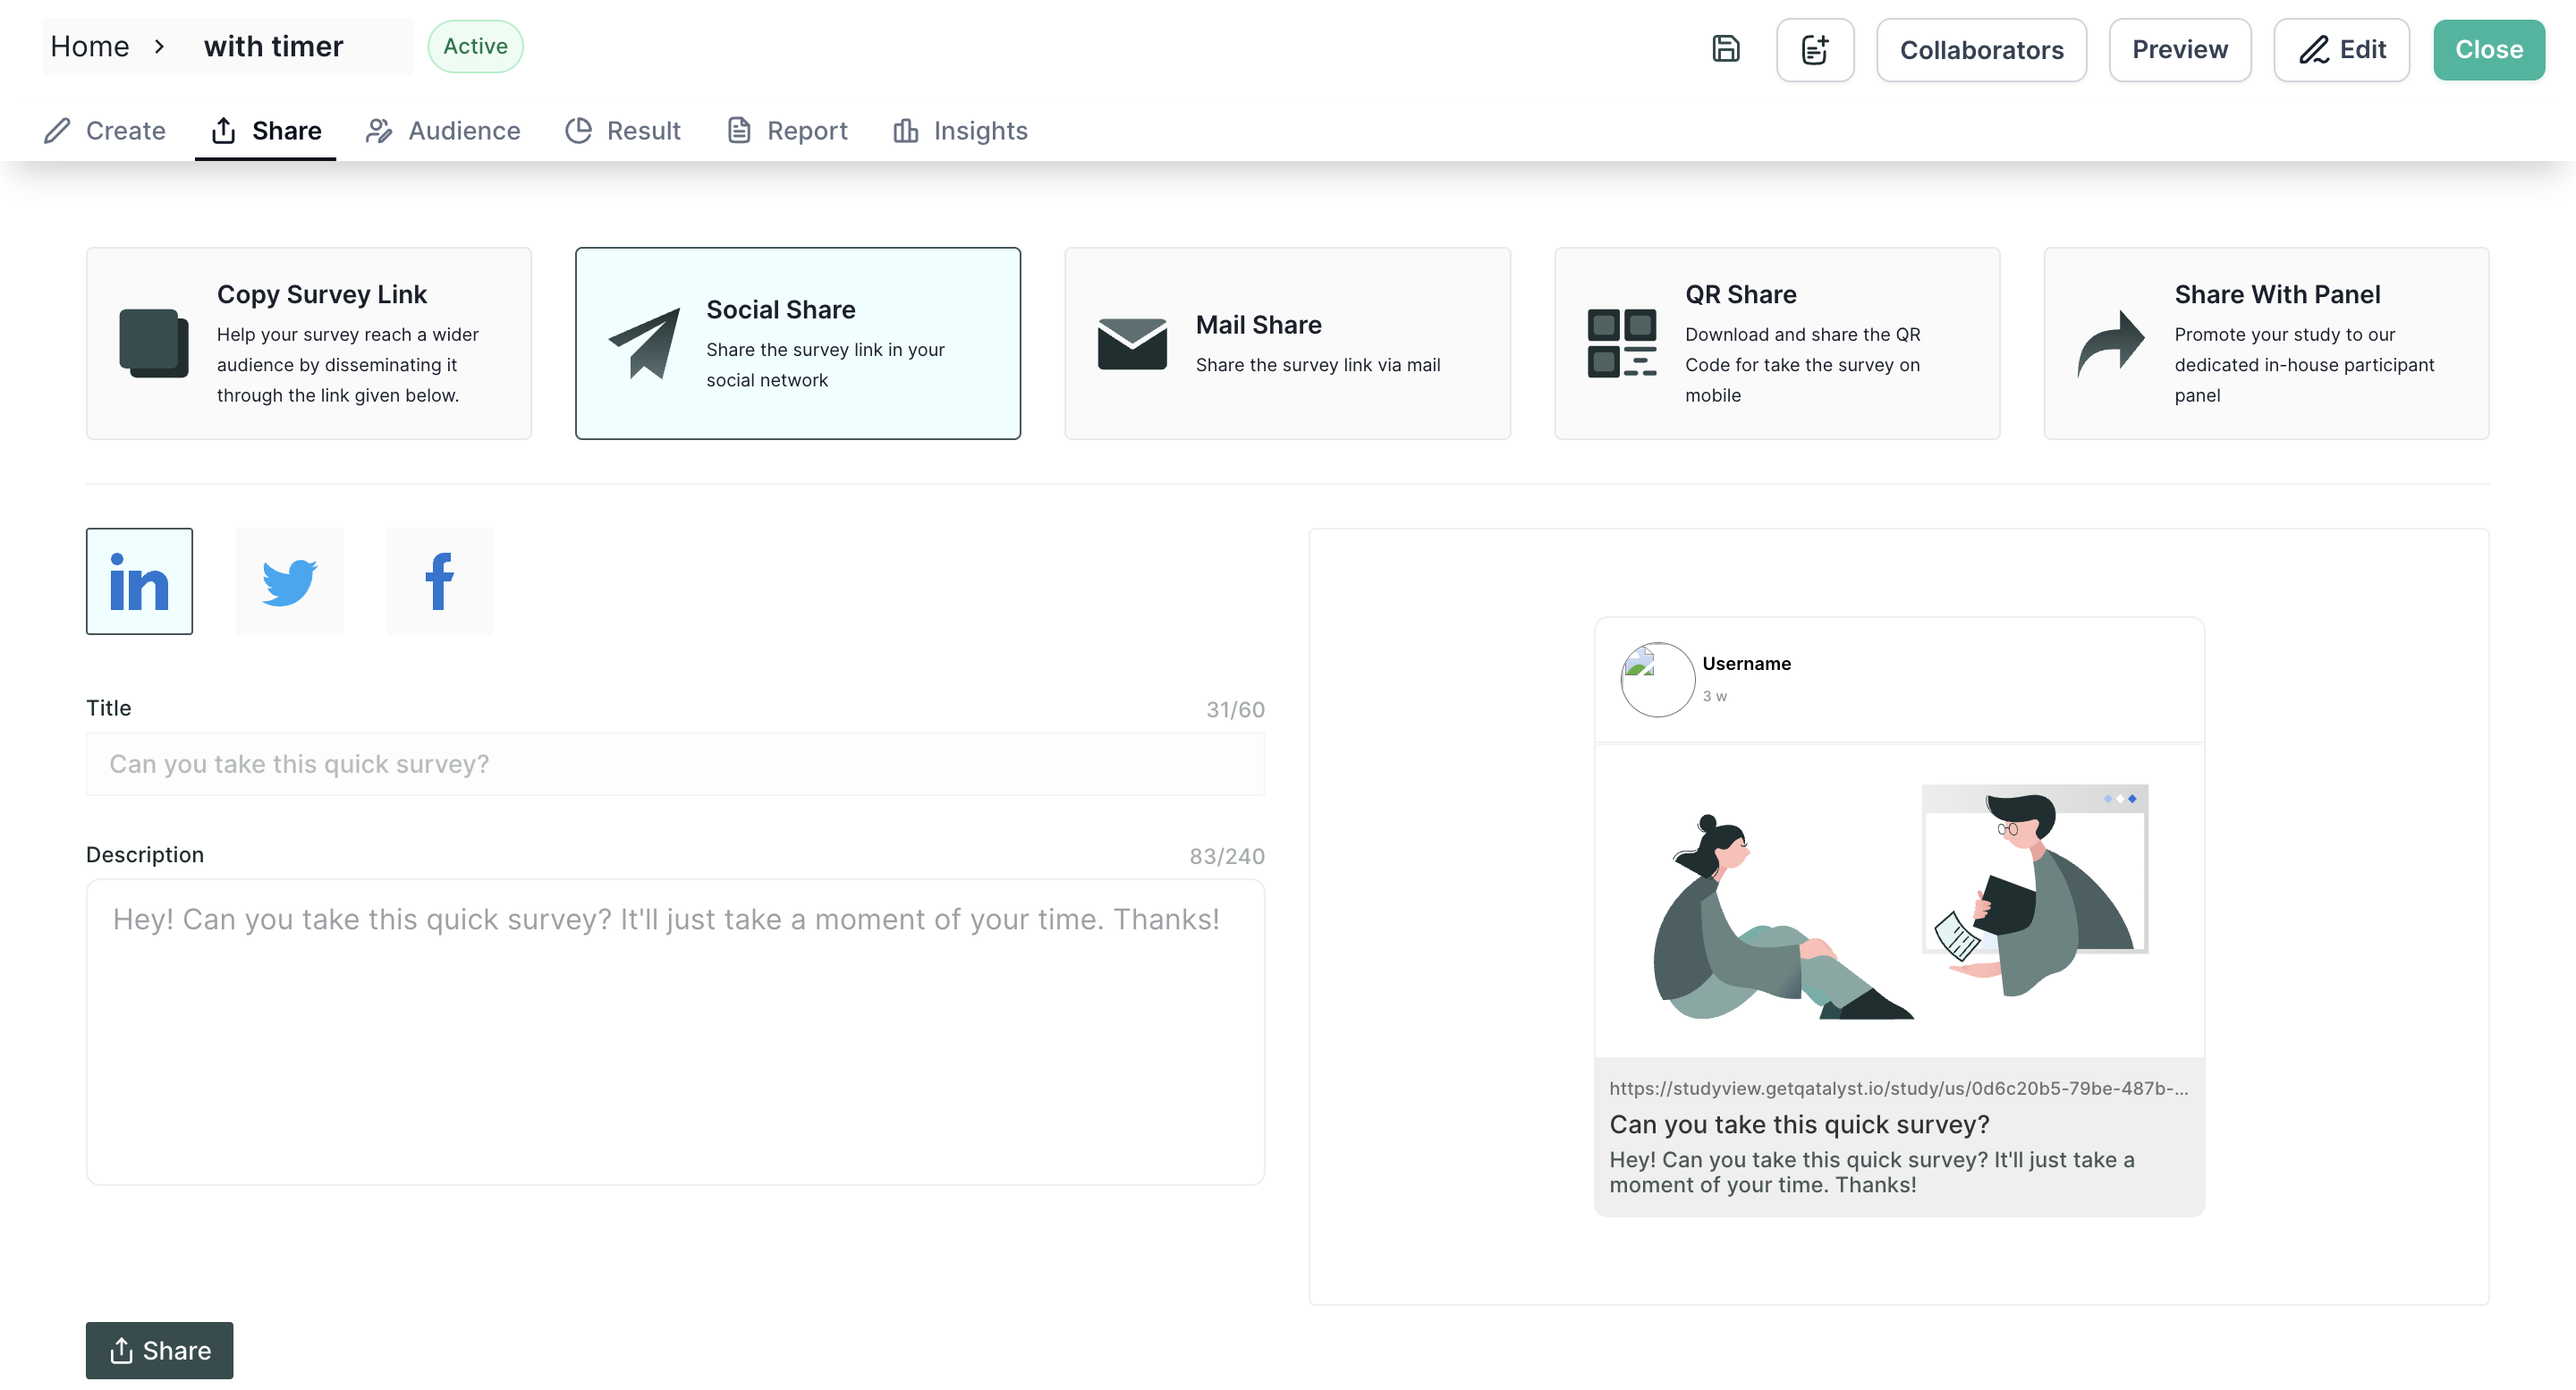
Social share:
You can share the study on social media platforms like LinkedIn, Twitter, and Facebook directly from Qatalyst. This can help you reach a wider audience and gather feedback from a diverse group of people.
When you click on the Social Share button, you will find the form on the left-hand side and the preview of the post after being posted on the right-hand side. For your ease, we pre-populate the content to be posted. You can always change the title, tweet text and description of the post.
Mail share:
You can also share the study through email directly from Qatalyst. This can be a convenient option if you want to share the study with a specific group of people or stakeholders.

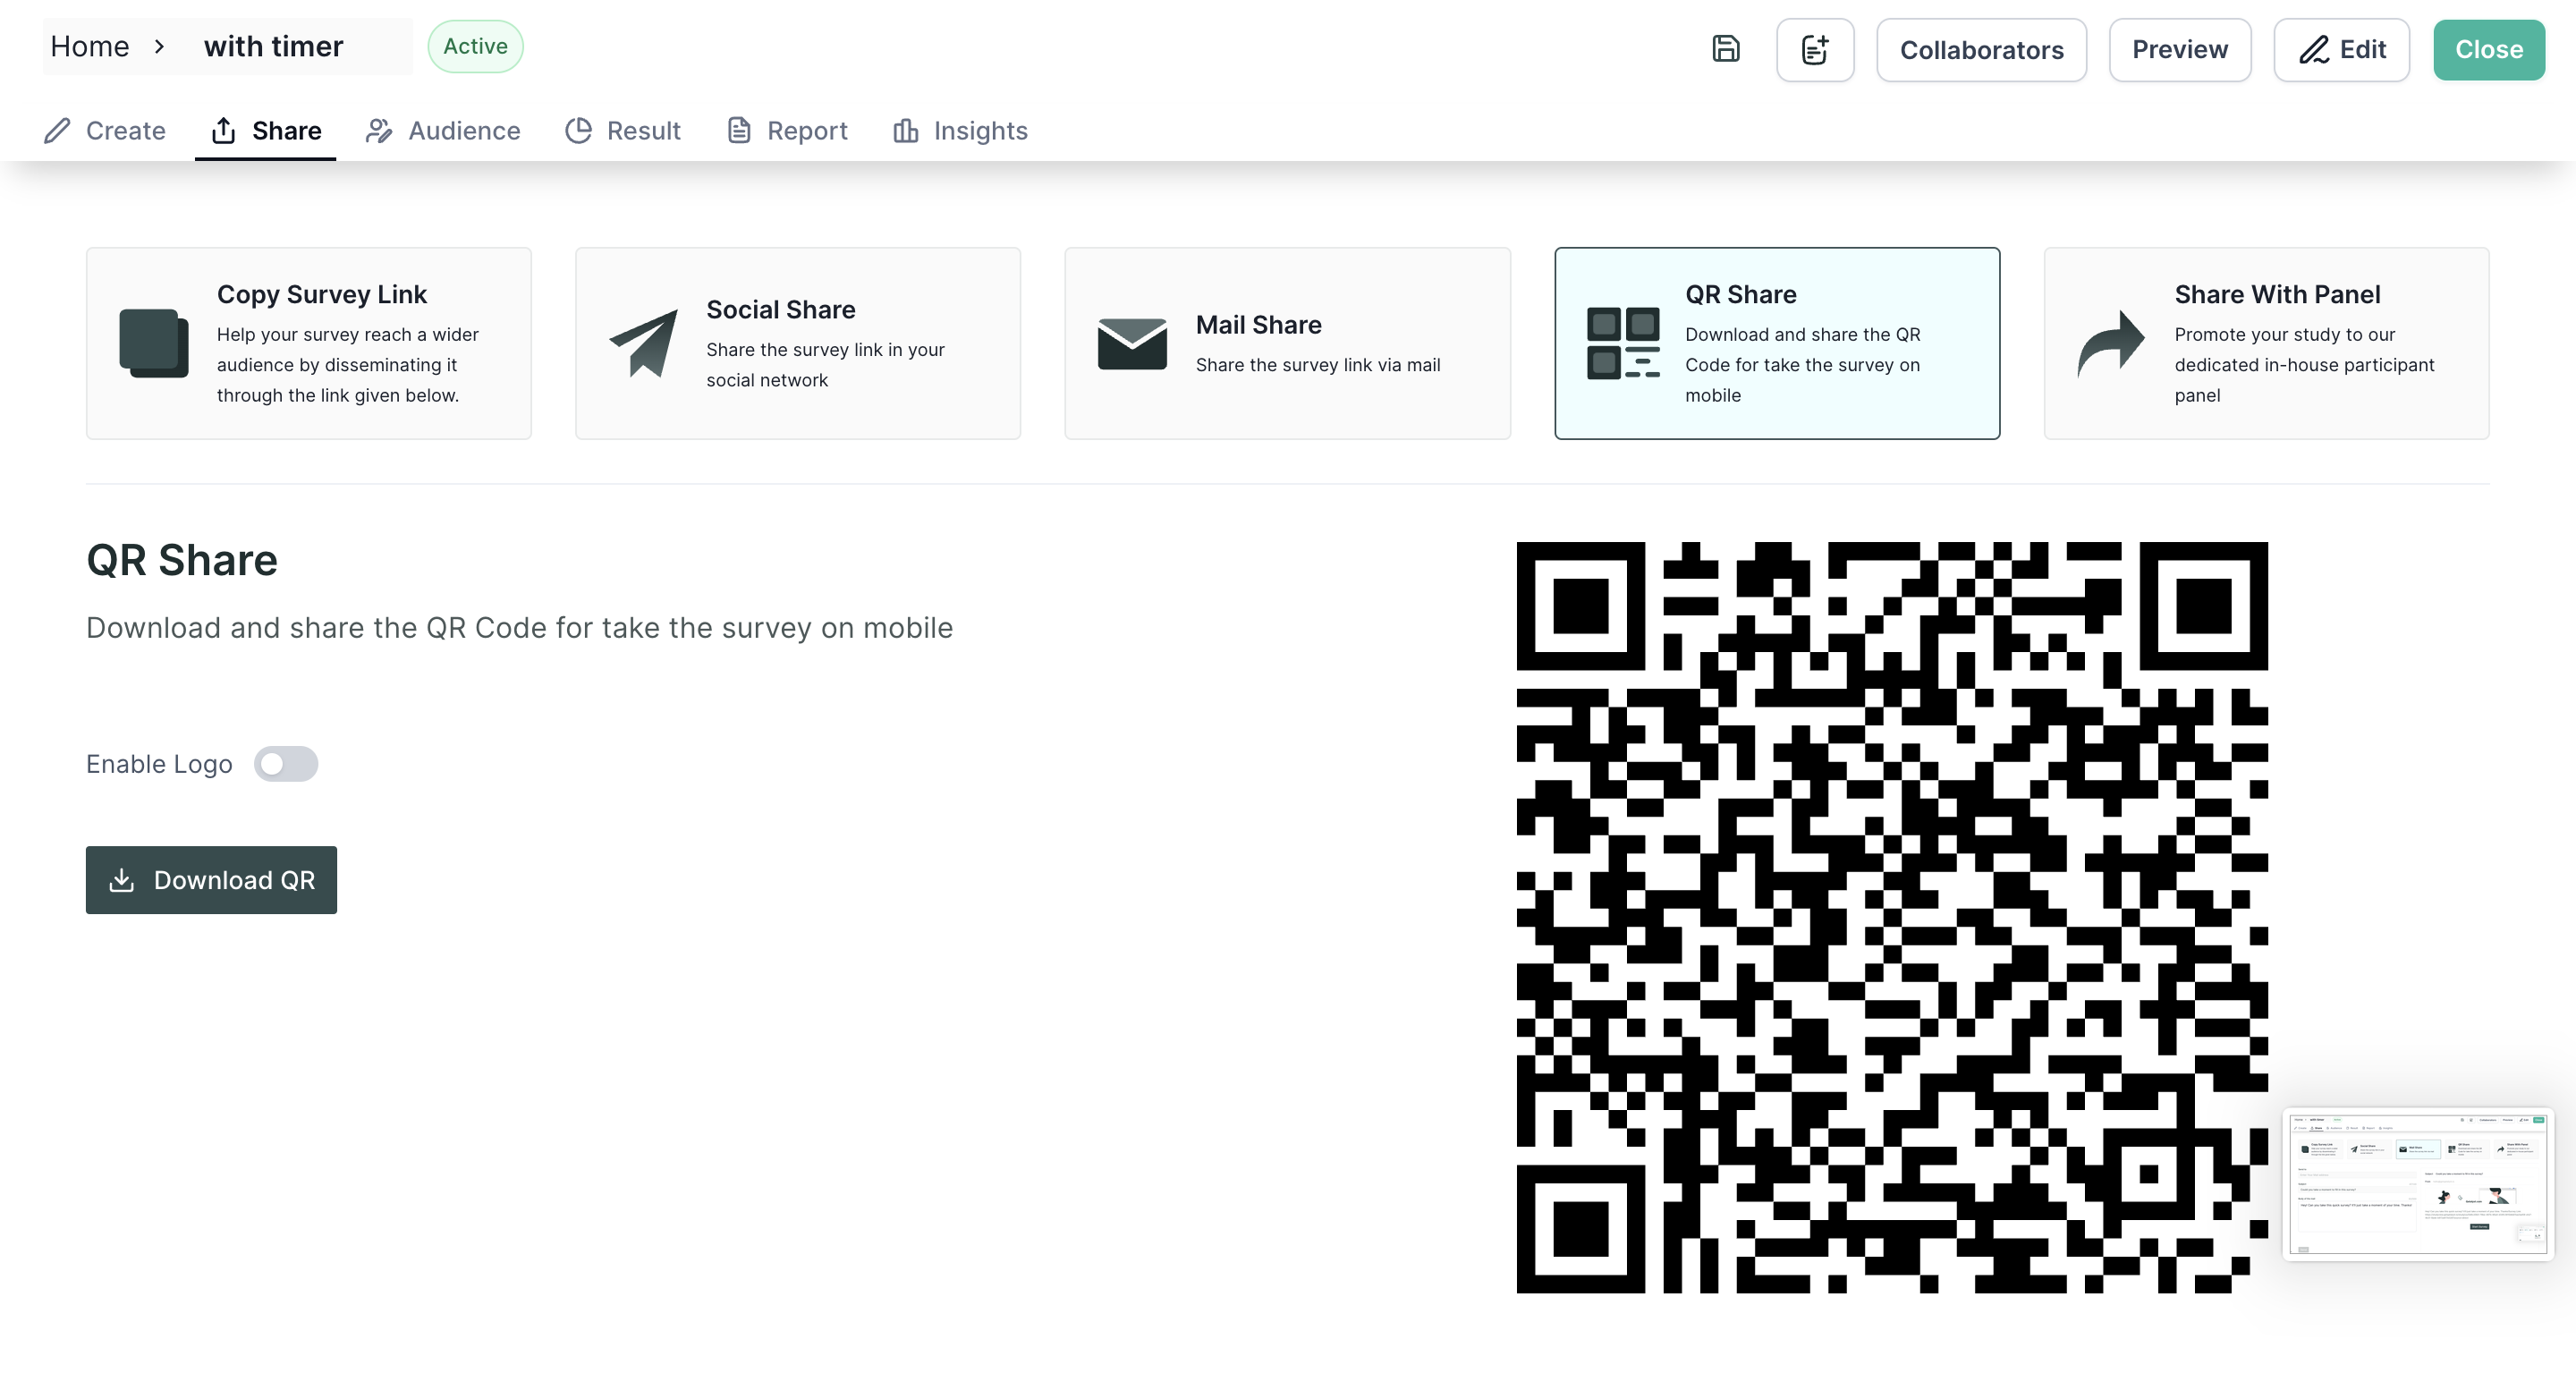
QR share:
Qatalyst also allows you to generate a QR code for the study. You can share the QR code with your participants, and they can scan it to access the study directly.
Share with Panel
This option allows you to share the test with the panel that you have created in the Qatalyst platform.
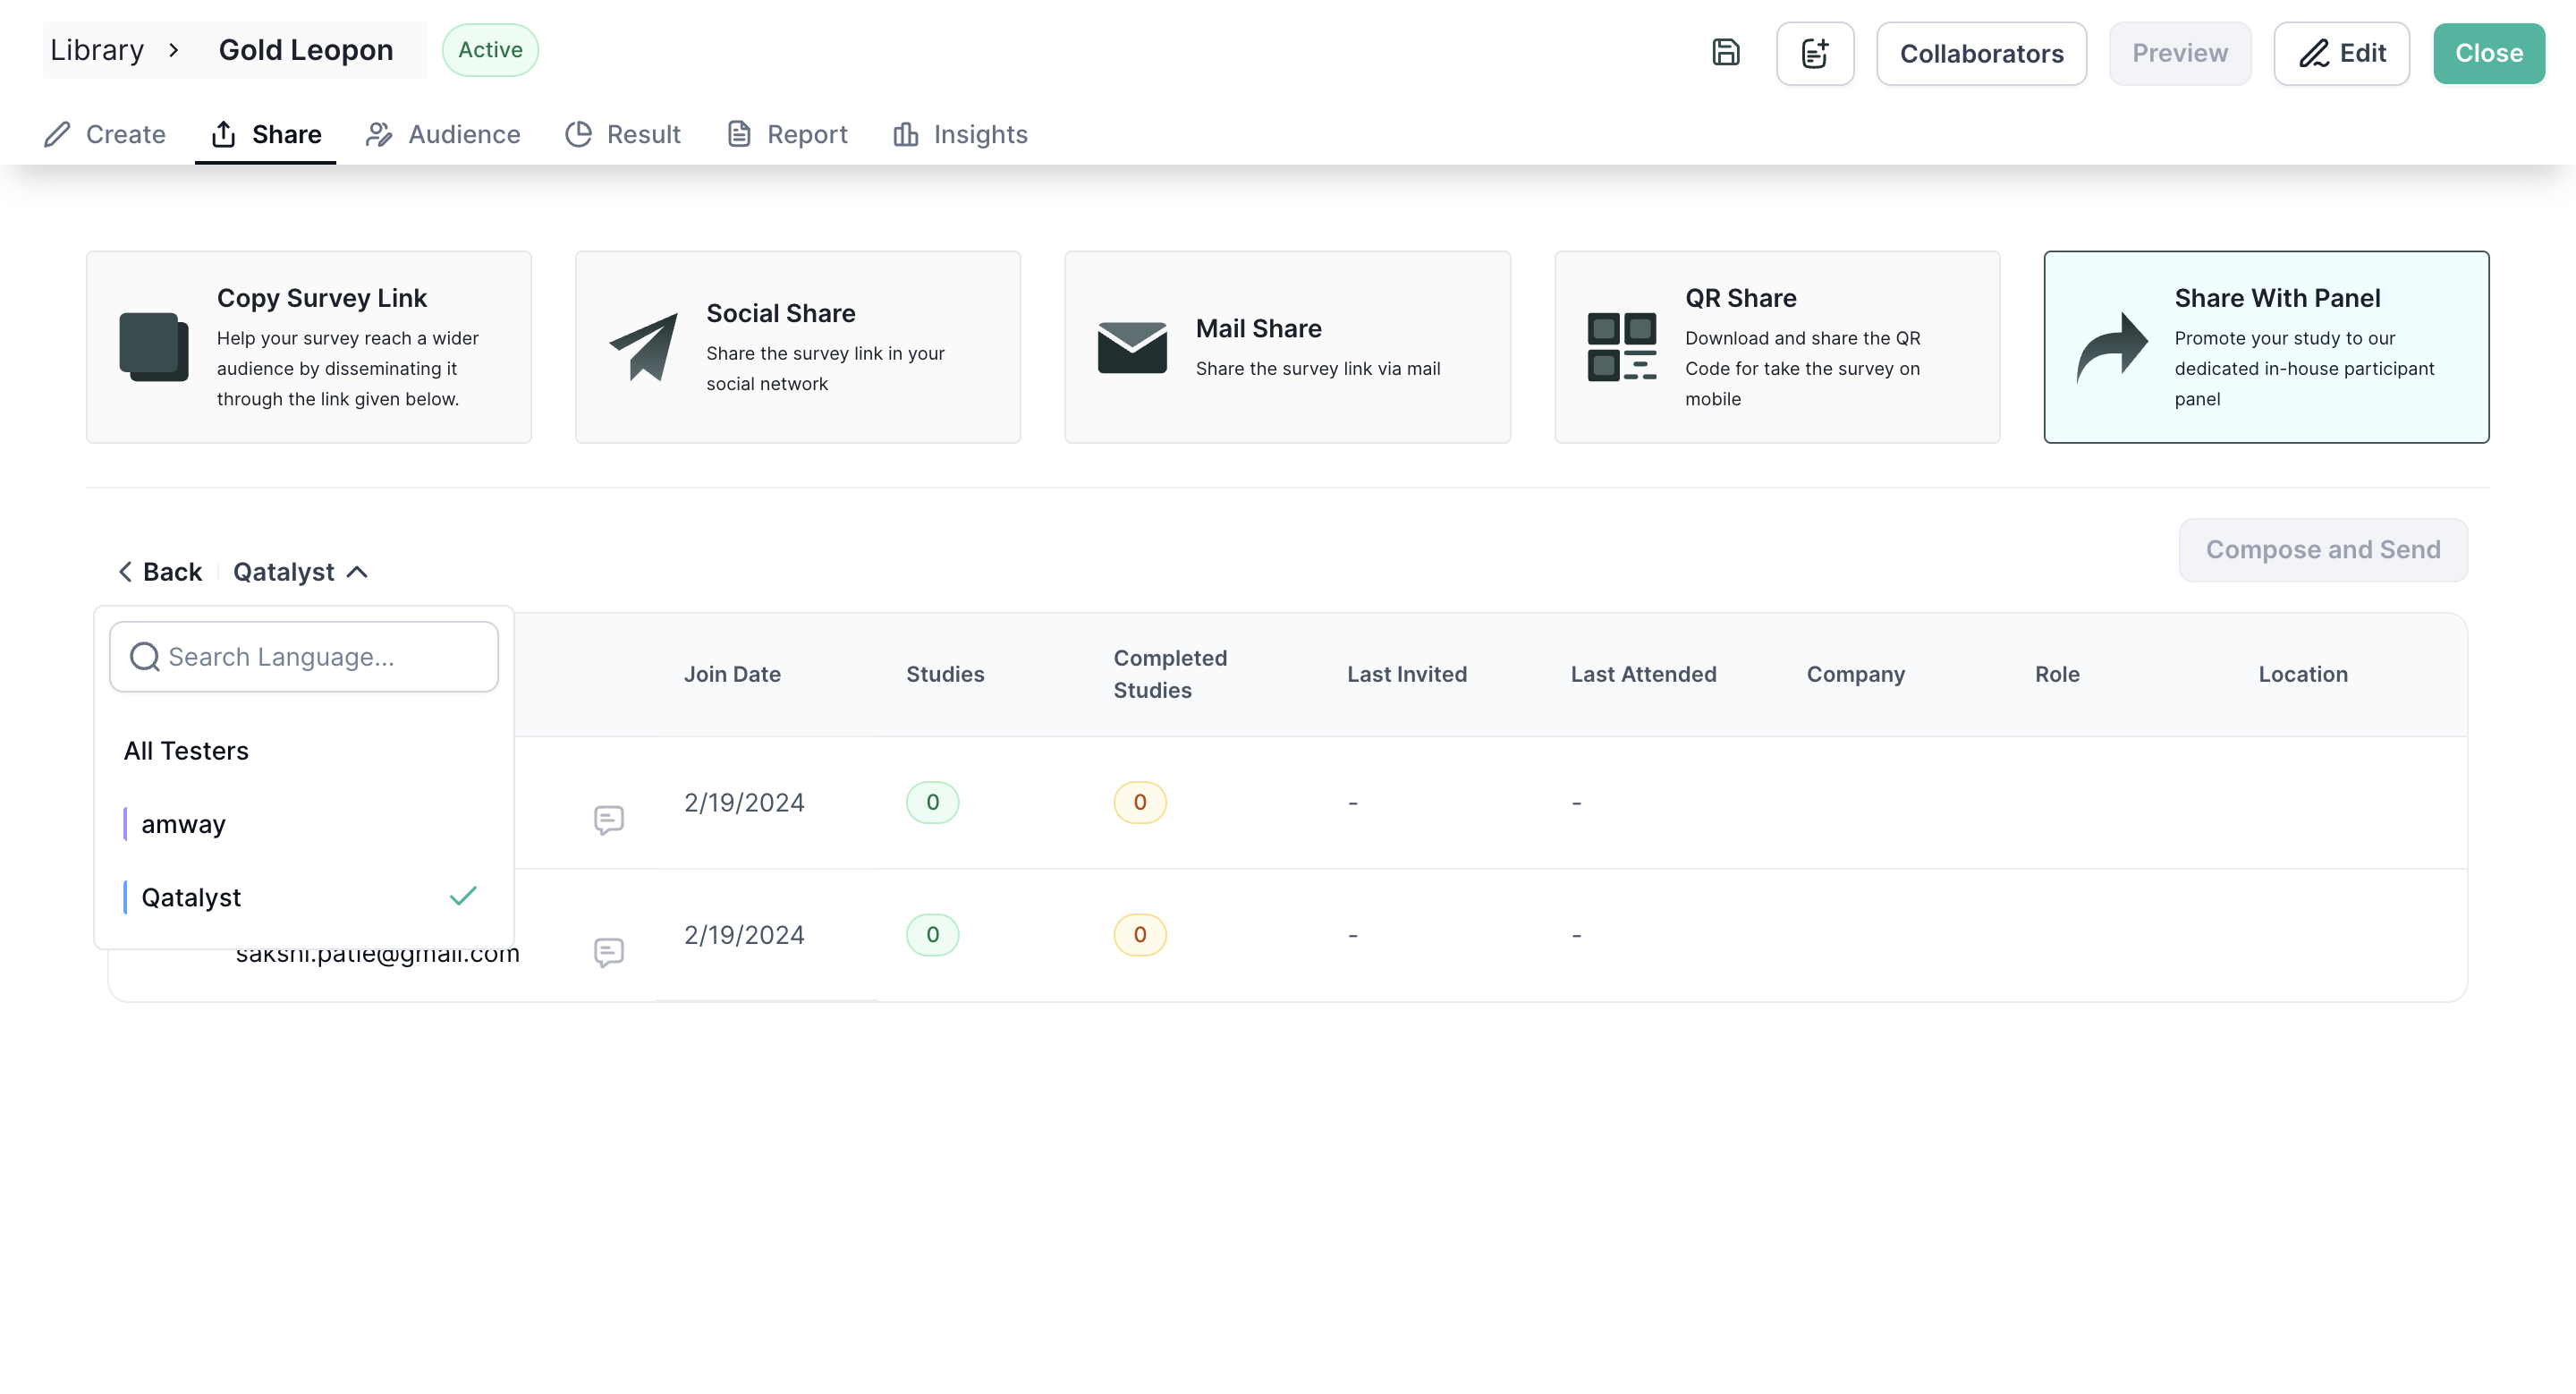
Upon selecting this option, a list of users who have been added to your panel will be displayed. You have the flexibility to choose specific individuals or even select all of them.
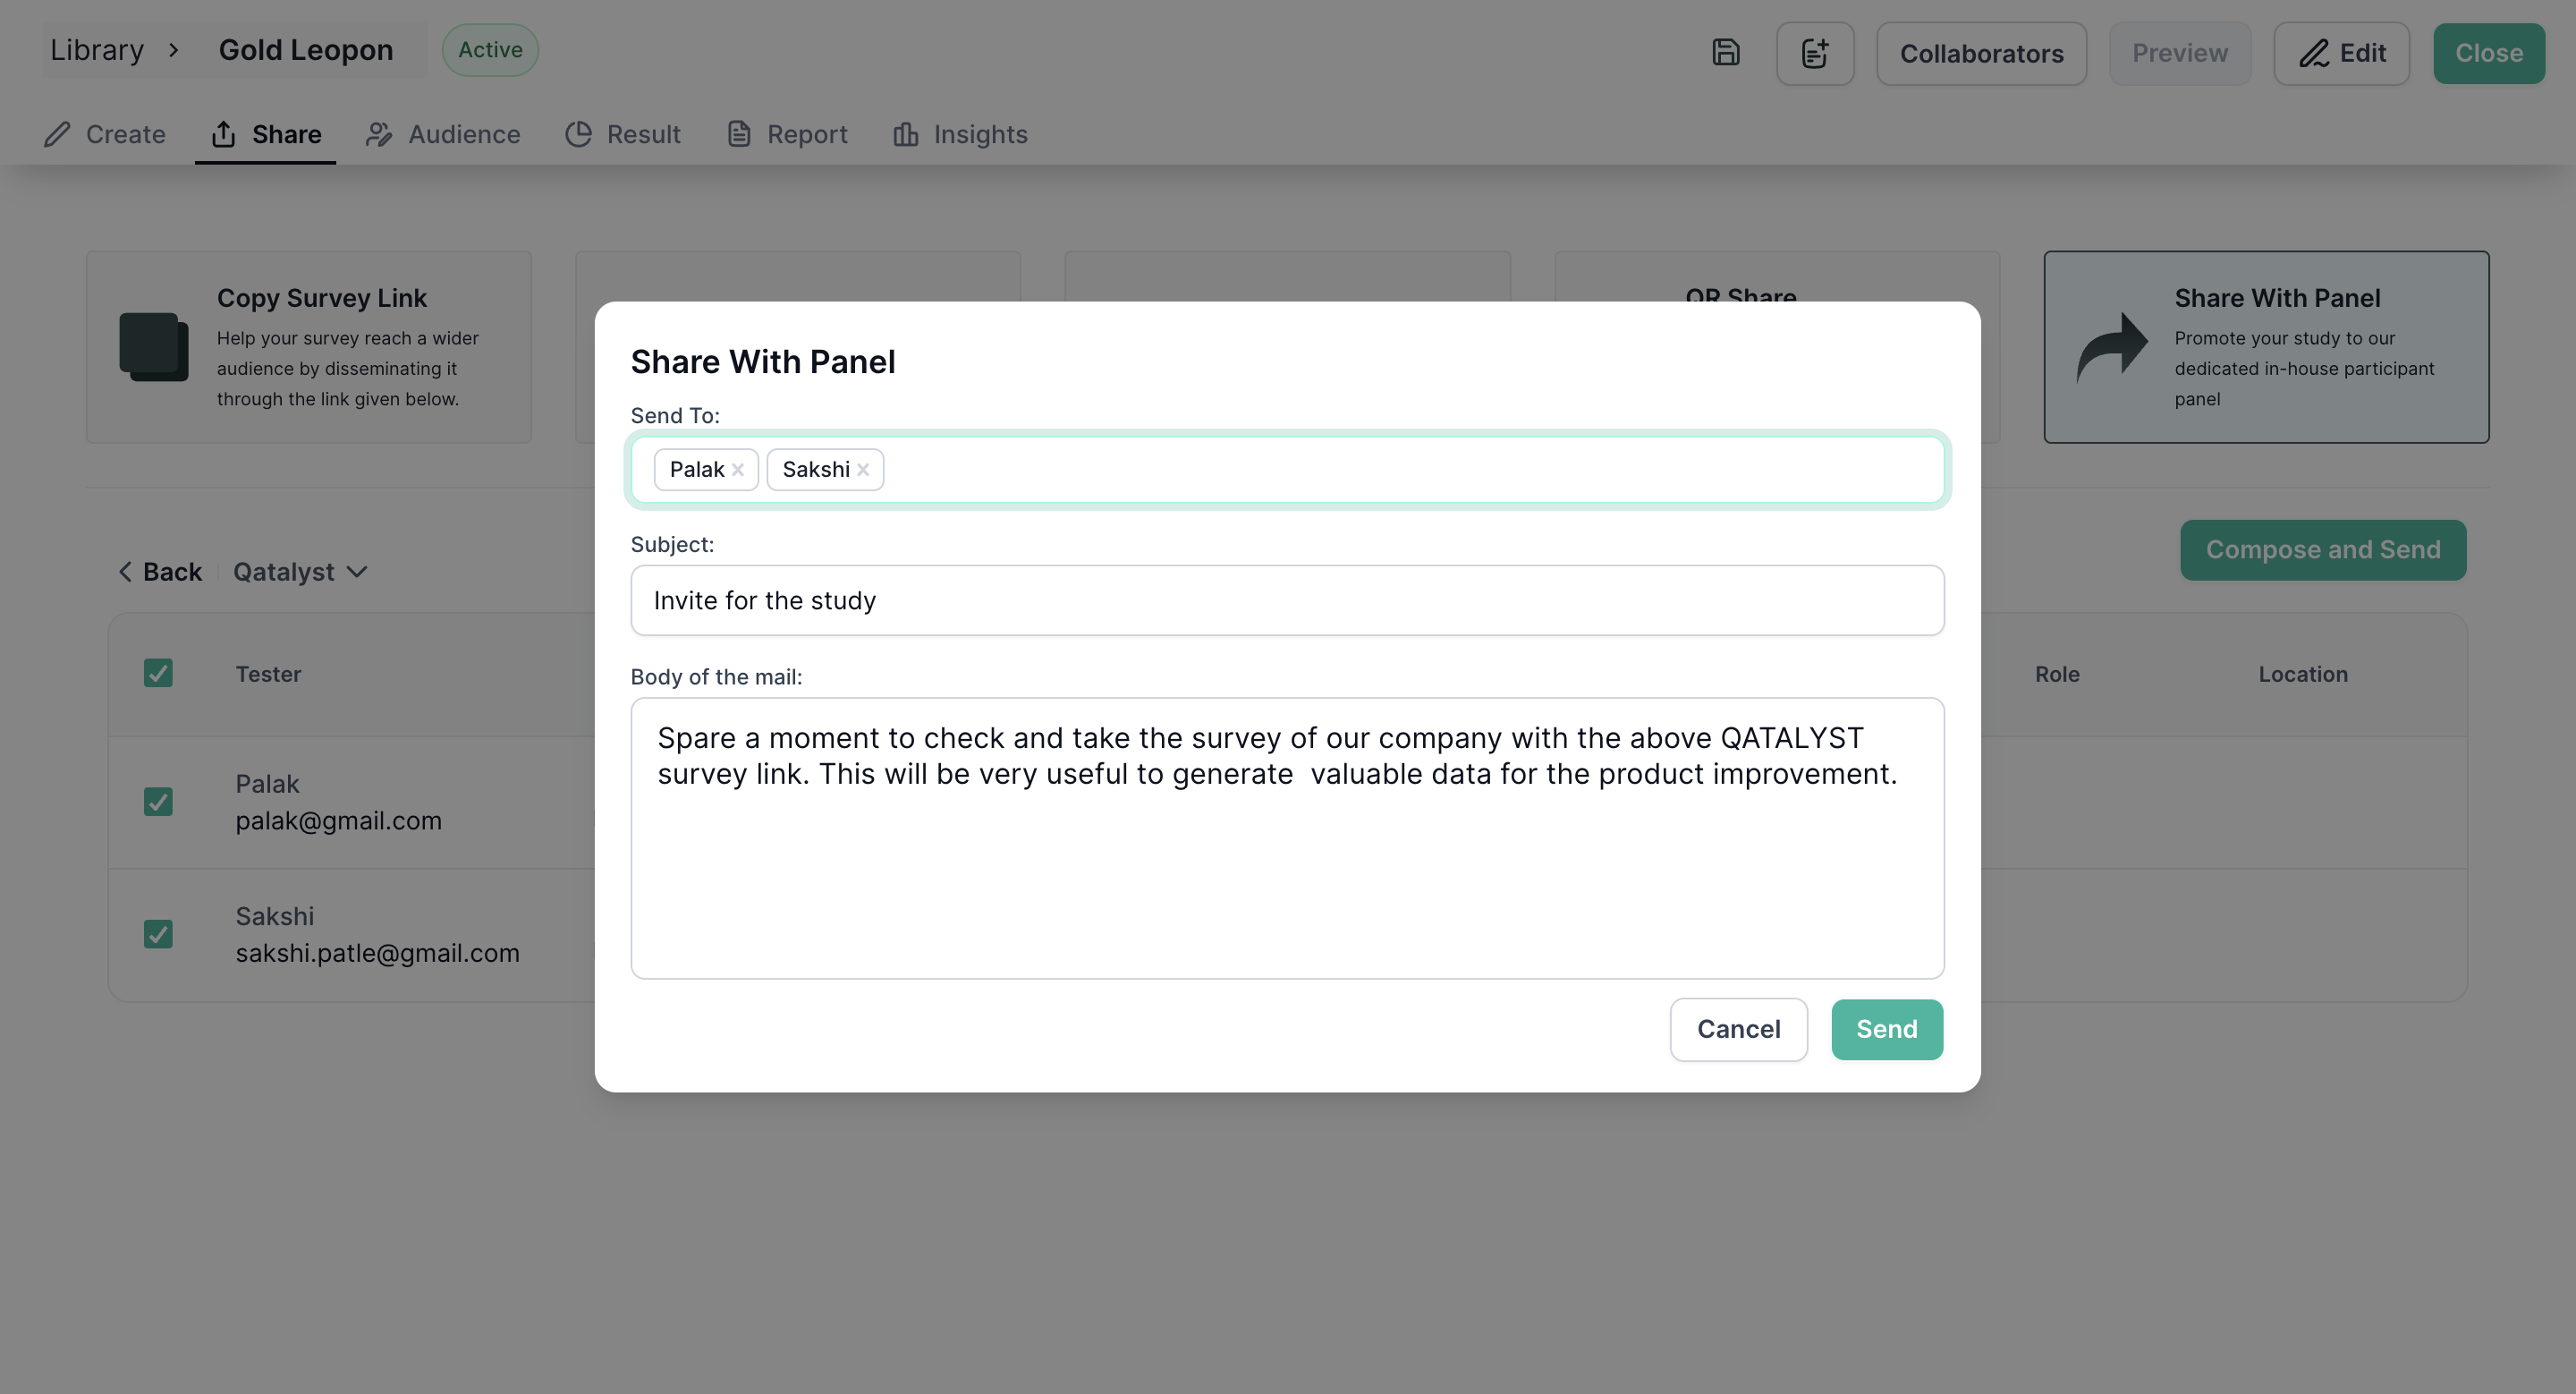
After selecting the users click on the "Compose and Send" button, and a pop-up will appear where you can customize the email template too. Once you've fine-tuned the message to your satisfaction, click the "Send" button, and the email will be promptly dispatched to the chosen recipients.
To learn more about panel management click here!