How to create a UX research in Qatalyst?
Overview
Conducting UX research is an essential step in gathering insights into user behaviour, preferences, and expectations to create products and services that meet their needs and stand out in a crowded market. In this article, we will guide you through the process of creating a study(research) in Qatalyst.
Steps
Step 1: Once you log into your Qatalyst account, you will be directed to the dashboard.
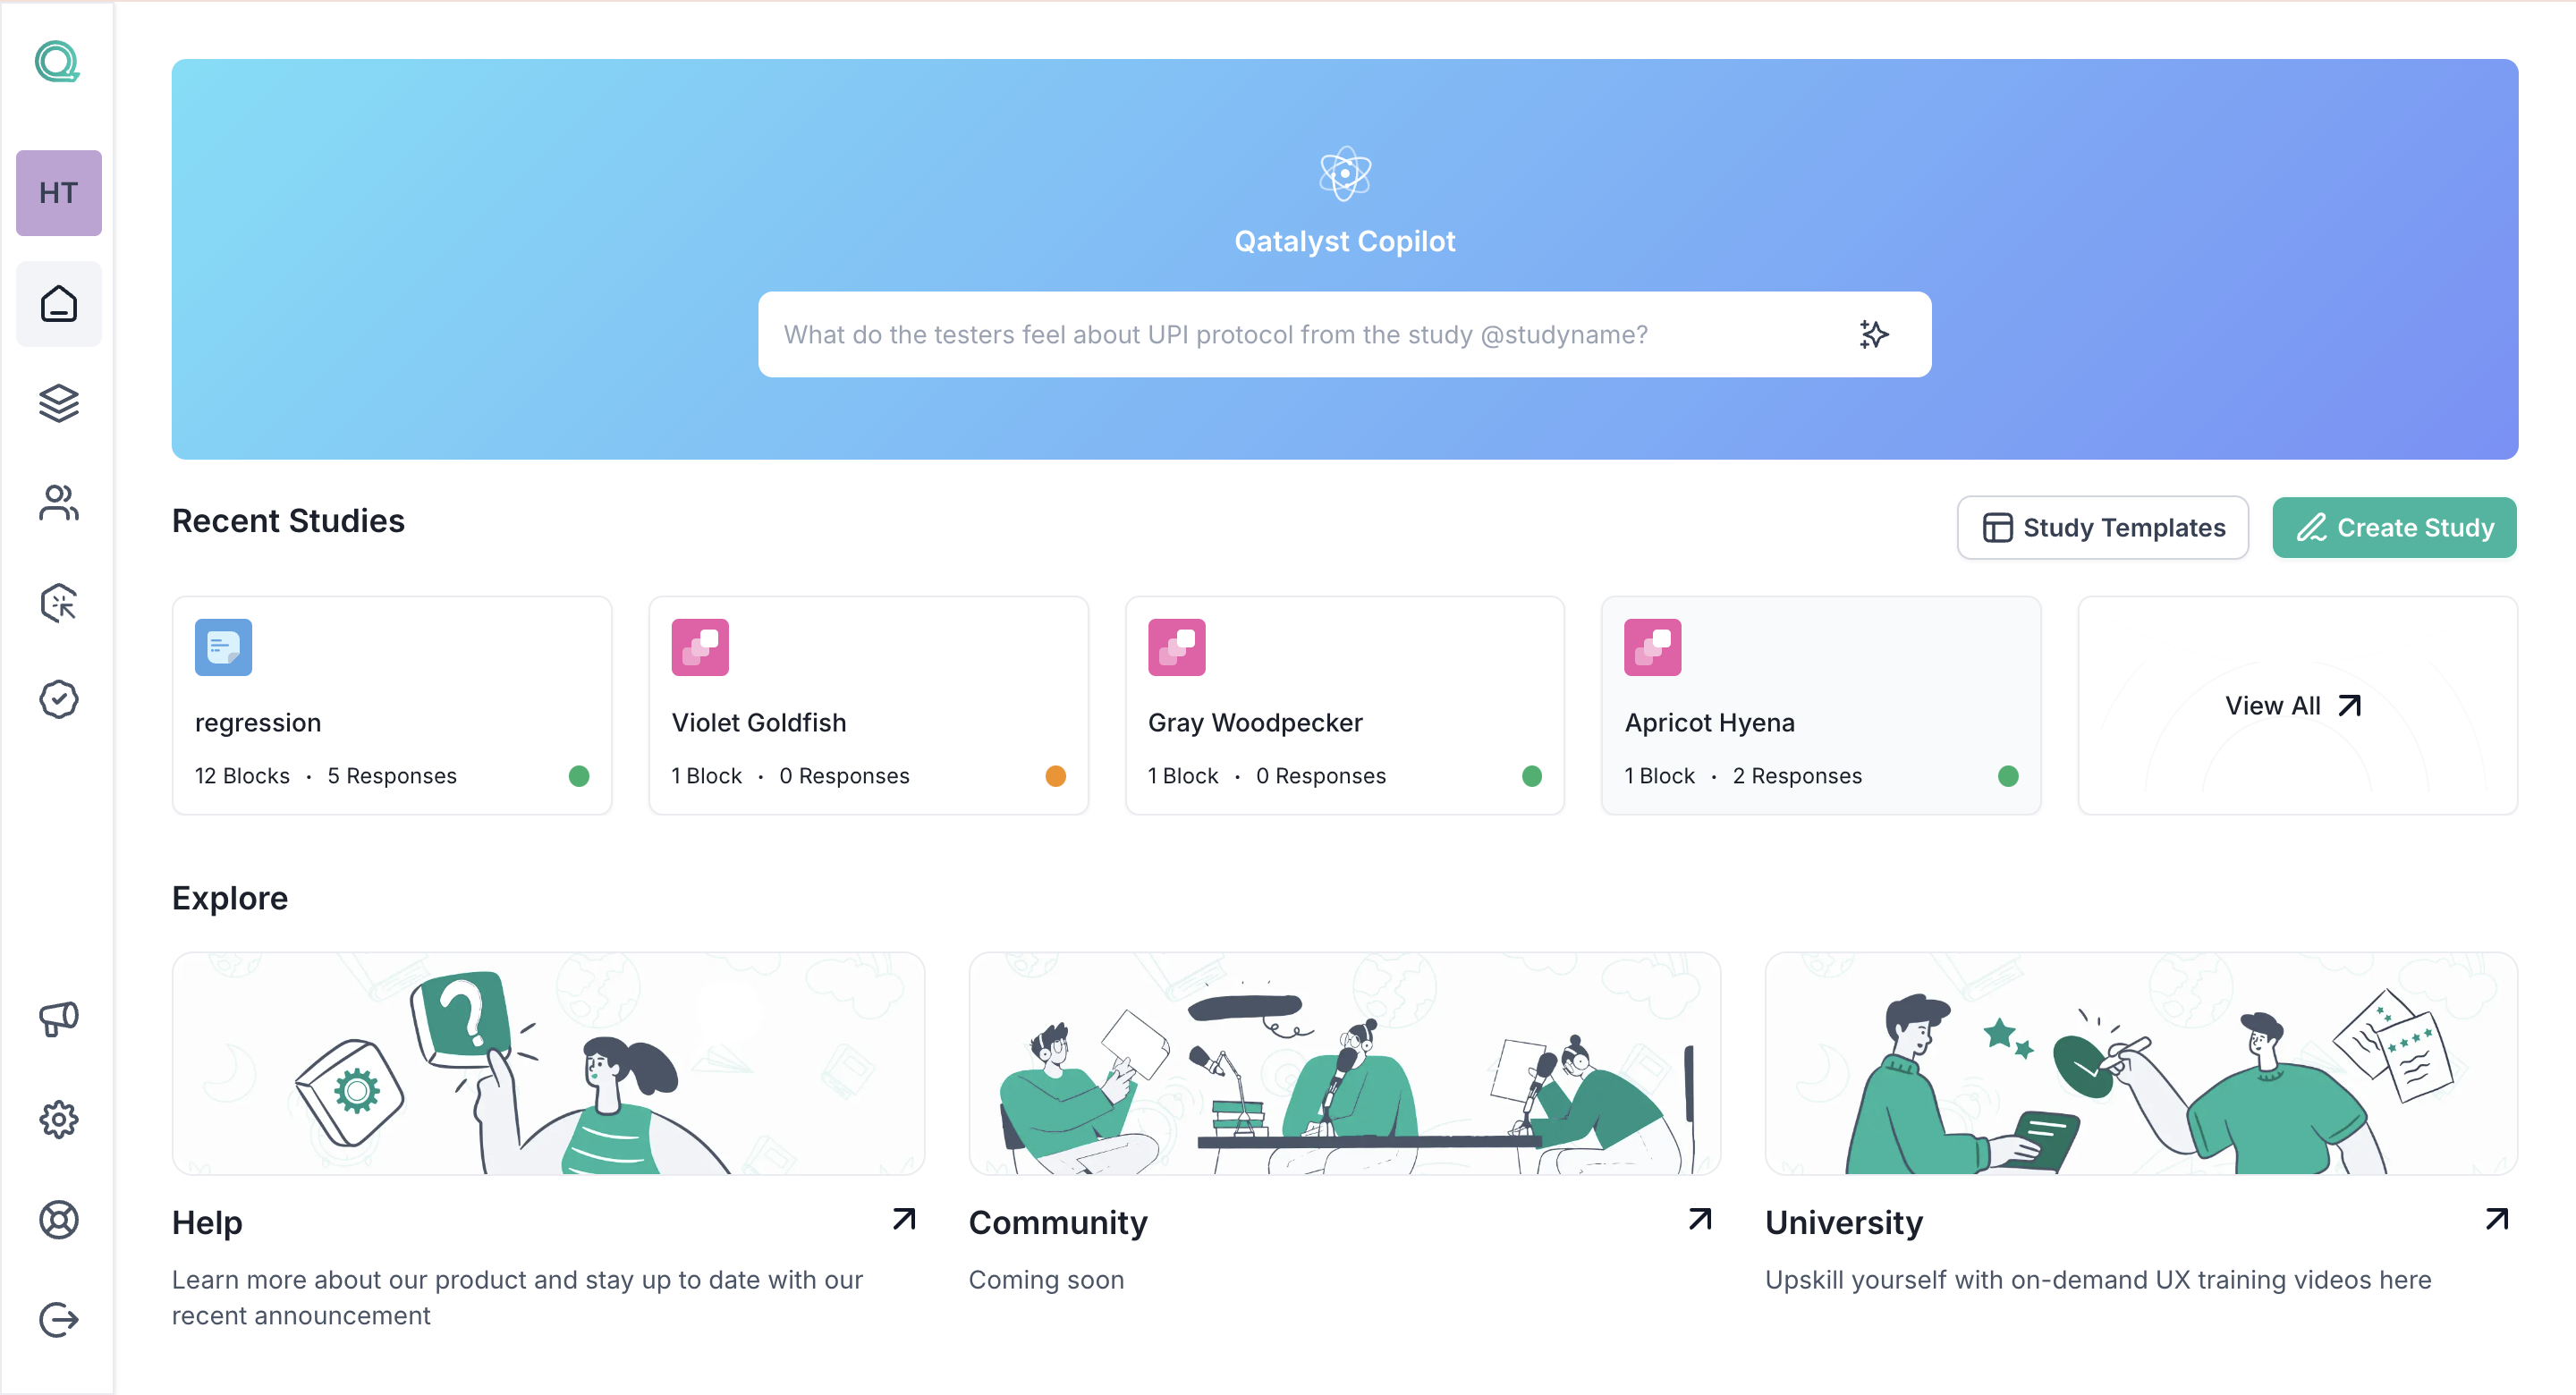
Step 2: Click the “Create Study" button on the dashboard to create a new study.
You can also find the study button on the library page, and the study can be created from there.

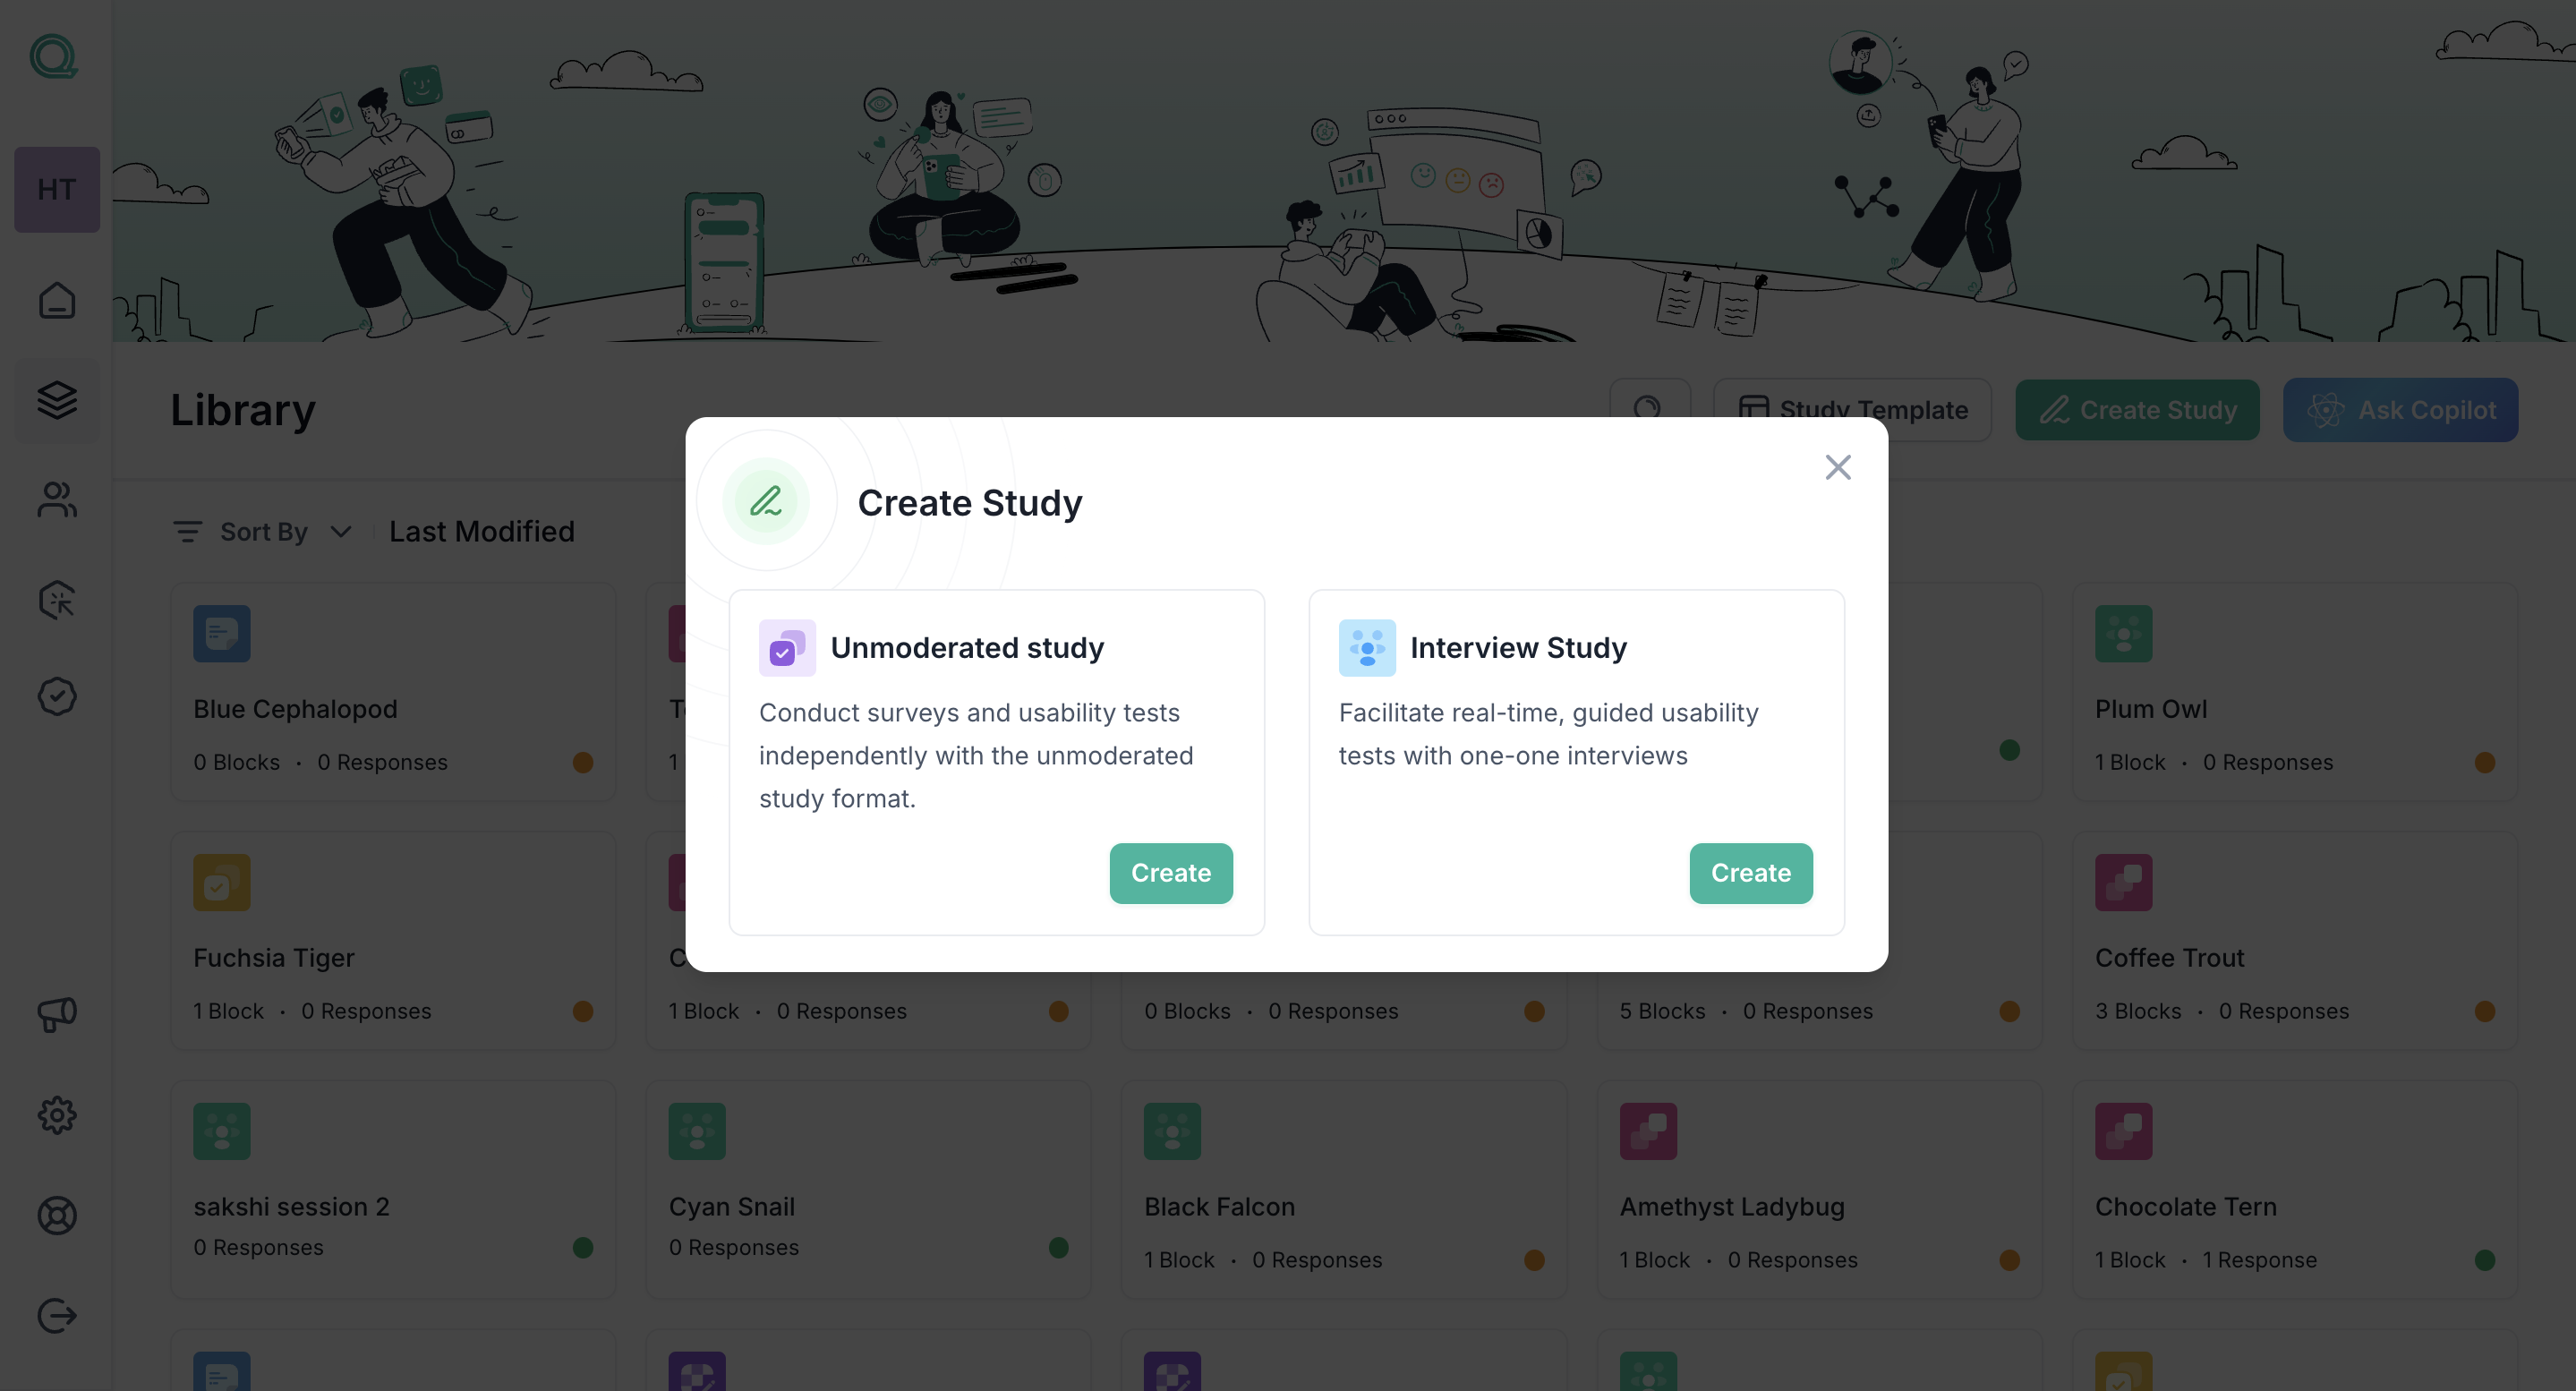
Step 3: After clicking the "Create Study" button, you will be prompted to select either an Unmoderated Study or an Interview Study.
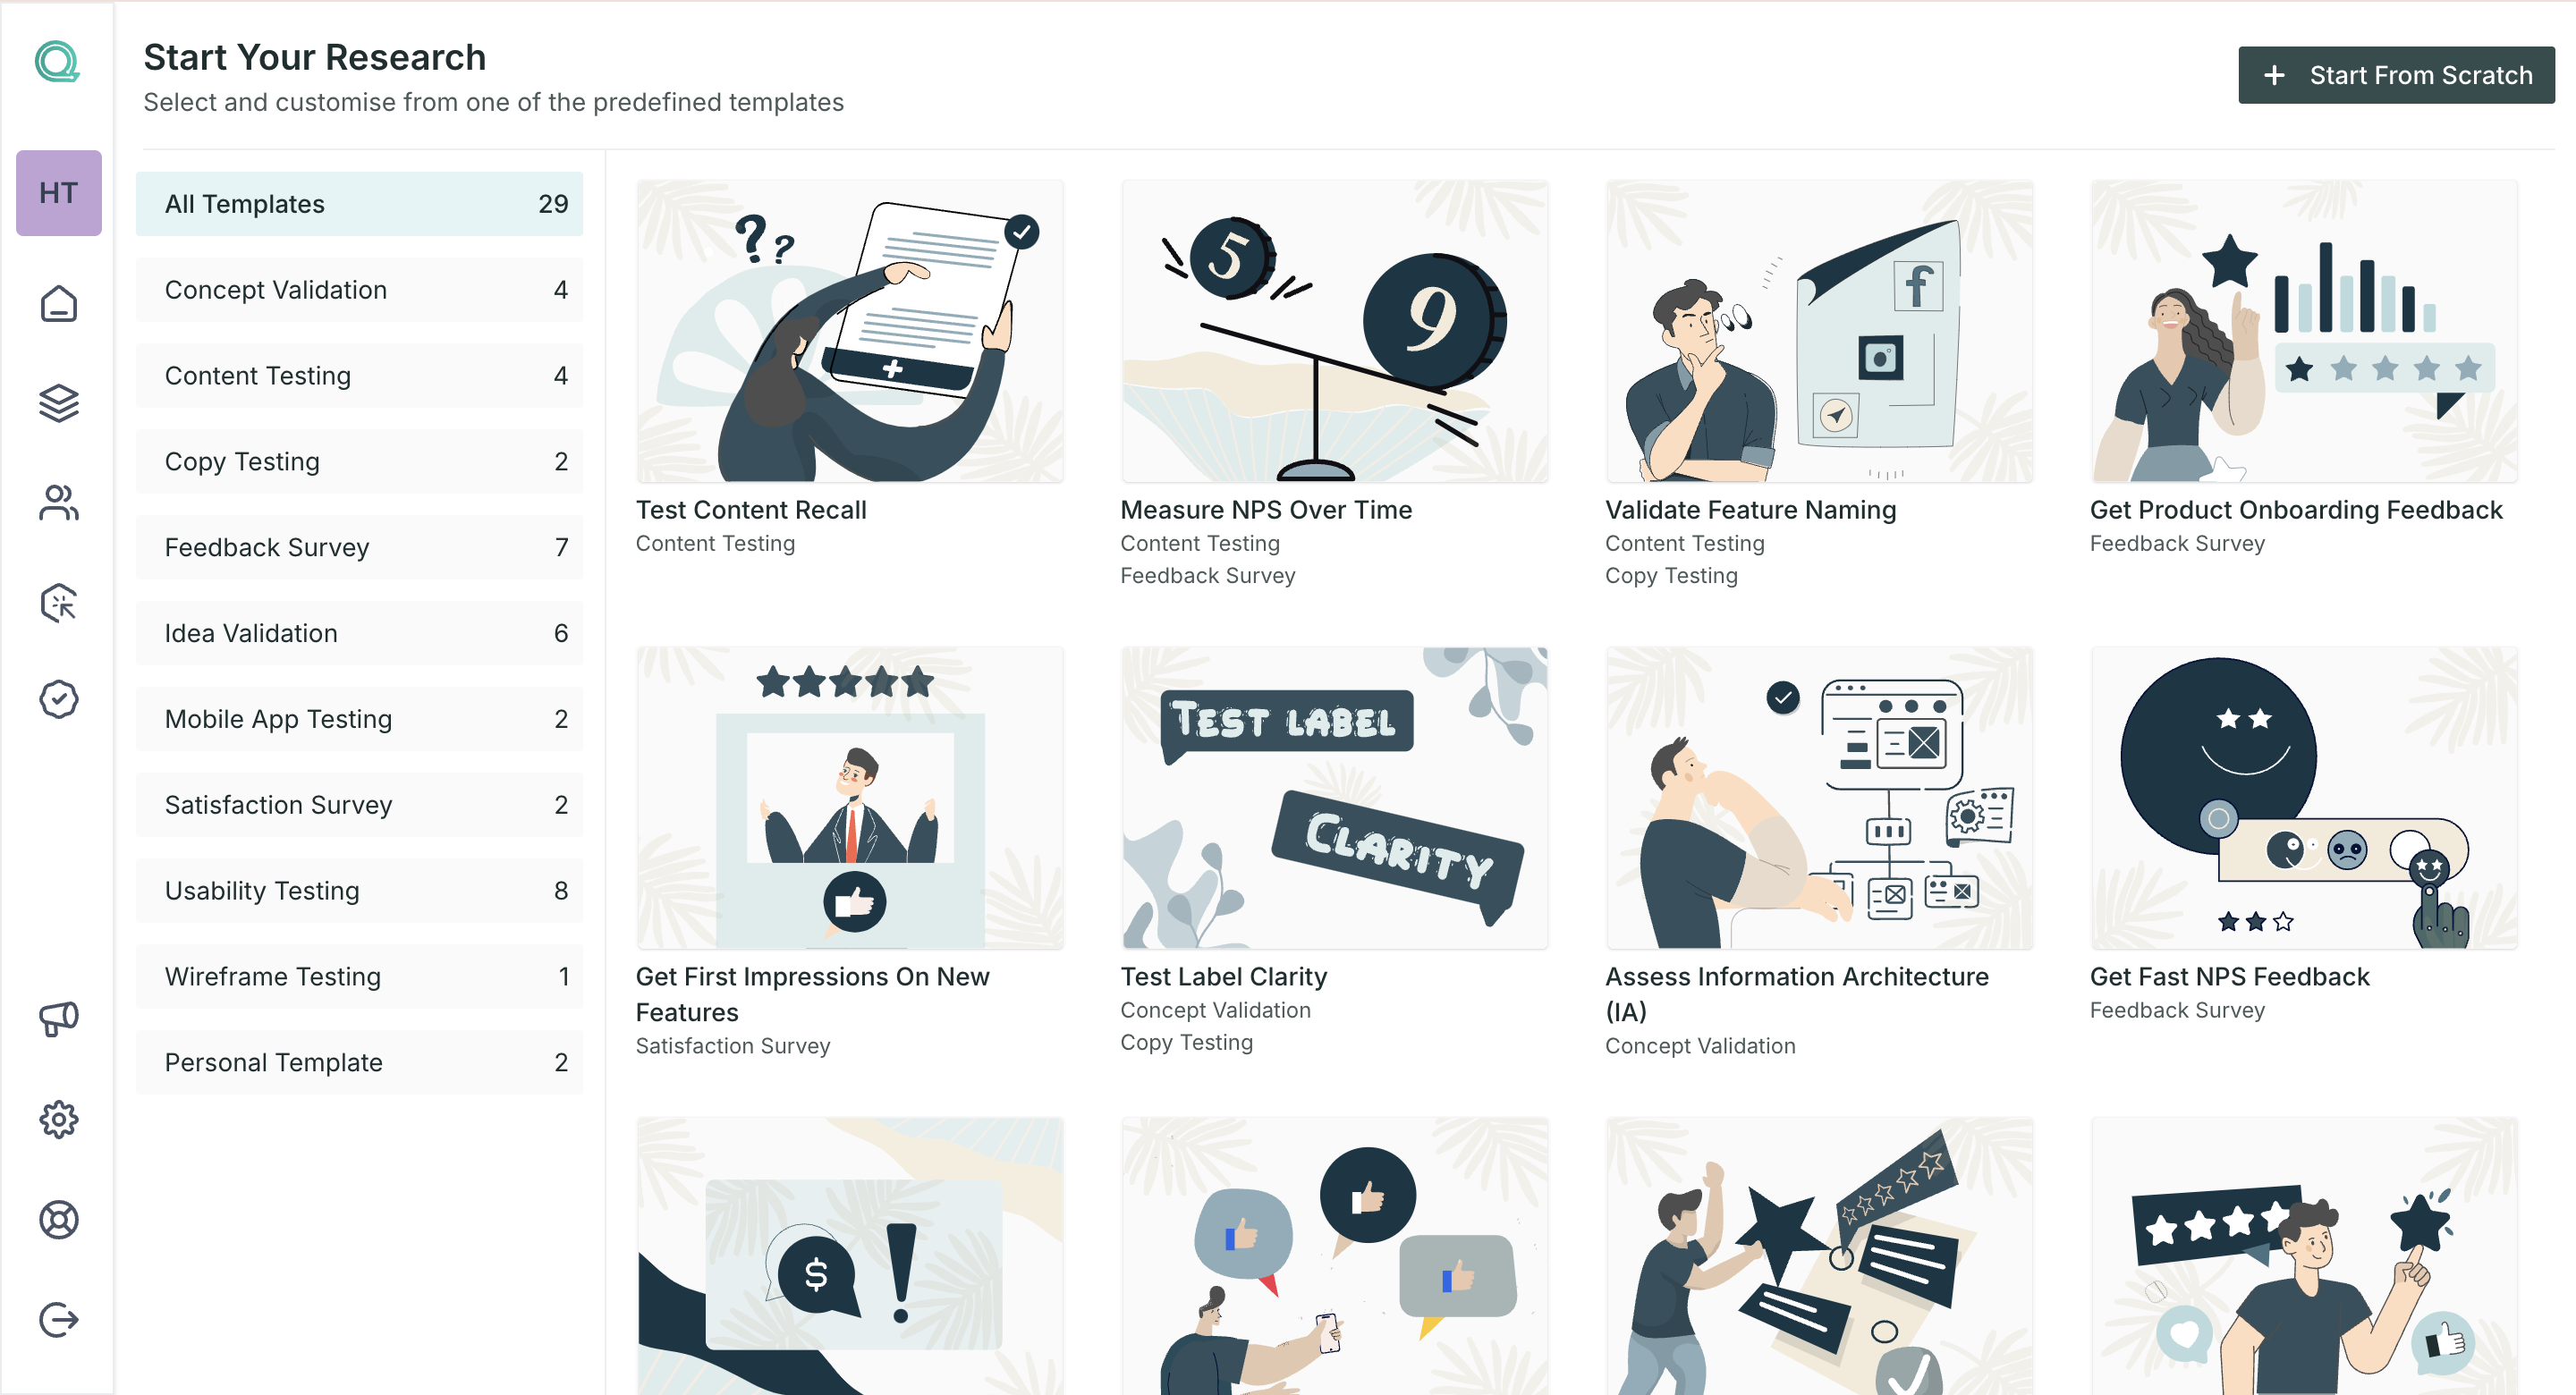
You can choose the "Start From Template" option; if you select this option, you will arrive at the template selection page, where you will find a range of templates to start your study. You can choose any template.
Step 4: Once you select the option, you will be redirected to the study's home page, which you can customize and use as a welcome page for your study.
Step 5: On the welcome page, you can change the layout of the page and the text description.
Tip💡: On the welcome page, you can add some text to welcome the respondents, the purpose of the research, what they can expect from the study, incentive information etc.
Step 6: To add blocks Click on the "+" button from the left navigation panel.
In the block section, you can add the followings:
- Survey Blocks: use these blocks to create questions around your UX research.
- UX Blocks: these blocks can be used to test your UX concepts, like your product design, prototype or website. Performs different tests like A/B testing, 5-second test etc.
Step 7: Once you select any block type, the block will be added, and you can customize the block and its different properties.
Bonus Point🪄: we have an auto-save option available for all the blocks, so every change made by you will be automatically saved.
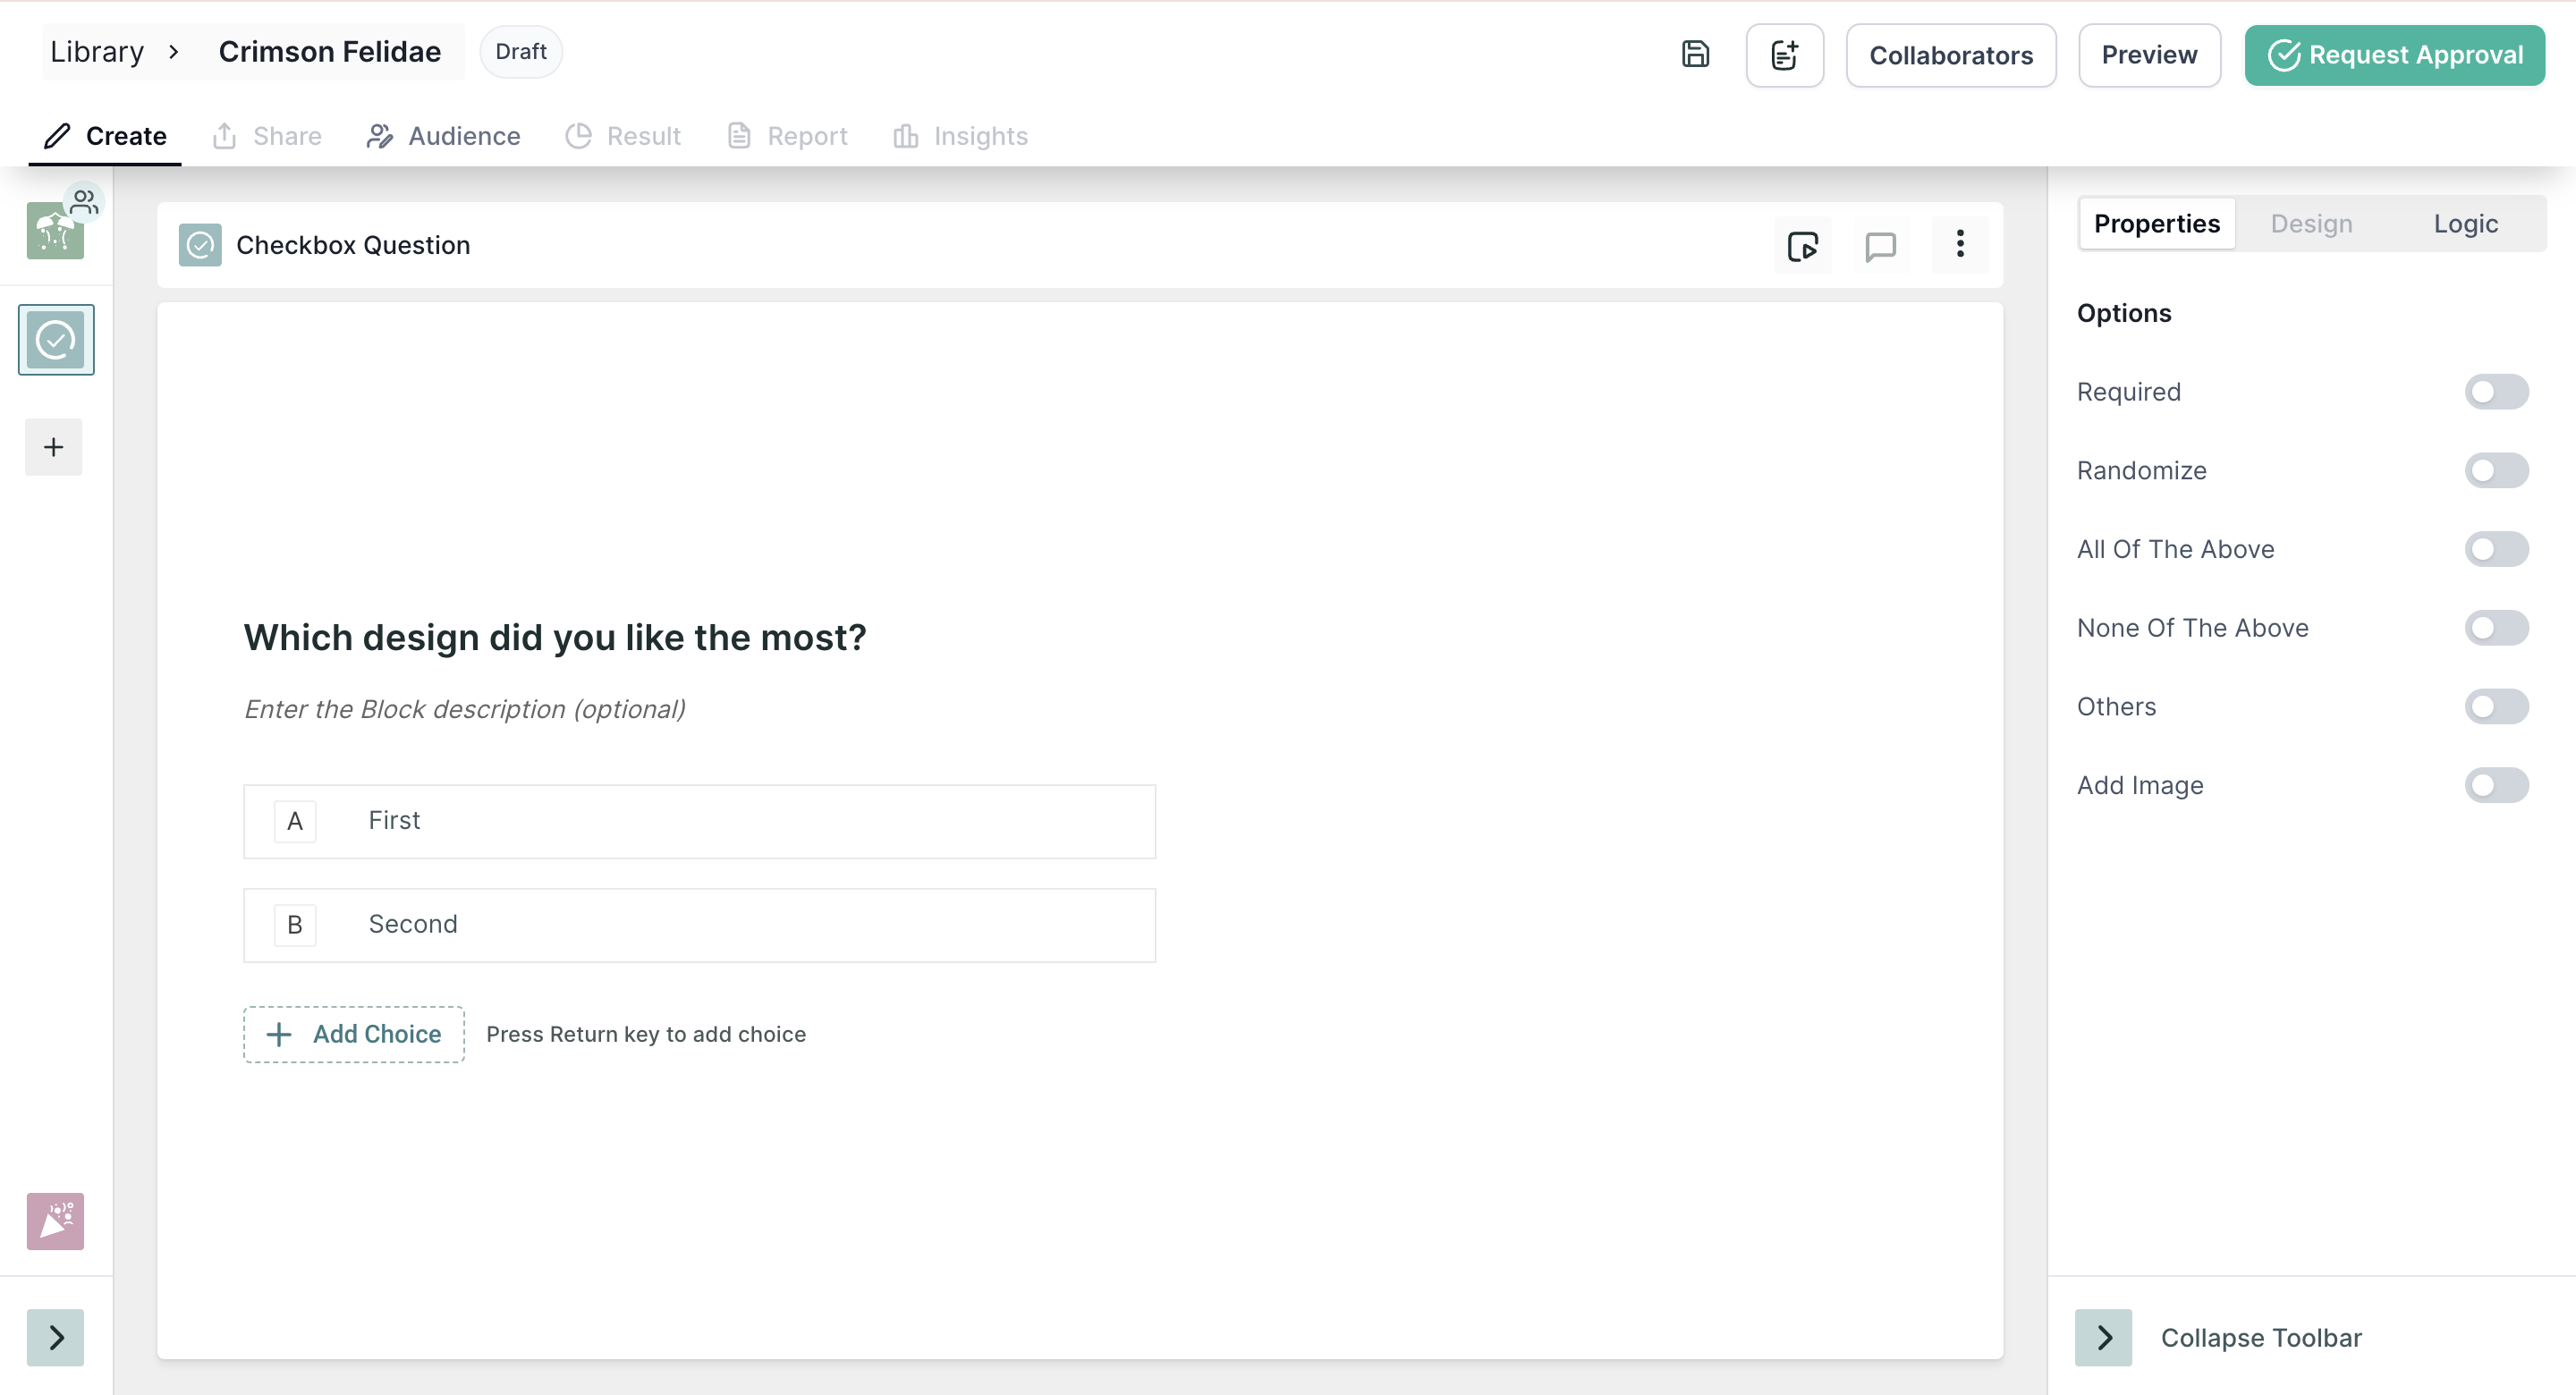
You can add multiple blocks in a study, and the same block can be added multiple times depending on your requirements.
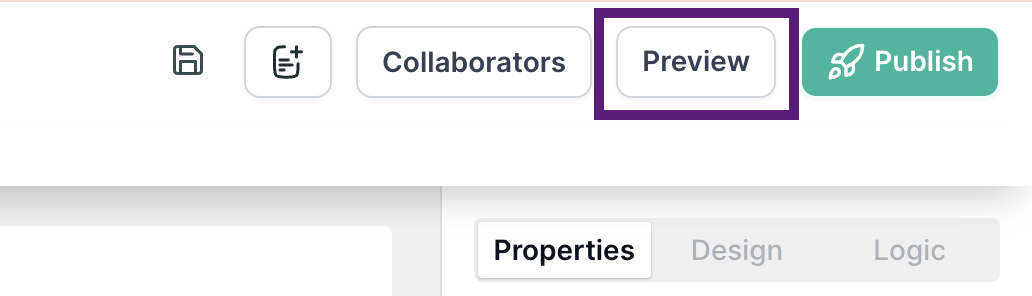
Step 8: Prior to publishing the study, we recommend that you preview it by clicking on the "Preview" button located at the top-right corner of the page. This action will enable you to have an exact view of what respondents will experience while taking the test.
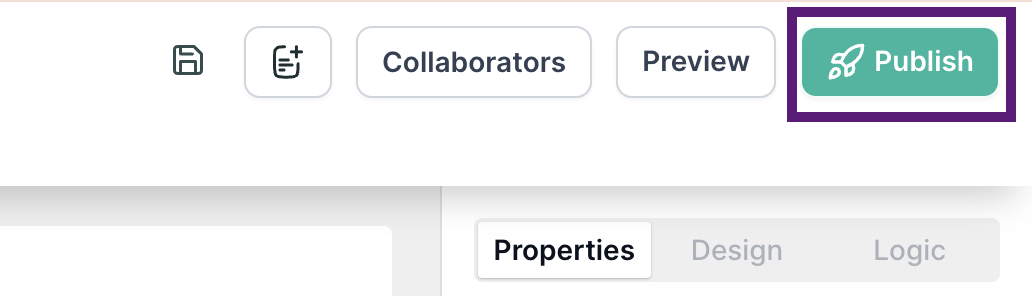
Step 9: Click on the publish button to make the study live.
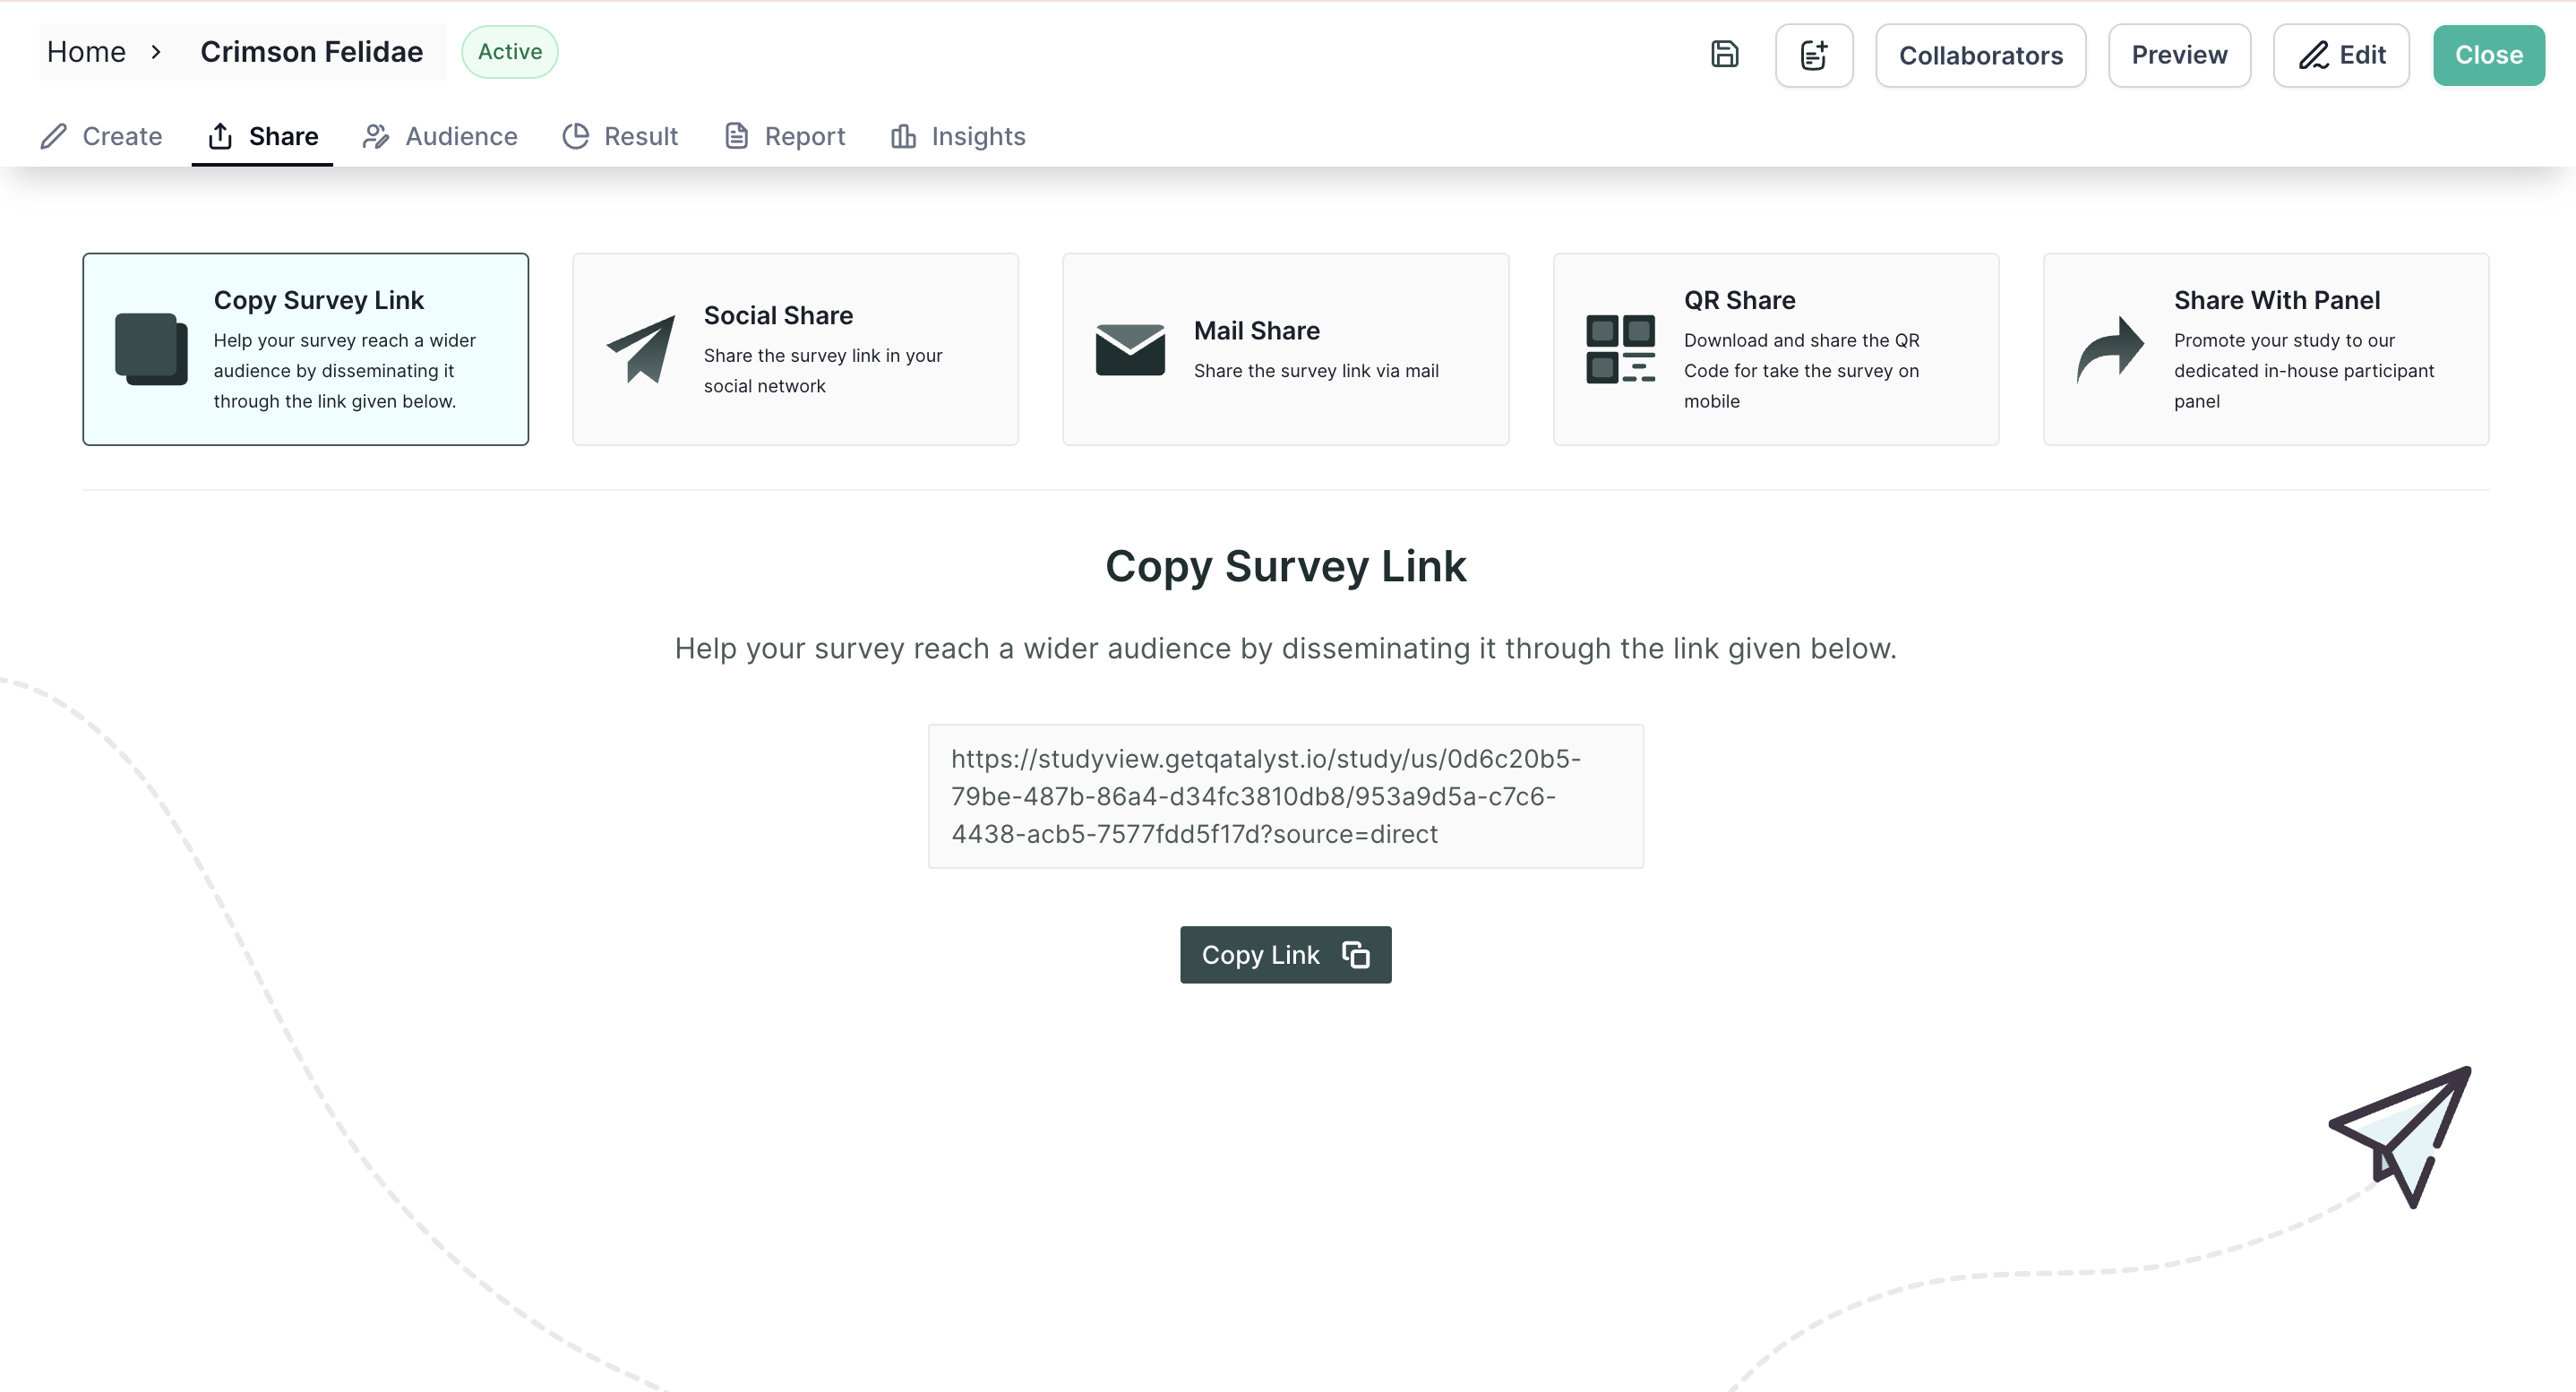
Step 10: Once you publish the study, you will be automatically directed to the share tab, from where you can share the study with the respondents.