Panel Management in Qatalyst - Create your own Panel
With our Panel Management feature, you have the flexibility to build your own custom panel within the platform. This means you can curate a group of individuals who will be your go-to audience for test sharing, whether they are existing Qatalyst users or not.
What is a Panel?
A panel, in the context of Qatalyst, is a selected group of individuals who will participate in your tests. These individuals can be Qatalyst users or non-Qatalyst users, making it a versatile feature for all your testing needs.
You can invite users manually, using an invitation page that you can create using qatalyst or if you have a list just import them!
Creating Your Panel
Here's how to create and manage your own panel in Qatalyst:
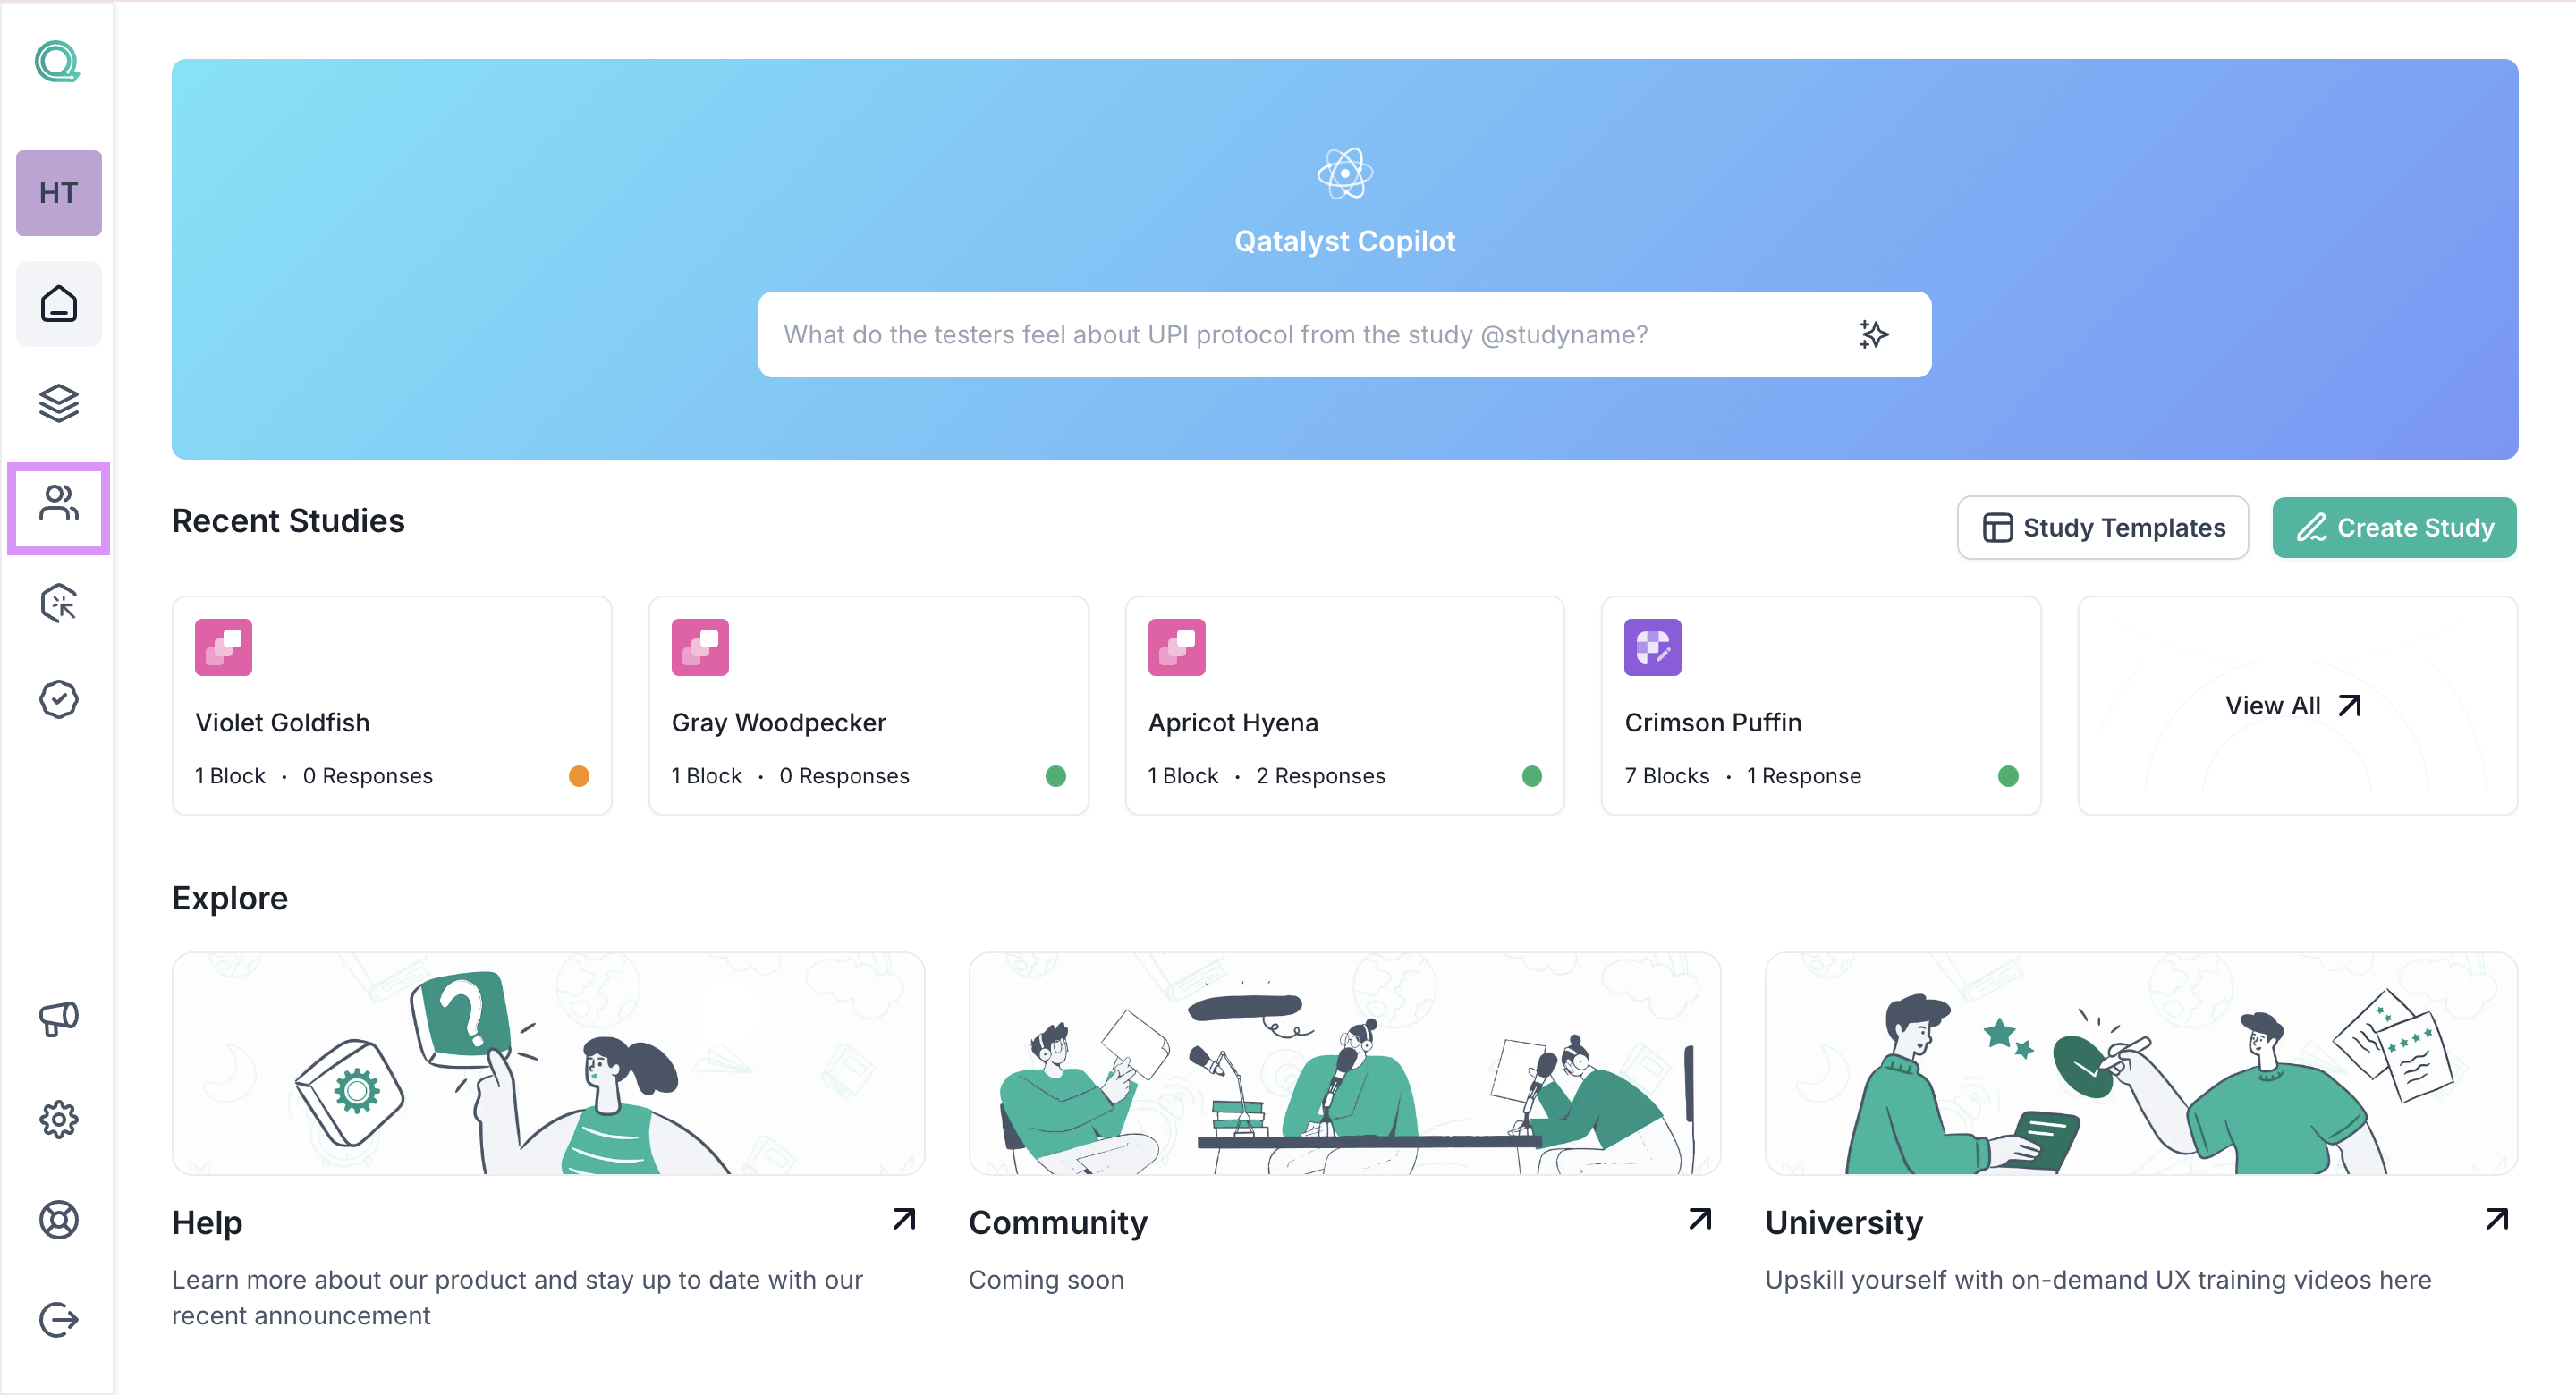
Step 1: Access the Panel Management Feature
- Log in to your Qatalyst account.
- On the navigation panel, look for the "Panel Management" option. Click on it to access the panel management feature.
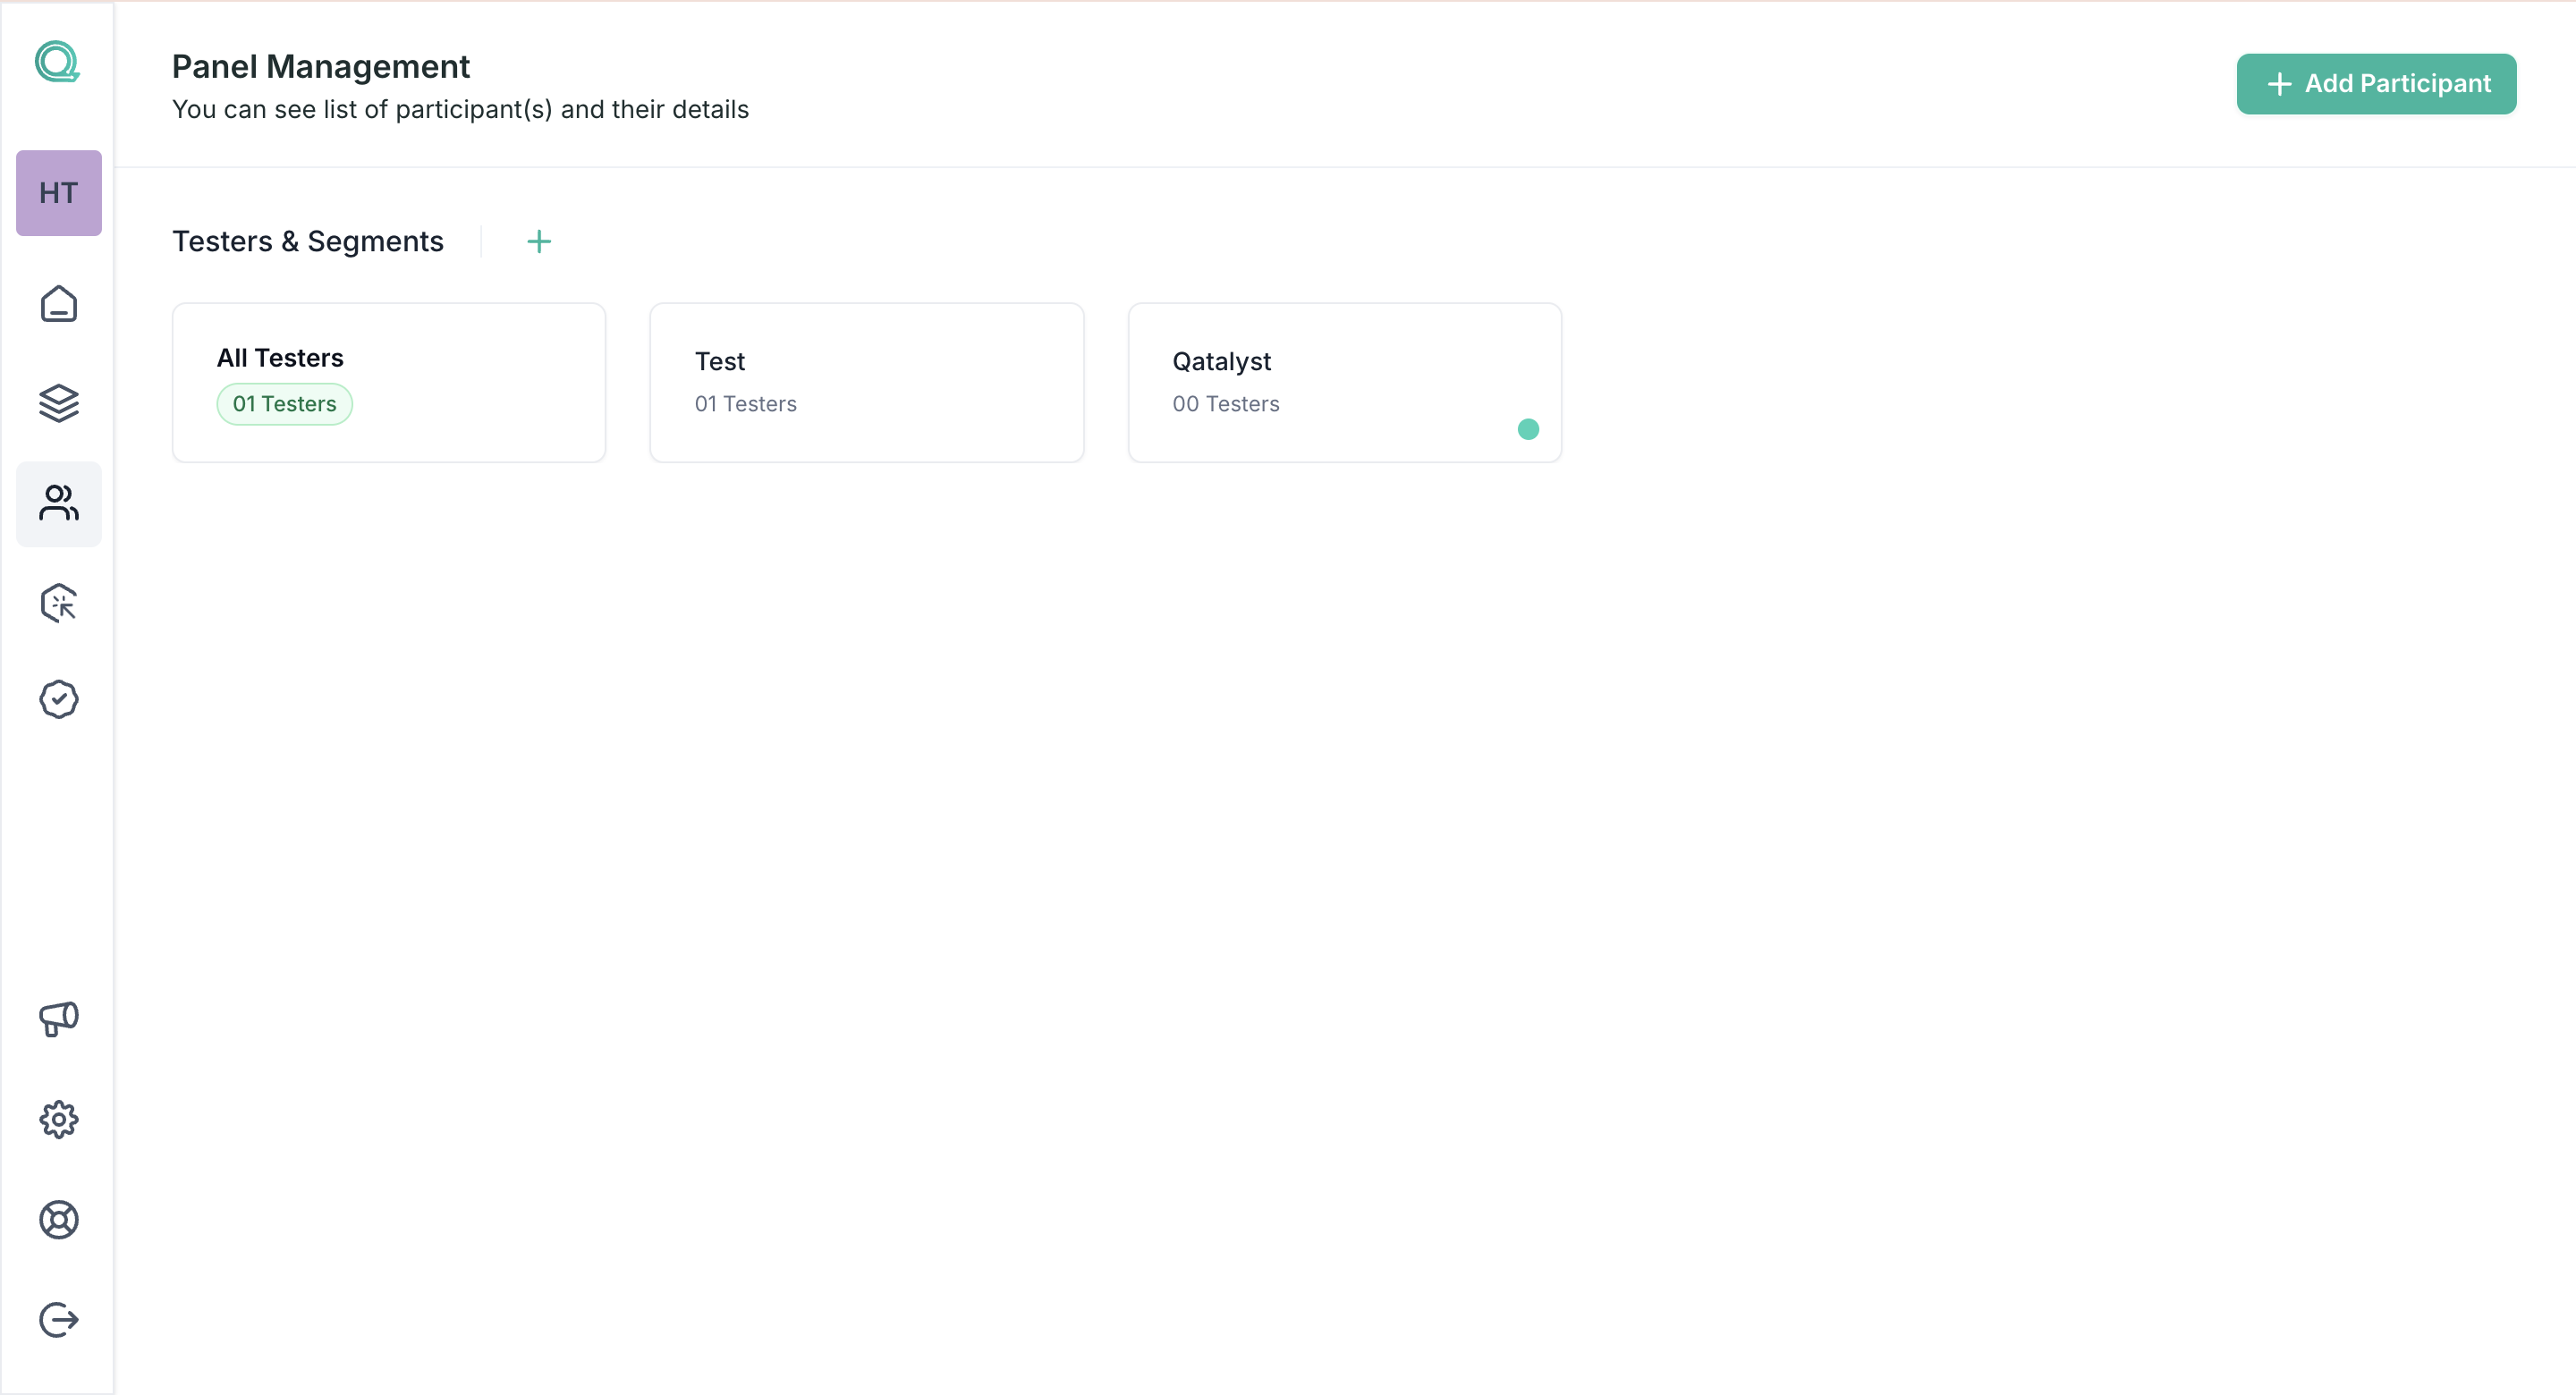
Step 2: Building Your Panel
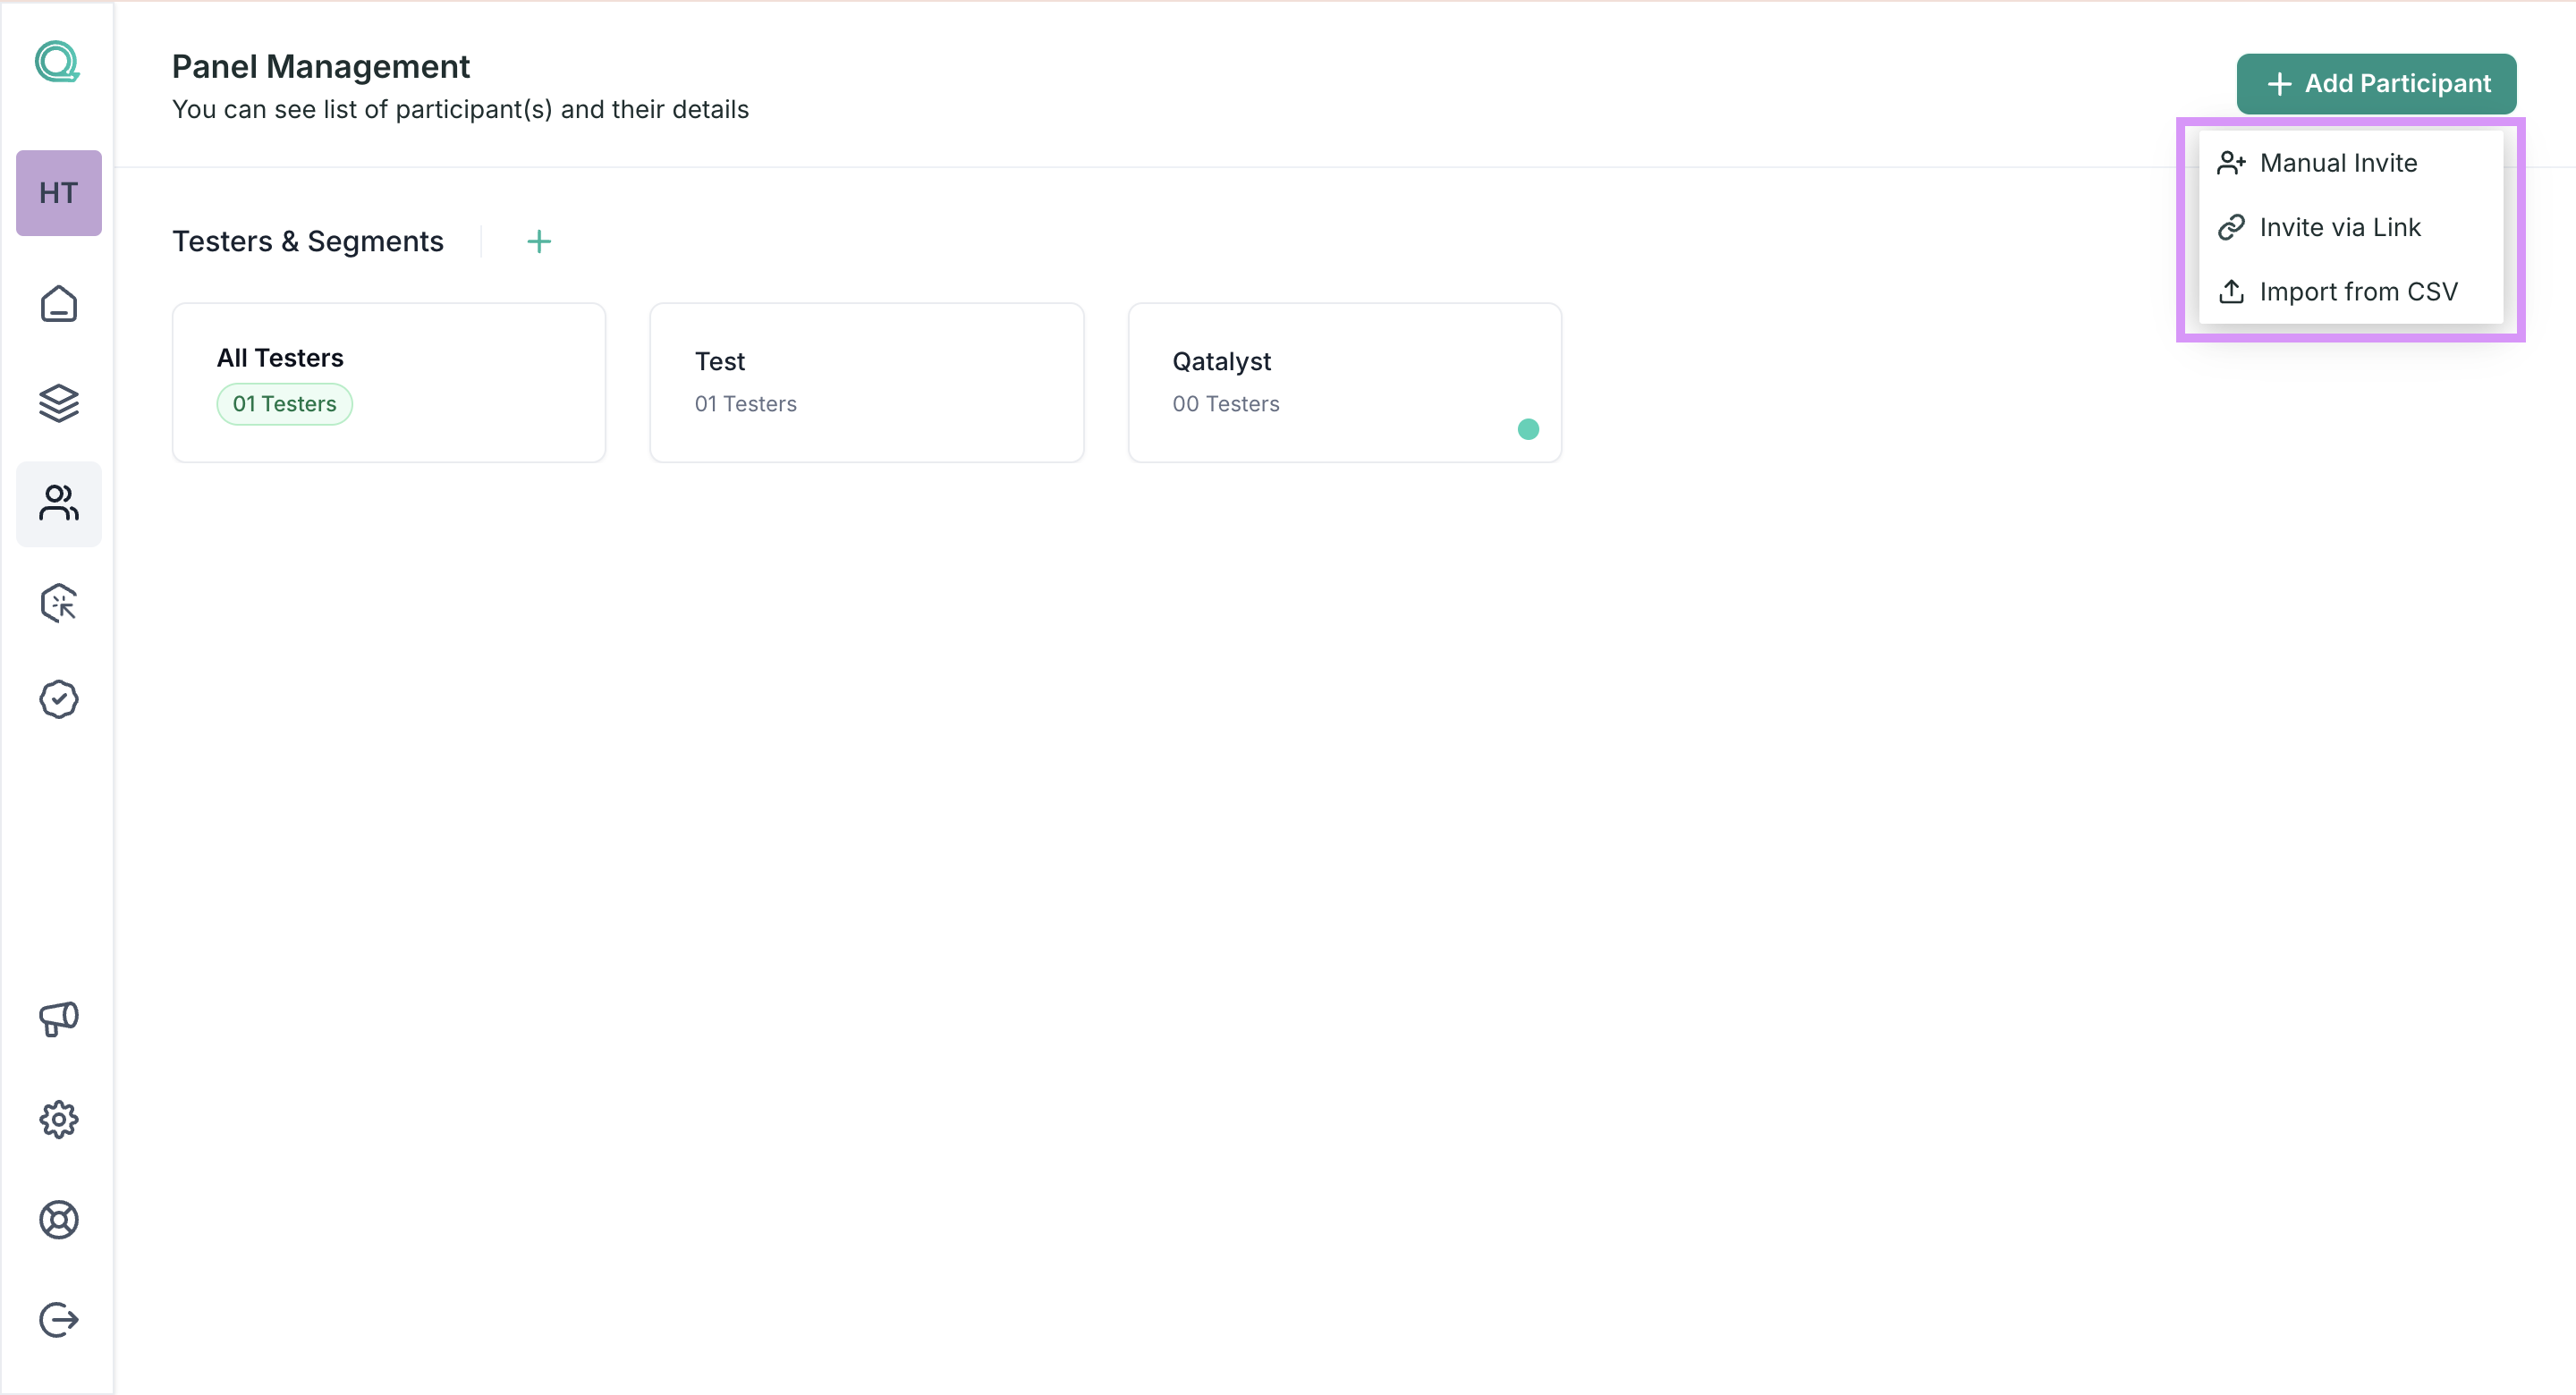
Inside the Panel Management feature, you'll find an option to add participants to your panel. Click on the "Add Participants" button.
Step 3: Inviting Panel Members
Now, it's time to populate your panel with the users you want to invite. Qatalyst offers three convenient methods for doing this:
- Manual Invite
- Invite via Link
- Import from CSV
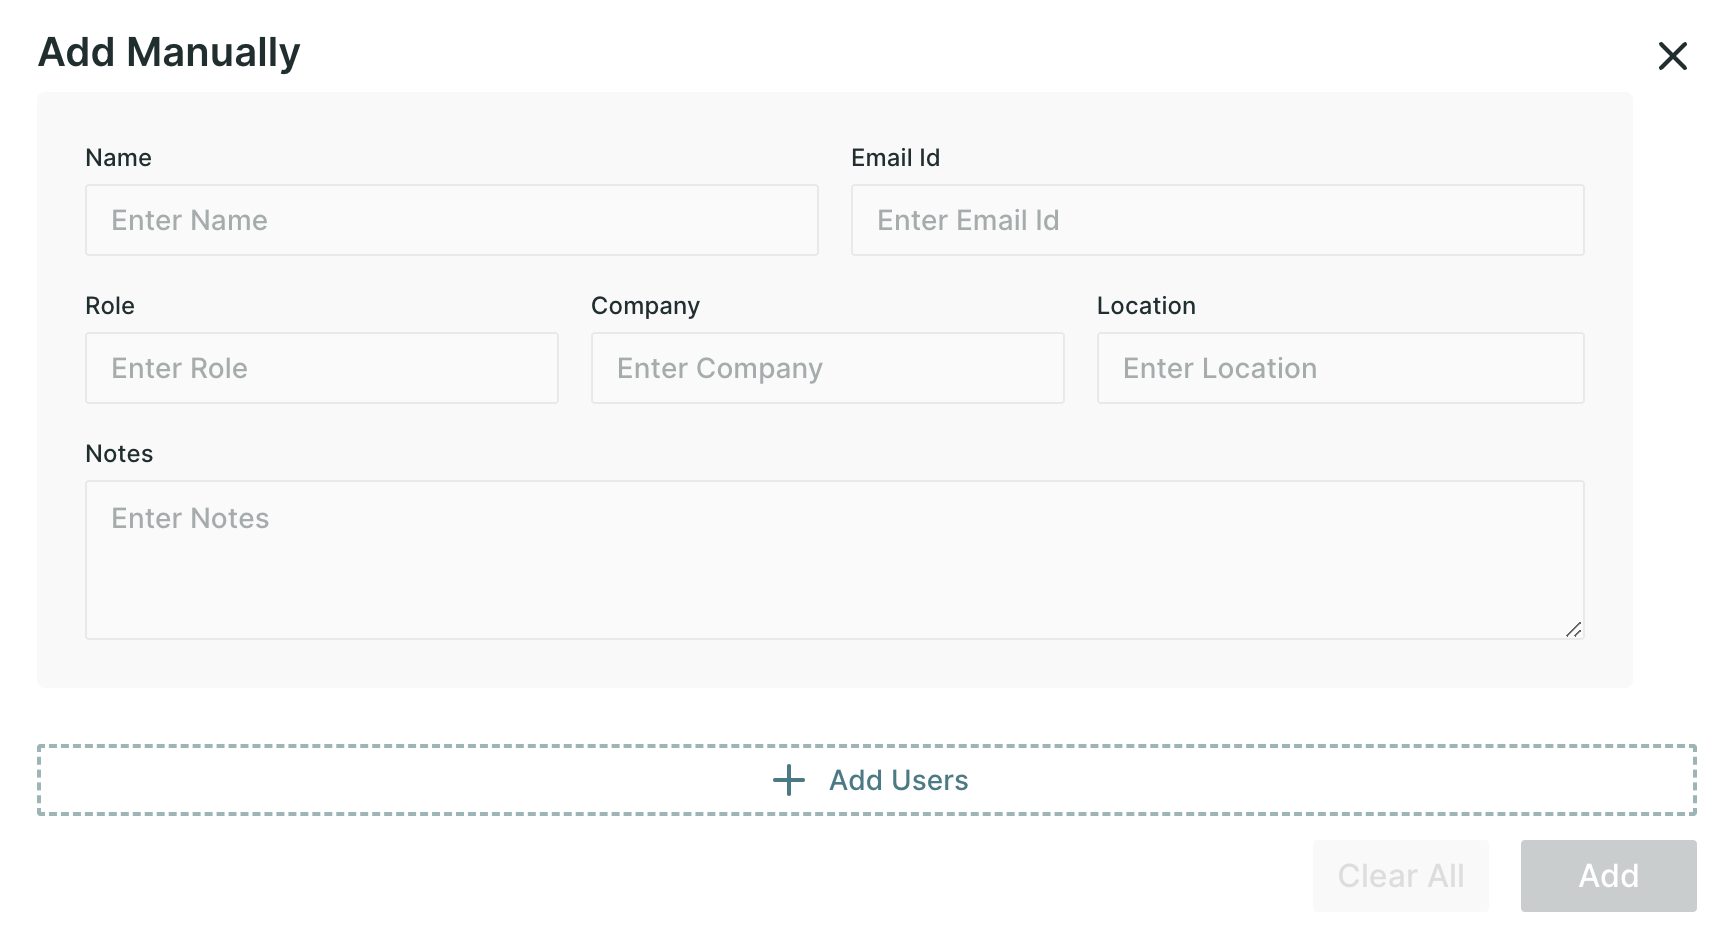
Enter the basic details like the name, email address, role, company and location of the users you want to invite. You can invite multiple users at once, and then send the invitations.
Method 2: Invite via Link
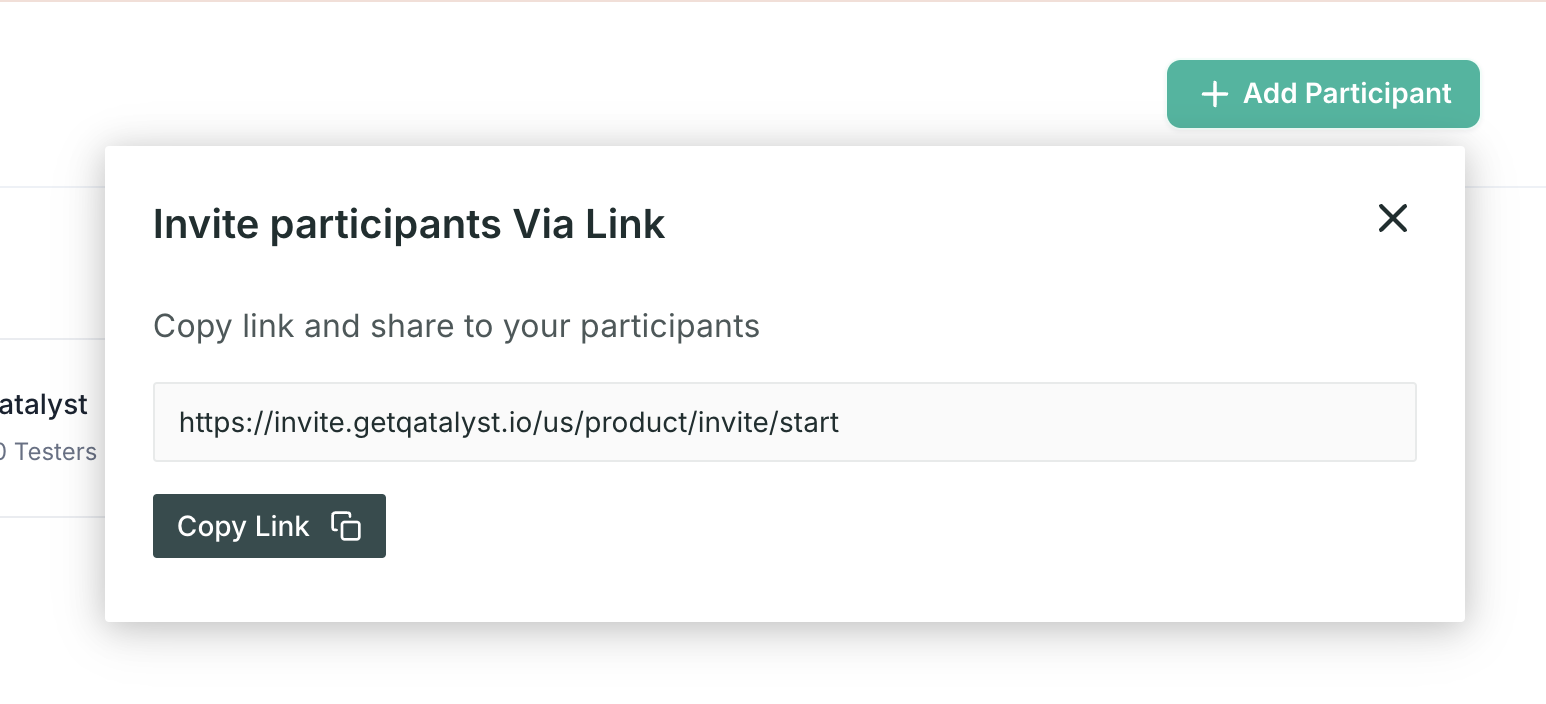
In the Qatalyst platform itself, you can create a webpage for inviting users by adding your personal branding or messages.
While inviting the participants you can directly share the link with the people you want to invite.
Method 3: Importing Users
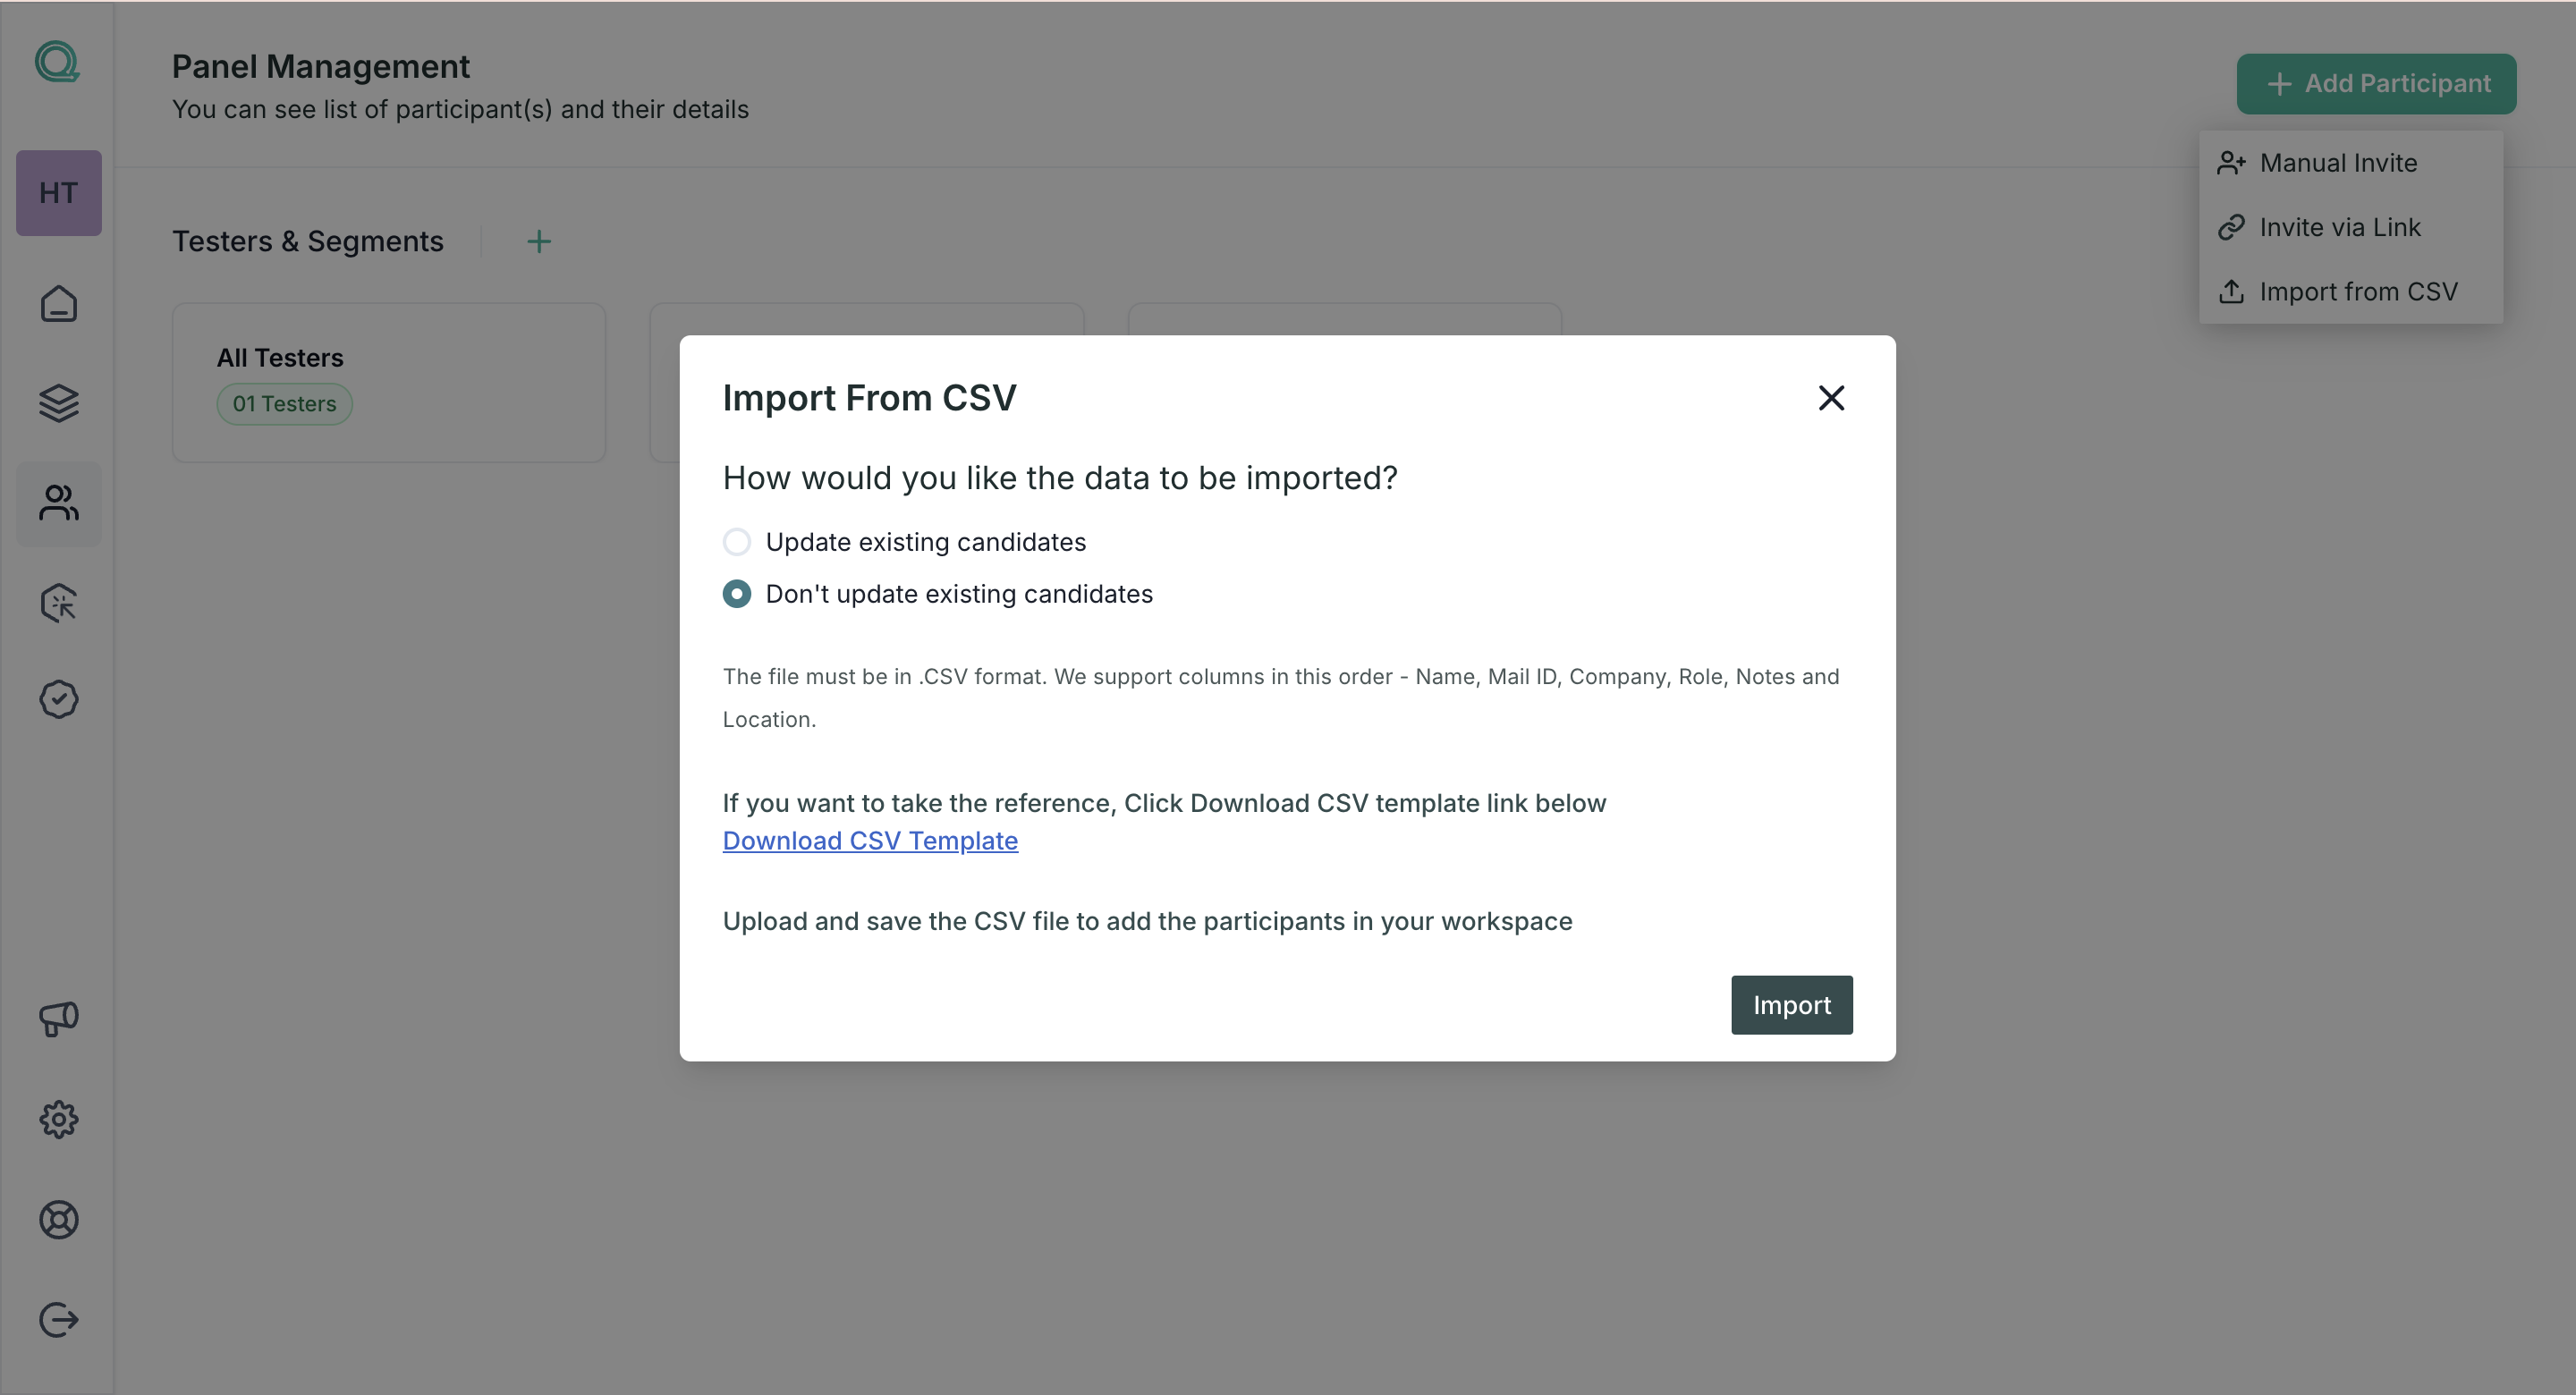
If you have a list of users you'd like to invite, Qatalyst makes it easy to import them. Click on the "Import From CSV" option.
Follow the prompts to upload your user list. After successful upload, the users will be added to the panel.
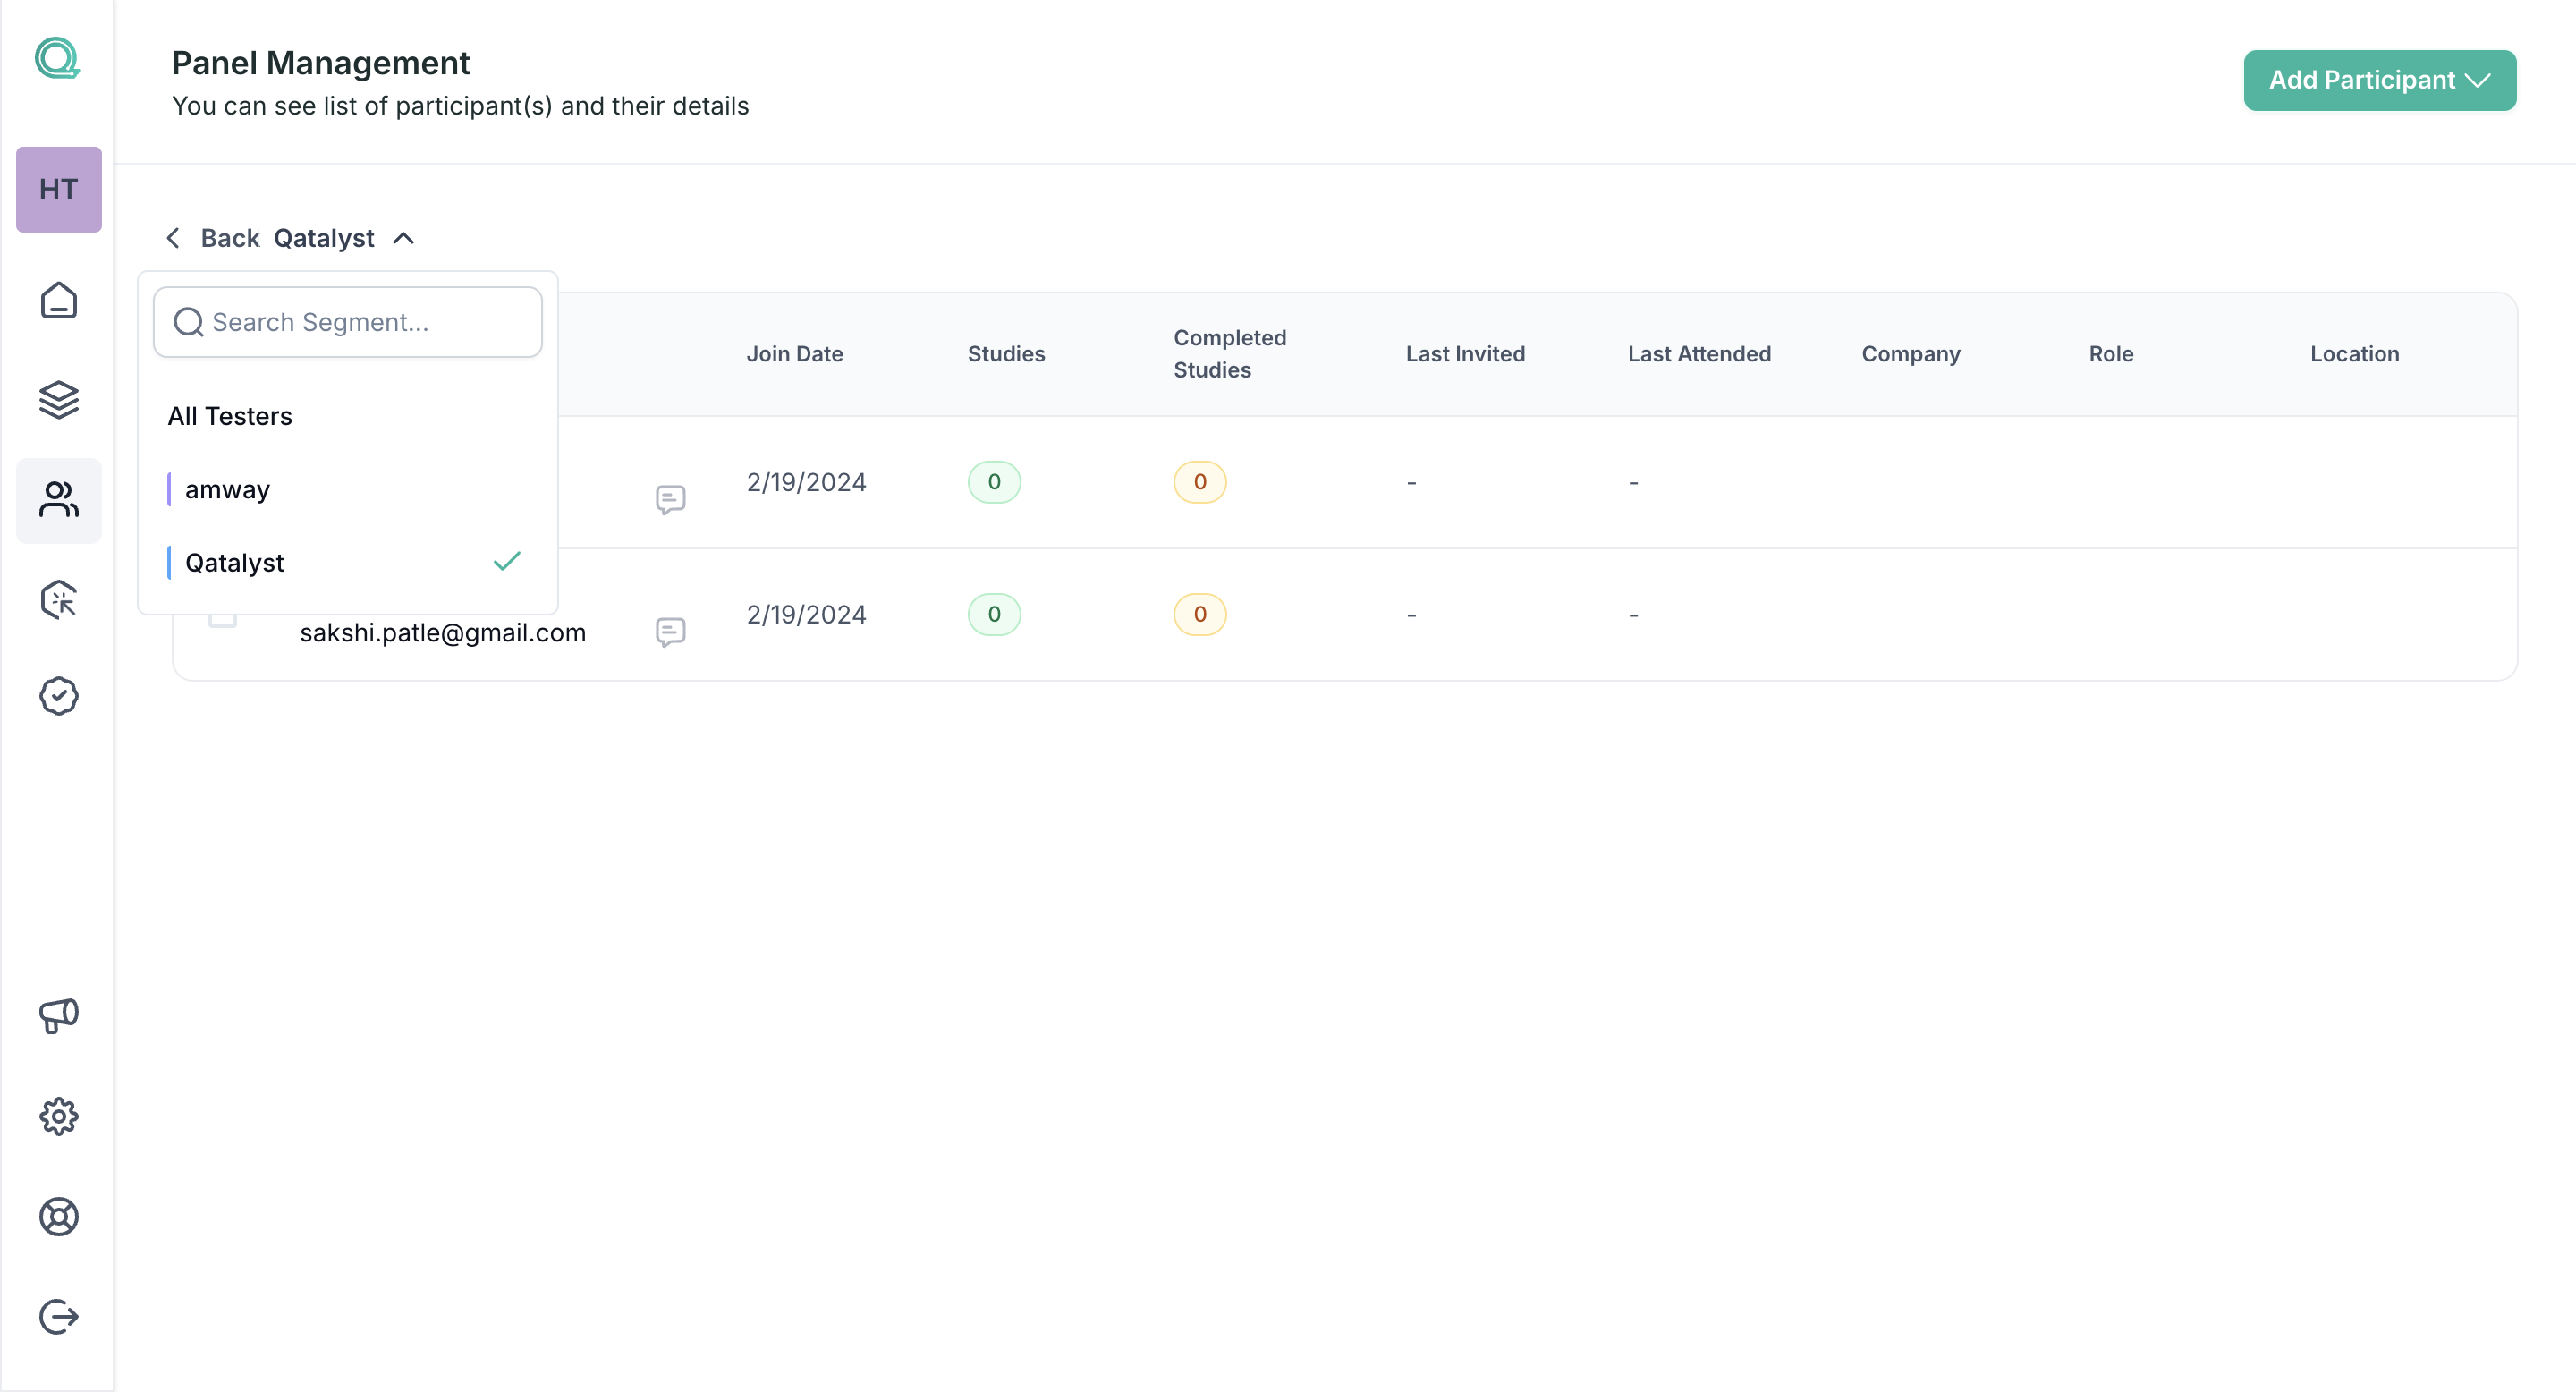
Step 4: Managing Your Panel
Once you've created your panel and invited members, you can easily manage it from the Panel Management section. This includes adding, updating or removing users.
With Qatalyst's Panel Management feature, creating and managing your own panel has never been more straightforward. You have full control over who participates in your tests, allowing you to tailor your testing experience to your specific needs.
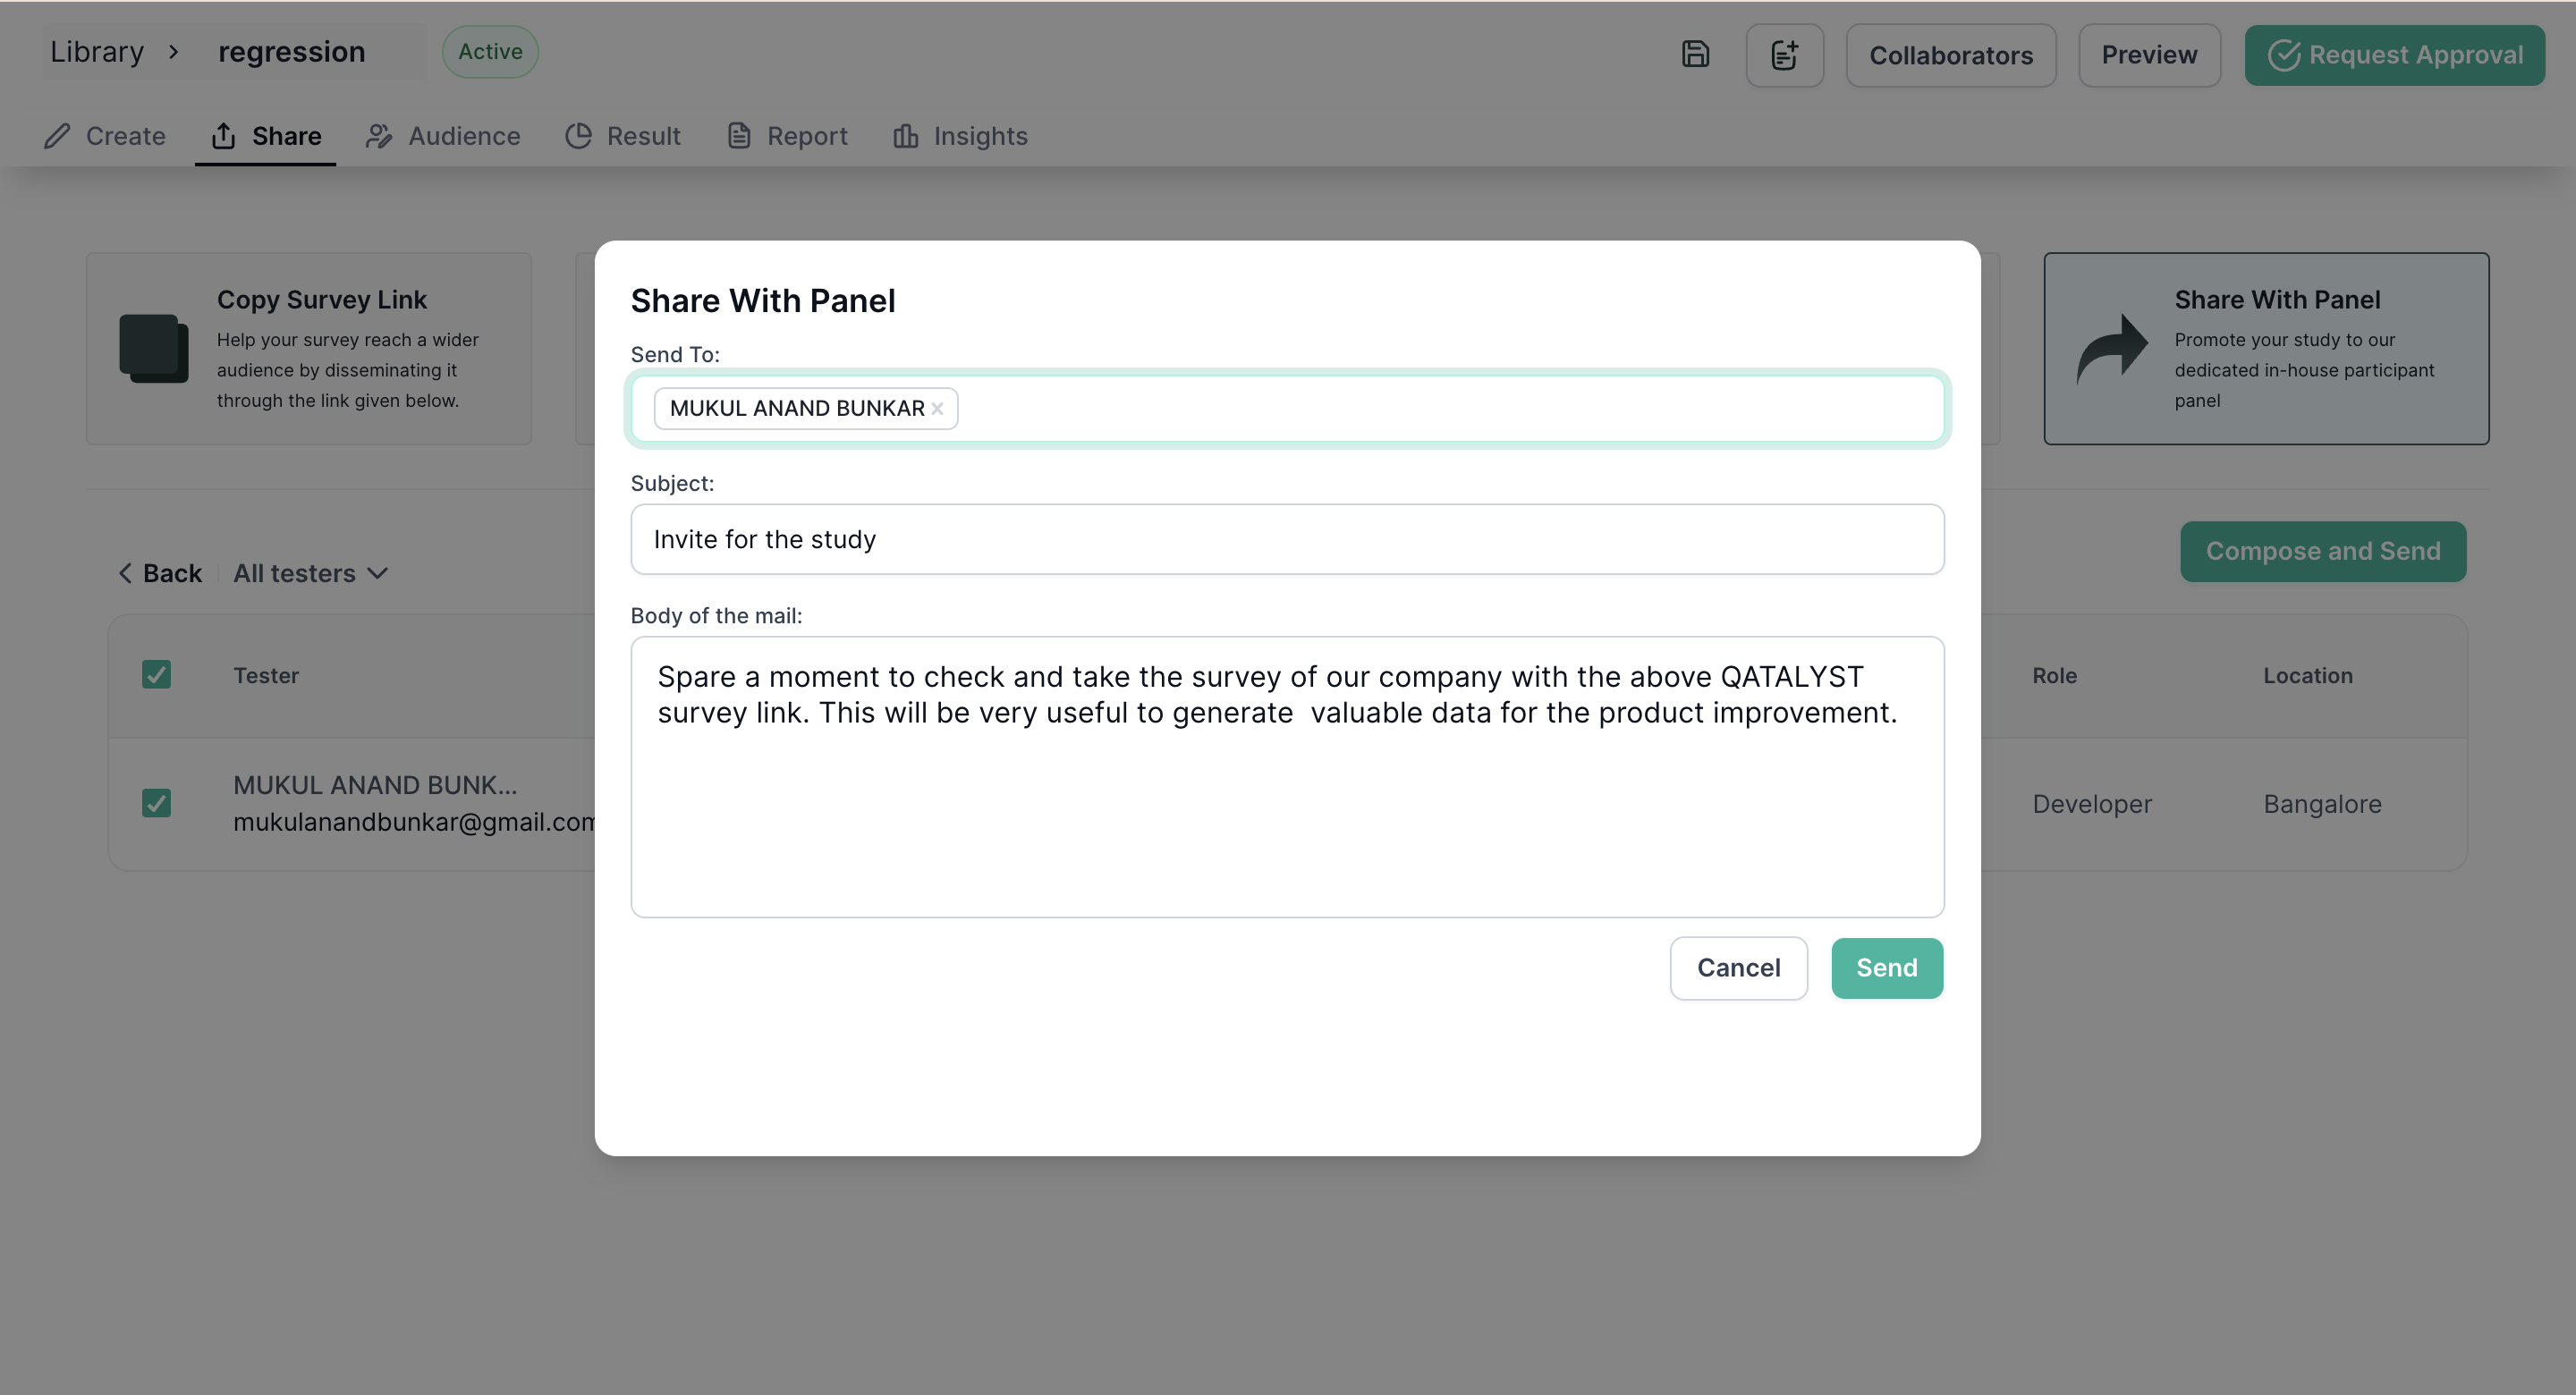
How to share tests with your panel?
While sharing the test using the share tab, you will find an additional option for sharing it on your panel.
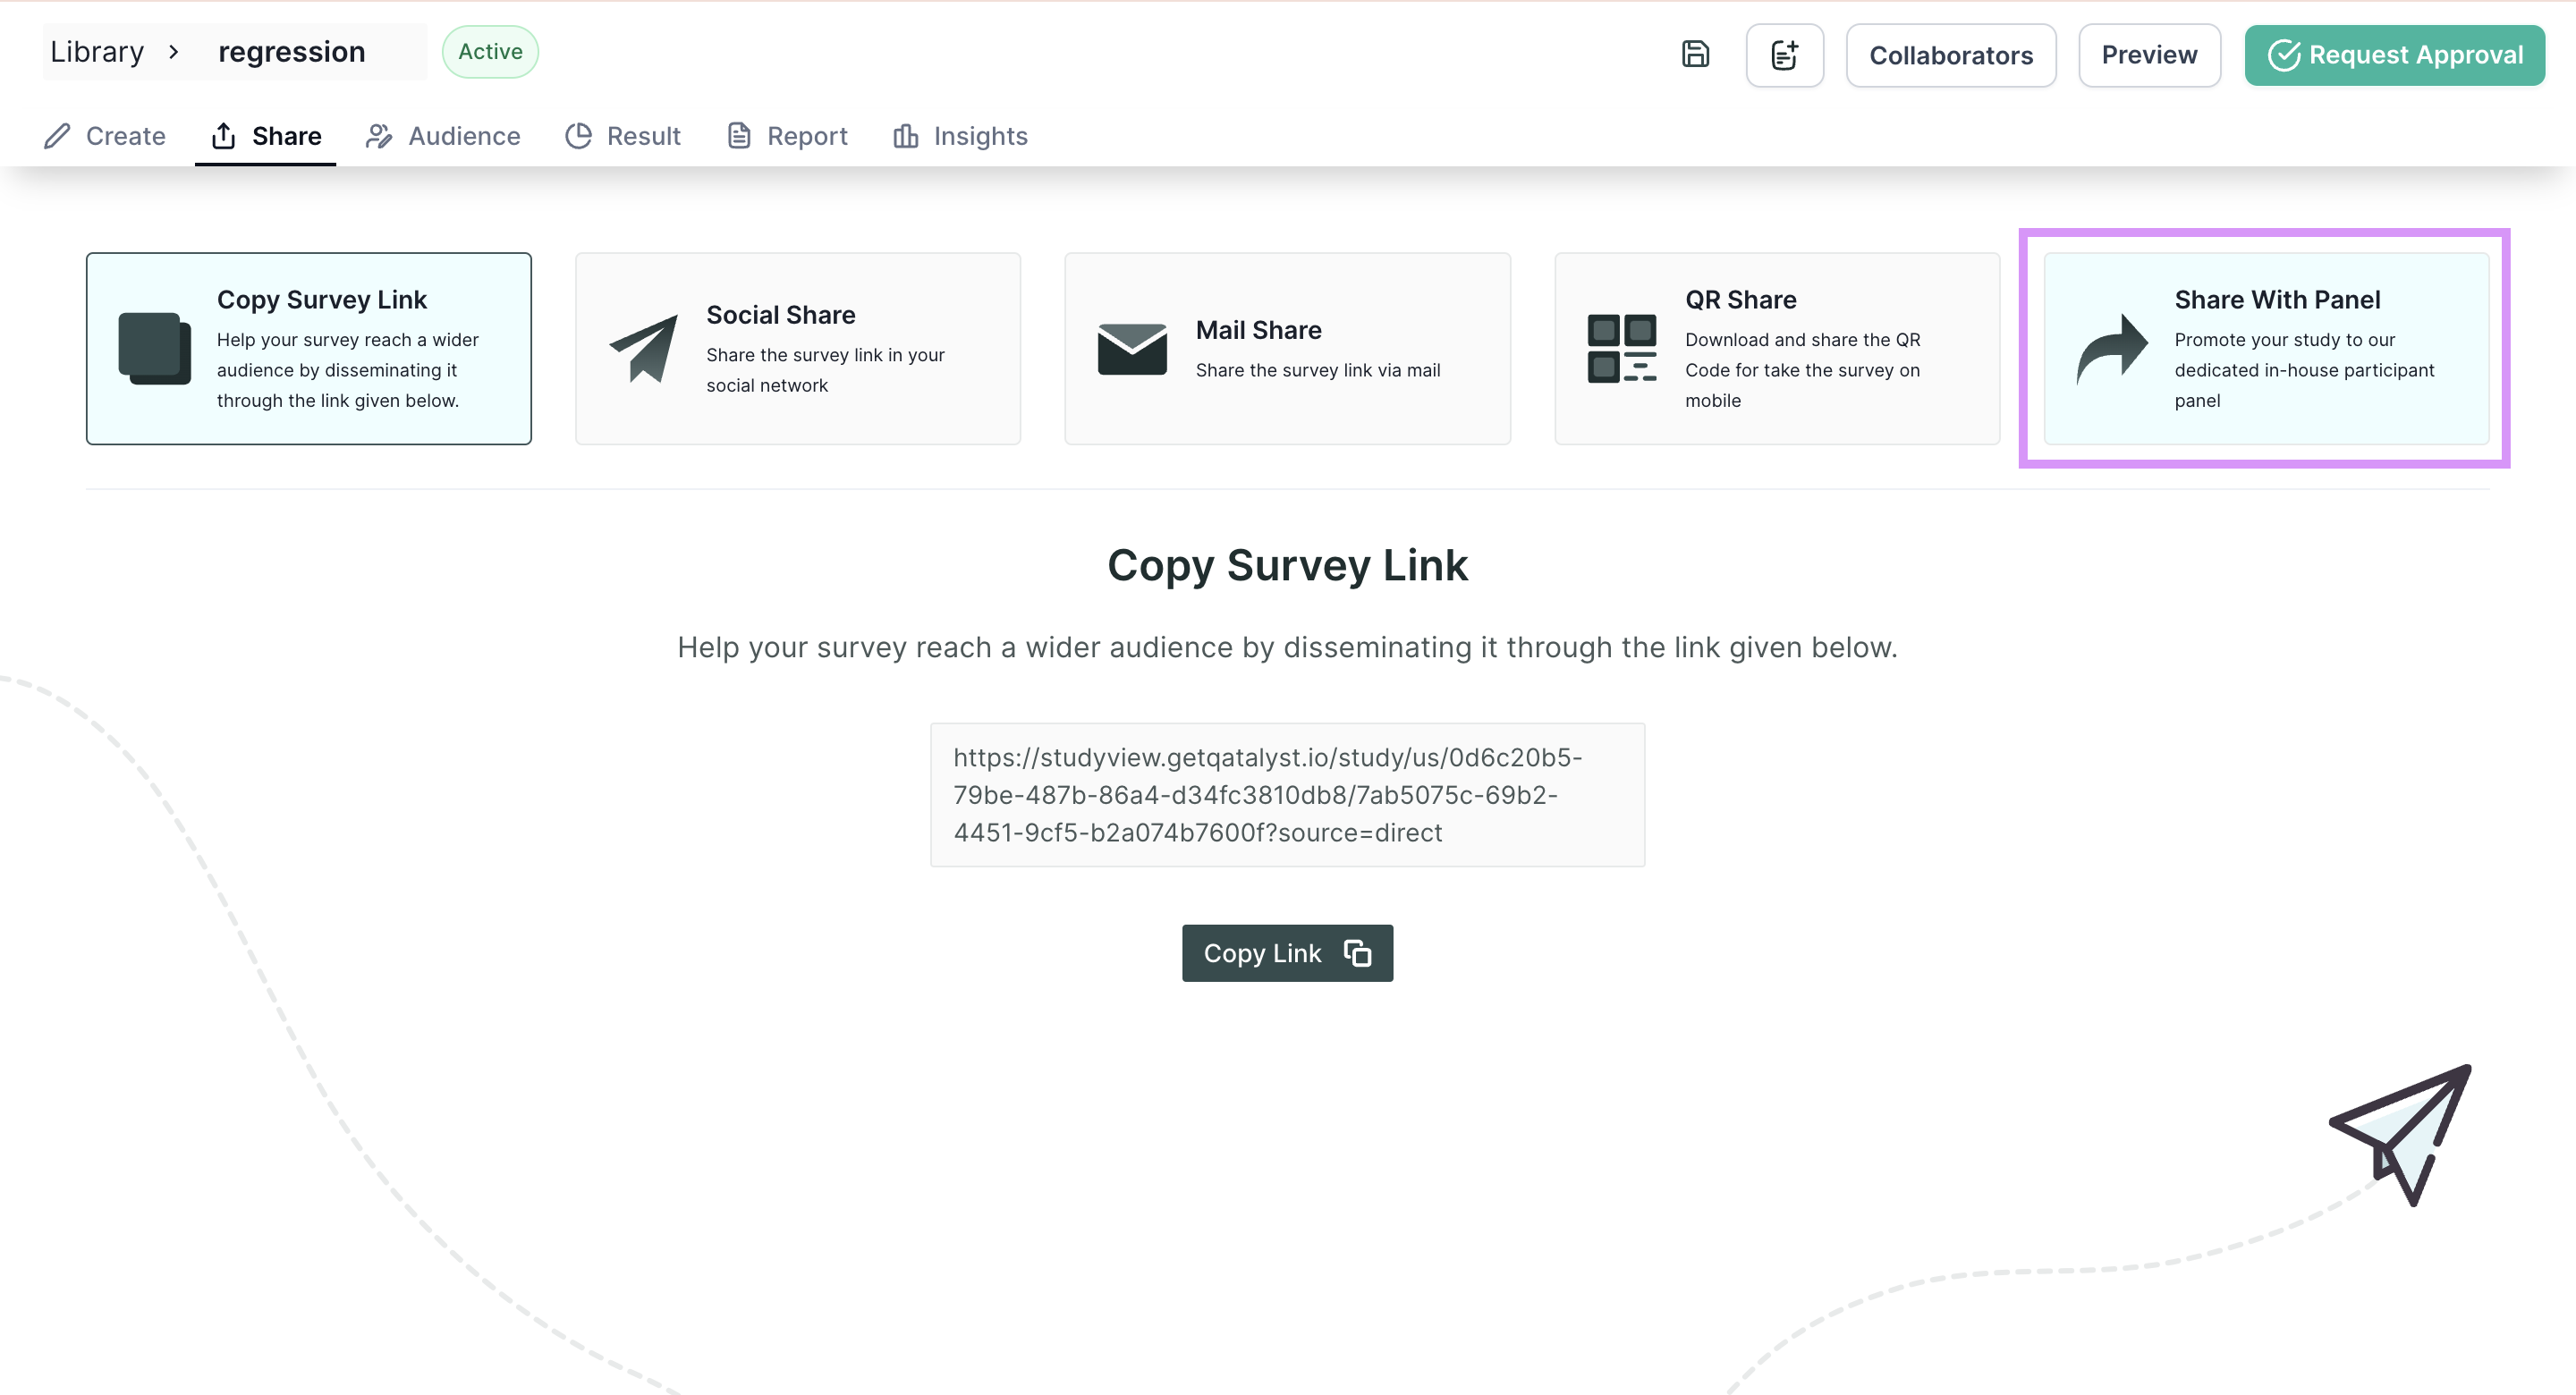
Upon selecting this option, a list of users who have been added to your panel will be displayed. You have the flexibility to choose specific individuals or even select all of them.
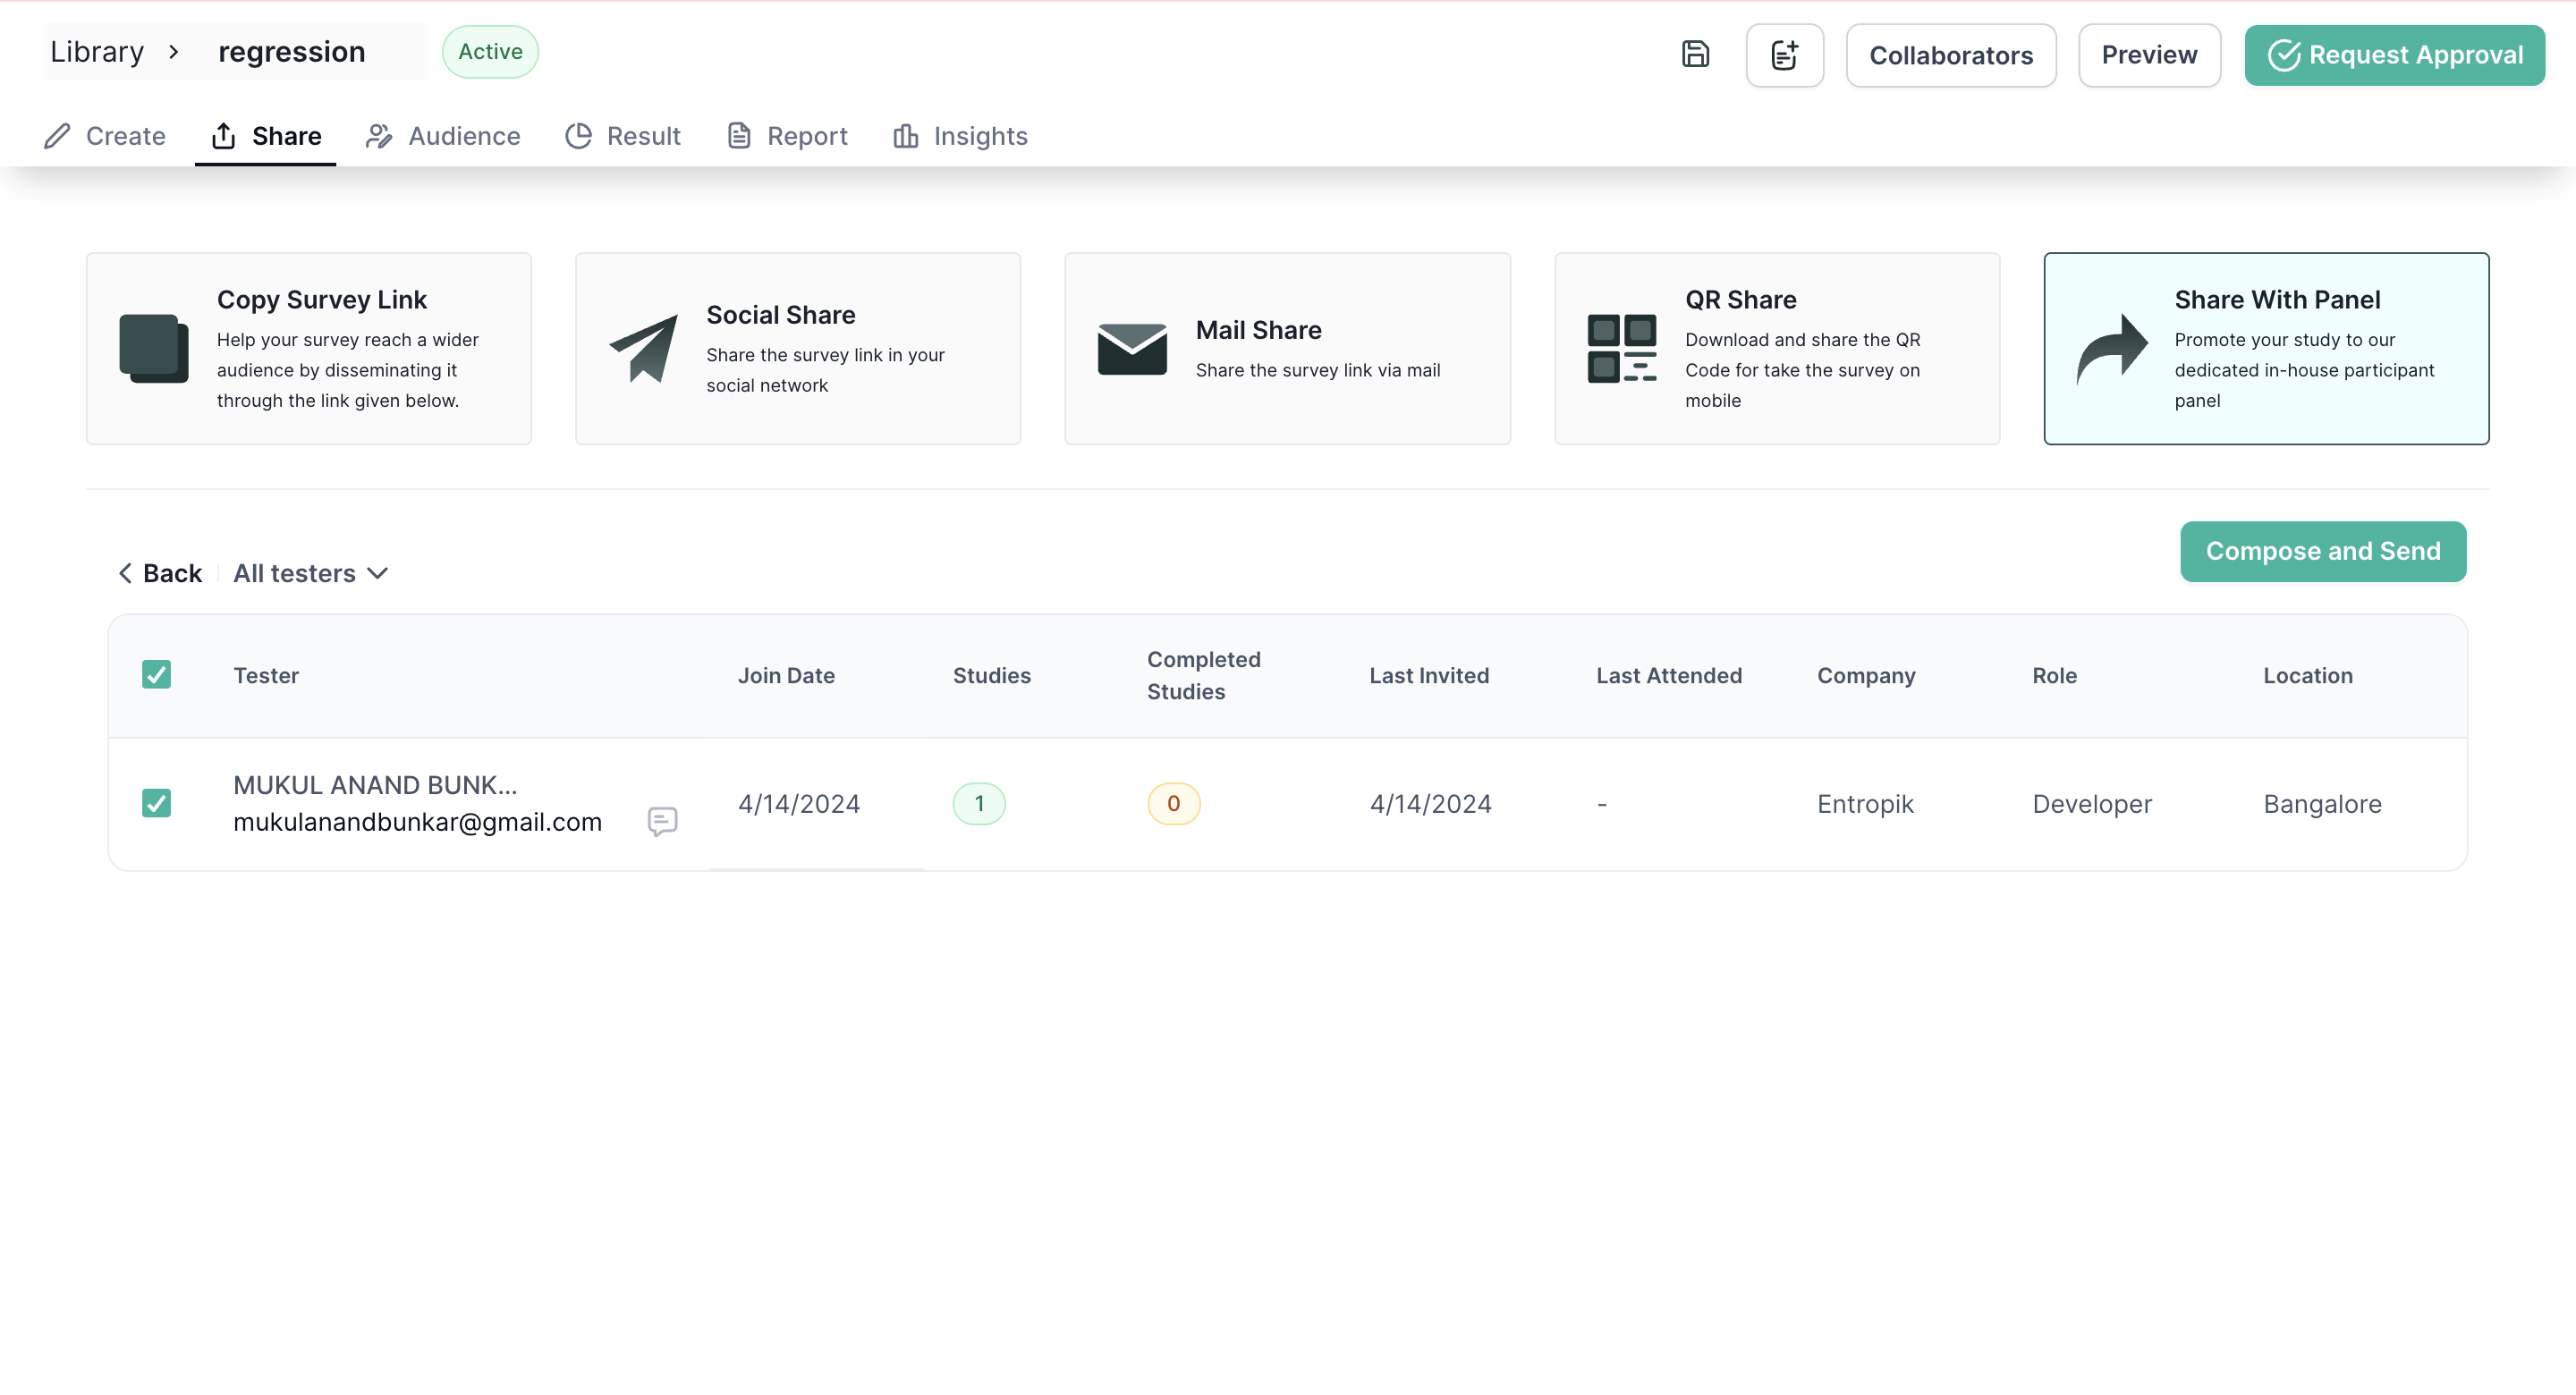
After selecting the users, click on the "Compose and Send" button, and a pop-up will appear where you can customize the email template too. Once you've fine-tuned the message to your satisfaction, click the "Send" button, and the email will be promptly dispatched to the chosen recipients.